8 49-90550-3
Lint Filter
Clean the lint filter before each use.
Remove by pulling straight up. Run your fingers across the filter. A waxy buildup may
form on the lint filter from using dryer added fabric softener sheets.
To remove this buildup, wash the lint screen in warm, soapy water. Dry thoroughly
and replace.
Vacuum the lint from the dryer lint filter area if you notice a change in dryer
performance.
NEVER OPERATE THE DRYER WITHOUT ITS FILTER IN PLACE.
Exterior
Wipe or dust any spills or washing compounds with a damp cloth. Dryer control panel and finishes may be damaged
by some laundry pretreatment soil and stain remover products. Apply these products away from the dryer. The fabric
may then be washed and dried normally. Damage to your dryer caused by these products is not covered by your
warranty.
Alloy Steel Drum (on some models)
The alloy steel used to make the dryer drum provides the highest reliability available in a GE Appliances dryer.
If the dryer drum should be scratched or dented during normal use, the drum will not rust or corrode. These surface
blemishes will not affect the function or durability of the drum.
Interior and Duct
The interior of the appliance and exhaust duct should be cleaned once a year by qualified service personnel.
The Exhaust Duct: Inspect and clean the exhaust ducting at least once a year to prevent clogging. A partially
clogged exhaust can lengthen the drying time.
Follow these steps:
1
Turn off electrical supply by disconnecting the plug from the wall socket.
2
Disconnect the duct from the dryer.
3
Vacuum the duct with the hose attachment and reconnect the duct.
The Exhaust Hood: Check with a mirror that the inside flaps of the hood move freely when operating. Make sure
that there is no wildlife (birds, insects, etc.) nesting inside the duct or hood.
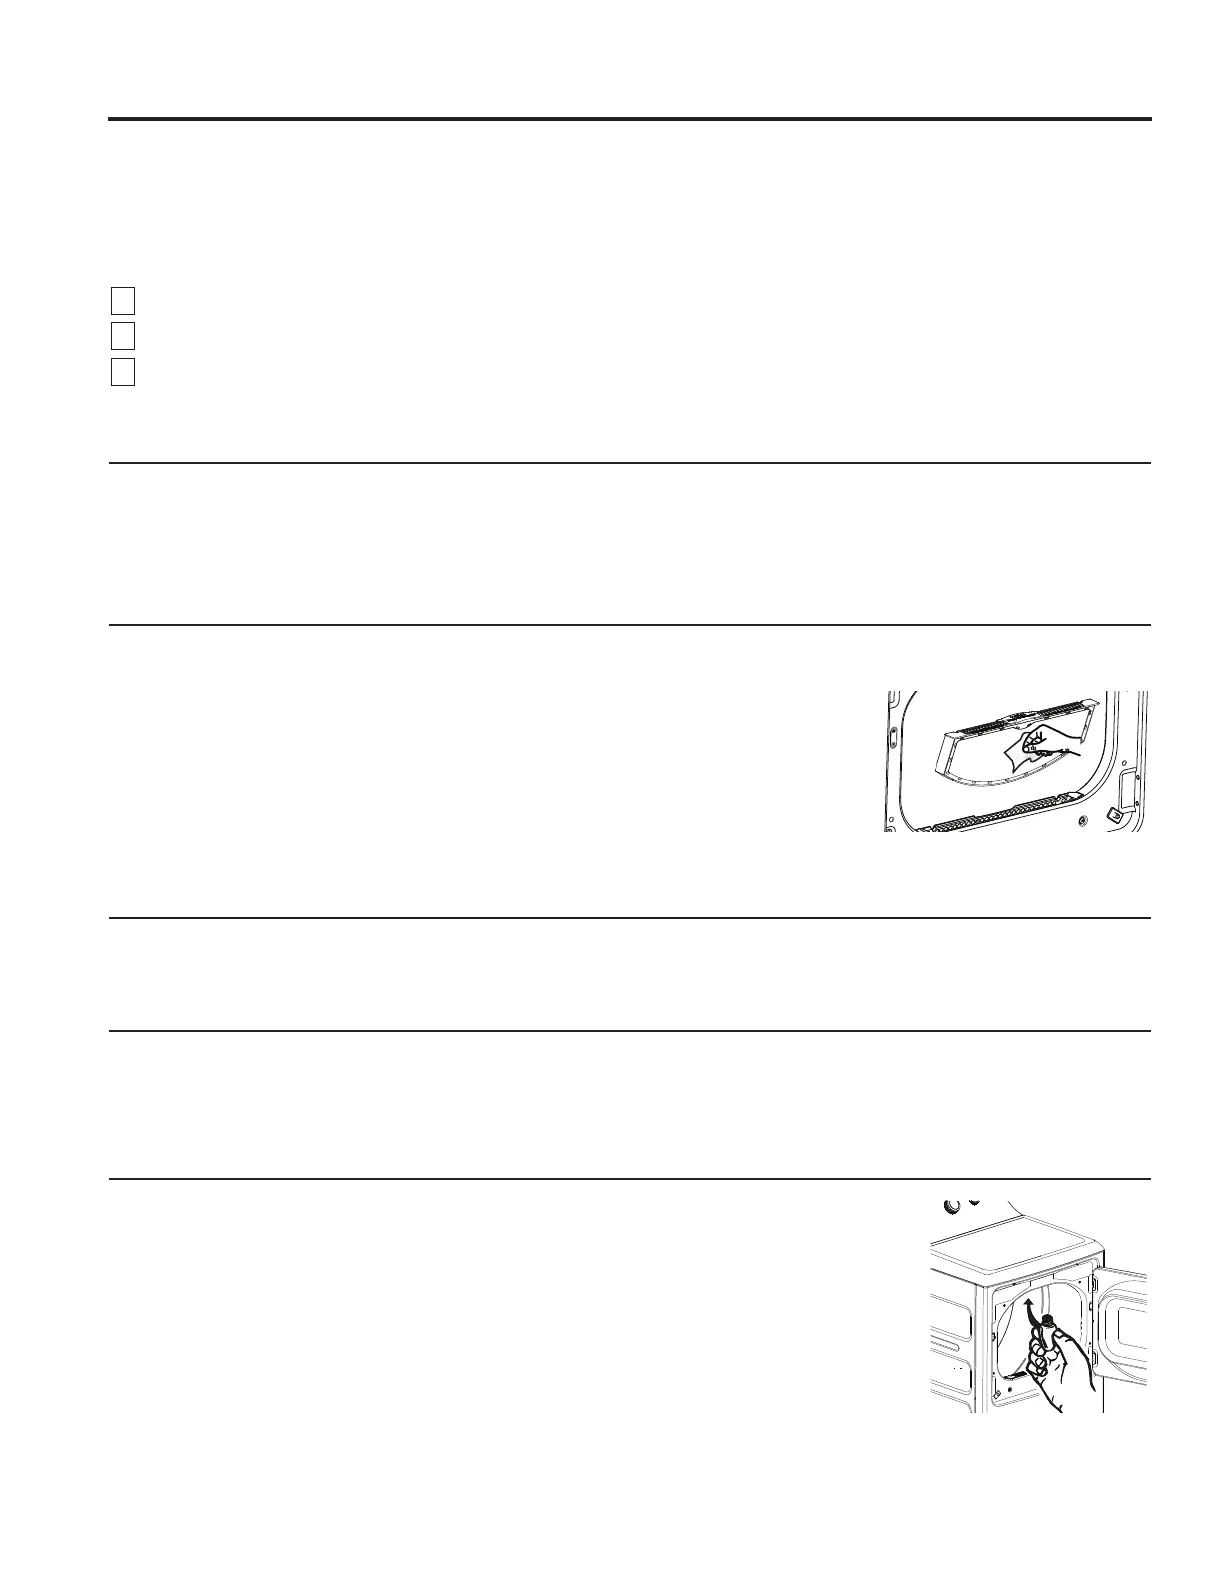
Drum Light (on some models)
Before replacing the light bulb, be sure to unplug the dryer power cord or disconnect the
dryer at the household distribution panel by removing the fuse or switching off the circuit
breaker.
Reach above dryer opening from inside the drum. Remove the bulb and replace with the
same size bulb.
Stainless Steel
To clean stainless steel surfaces use a damp cloth with a mild, non-abrasive cleaner suitable for stainless steel
surfaces. Remove the cleaner residue and then dry with a clean cloth.
Care and cleaning
CARE AND CLEANING
 Loading...