31-6000101 Rev. 1 04-18 GEA
REQUIRED TOOLS AND ACCESSORIES FOR INSTALLATION
Ŷ3LSHFXWWHU
Ŷ5XOHURUWDSHPHDVXUH
Ŷ&RUGOHVVGULOO
Ŷ(PHU\SDSHURUILOH
Ŷ6FUHZGULYHU
Ŷ$GGLWLRQDOLQVWDOODWLRQSDUWVPD\EHUHTXLUHG
8/DSSURYHGJURXQGLQJFODPSVDQGJDXJHFRSSHU
JURXQGLQJZLUH
2SWLRQDODFFHVVRULHVDUHDYDLODEOH9LVD0DVWHU&DUG
RU'LVFRYHUFDUGVDFFHSWHGE\YLVLWLQJRXU:HEVLWHDW
*($SSOLDQFHVFRPRUIURP3DUWVDQG$FFHVVRULHVFDOO
86RU&DQDGD
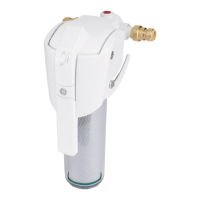
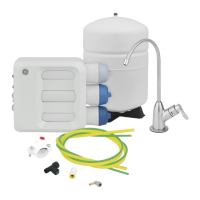
CONTENTS INCLUDED WITH PRODUCT
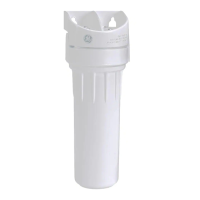
Ŷ)LOWHUKRXVLQJDQGKHDG
Ŷ3URGXFWOLWHUDWXUH
ŶTXLFNFRQQHFWV
Ŷ4XLFNFRQQHFWWRRO
Ŷ0RXQWLQJEUDFNHW
Ŷ+H[KHDGVFUHZVDQG+H[ZDVKHUKHDGVFUHZV
Ŷ'&3RZHU&RUG*;:+0RQO\
SAFETY PRECAUTIONS
Ŷ&KHFNZLWK\RXUVWDWHDQGORFDOSXEOLFZRUNVGHSDUWPHQW
IRUSOXPELQJDQGVDQLWDWLRQFRGHV<RXPXVWIROORZWKHVH
JXLGHOLQHVDV\RXLQVWDOOWKH:KROH+RPH:DWHU)LOWUDWLRQ
6\VWHP8VLQJDTXDOLILHGLQVWDOOHULVUHFRPPHQGHG
Ŷ%HVXUHWKHZDWHUVXSSO\FRQIRUPVZLWKWKH3HUIRUPDQFH
'DWD,IWKHZDWHUVXSSO\FRQGLWLRQVDUHXQNQRZQFRQWDFW
\RXUPXQLFLSDOZDWHUFRPSDQ\
WARNING
Do not use with water that is microbiologically unsafe or
of unknown quality without adequate disinfection before
or after the system.
Ŷ,WLVKLJKO\UHFRPPHQGHGWKDWDZDWHUVKXWRIIYDOYHEH
SODFHGGLUHFWO\XSVWUHDPRI\RXUKRXVHKROGILOWHU
Ŷ&KHFNZLWK\RXUORFDOSXEOLFZRUNVGHSDUWPHQWIRU
SOXPELQJFRGHV<RXPXVWIROORZWKHLUJXLGHOLQHVDV\RX
LQVWDOOWKH:KROH+RPH:DWHU)LOWUDWLRQ6\VWHP
Ŷ8VHWKH:KROH+RPH:DWHU)LOWUDWLRQ6\VWHPRQDSRWDEOH
VDIHWRGULQNKRPH&2/'ZDWHUVXSSO\RQO\7KHILOWHU
FDUWULGJHZLOOQRWSXULI\ZDWHURUPDNHXQVDIHZDWHUVDIHWR
GULQN
Ŷ3URWHFWWKH:KROH+RPH:DWHU)LOWUDWLRQ6\VWHPDQG
SLSLQJIURPIUHH]LQJ:DWHUIUHH]LQJLQWKHKRXVLQJZLOO
GDPDJHLW
Ŷ<RXU:KROH+RPH:DWHU)LOWUDWLRQ6\VWHPLVUDWHGXS
WRSVLZDWHUSUHVVXUH,I\RXUKRXVHZDWHUVXSSO\
SUHVVXUHLVKLJKHUWKDQSVLGXULQJWKHGD\LWPD\UHDFK
KLJKHUOHYHOVDWQLJKWLQVWDOODSUHVVXUHUHGXFLQJYDOYH
EHIRUHWKHKRXVLQJLVLQVWDOOHG
Ŷ'RQRWLQVWDOORQ+27:$7(57KHWHPSHUDWXUHRIWKH
ZDWHUVXSSO\WRWKH:KROH+RPH:DWHU)LOWUDWLRQ+RXVLQJ
PXVWEHEHWZHHQWKHPLQLPXPRI)DQGWKHPD[LPXP
RI)6HHWKH3HUIRUPDQFH'DWDVHFWLRQ
Ŷ'RQRWLQVWDOOWKH:KROH+RPH:DWHU)LOWUDWLRQ6\VWHP
XVLQJFRSSHUVROGHUILWWLQJV7KHKHDWIURPWKHVROGHULQJ
SURFHVVZLOOGDPDJHWKHXQLW
Ŷ7KHVXPSVKRXOGUHPDLQLQVWDOOHGRQWKHV\VWHPDWDOO
WLPHVH[FHSWGXULQJWKHILOWHUUHSODFHPHQWSURFHVV
WARNING
ŶBefore starting installation, verify if the cold water pipe
is being used to ground electrical outlets in the home.
Refer to the ‘Installing the Ground Wire’ section before
cutting the cold water piping.
ŶDiscard all unused parts and packaging material after
installation. Small parts remaining after installation
could be a choke hazard.
ŶDo not install the filter in an outside location or
anywhere the filter will be exposed to freezing
temperature or direct sunlight.
PROPER INSTALLATION
7KLV:KROH+RPH:DWHU)LOWUDWLRQ6\VWHPPXVWEHSURSHUO\LQVWDOOHGDQGORFDWHGLQDFFRUGDQFHZLWKWKH
,QVWDOODWLRQ,QVWUXFWLRQVEHIRUHLWLVXVHG
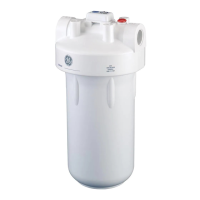
*;:+0DQG*;:+0DUH
&HUWLILHGE\,$302
57DJDLQVW16)$16,
6WDQGDUGIRUPDWHULDOVDQG
VWUXFWXUDOLQWHJULW\UHTXLUHPHQWVRQO\
GEAppliances.com
*($SSOLDQFHV a Haier company
Installation Instructions
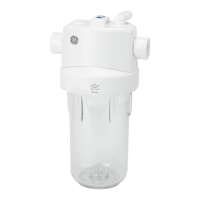
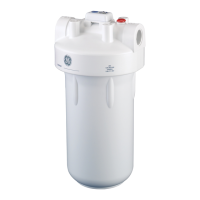
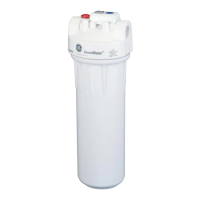
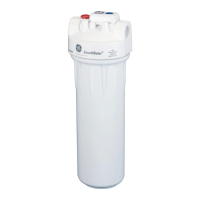
Whole Home Water Filtration System
(filters not included) GXWH50M, GXWH70M