Do you have a question about the GE IM4A - G.E. Electronic Icemaker and is the answer not in the manual?
Details the purpose of the addendum and its usage with specific icemaker kits.
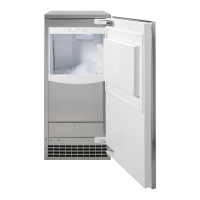
Lists the refrigerator models for which these installation instructions are intended.
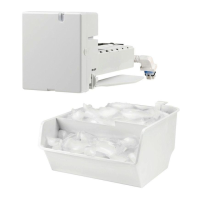
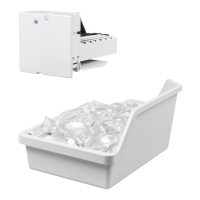
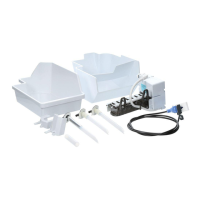
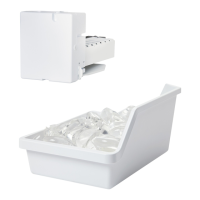
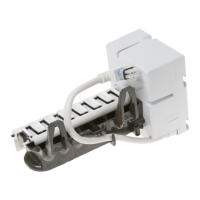
Lists all parts included in the icemaker kit for installation.
Identifies parts that come with the refrigerator and may be needed for installation.
Provides preliminary steps, safety precautions, and lists necessary tools for installation.
Details steps for preparing the freezer compartment by removing shelves and baskets.
Guides on connecting the fill tube and mounting the icemaker unit into the freezer.
Instructions for installing mounting screws in the freezer side wall for the icemaker.
Guidance on installing the icemaker fill cup into the icemaker unit.
Steps for connecting the icemaker power cord and ensuring it is securely mounted.
Instructions for reassembling the freezer compartment after icemaker installation.
Advises on applying the warranty label for record-keeping purposes.
Provides preliminary steps, safety precautions, and lists necessary tools for water valve assembly.
Instructions for removing the rear access cover to reach the water valve area.
Guidance on measuring and cutting the plastic water tubing to the correct length.
Steps for connecting the water valve, shield, and securing it to the cabinet.
Guides on connecting the water tube to the refrigerator's inlet using a hose clamp.
Instructions for attaching a water line clamp as a strain relief for the water valve.
Details on securing the plastic water tube to the refrigerator's back using fasteners.
Final checks, switch settings, and important notes after water valve installation.