14 49-60698-4
2
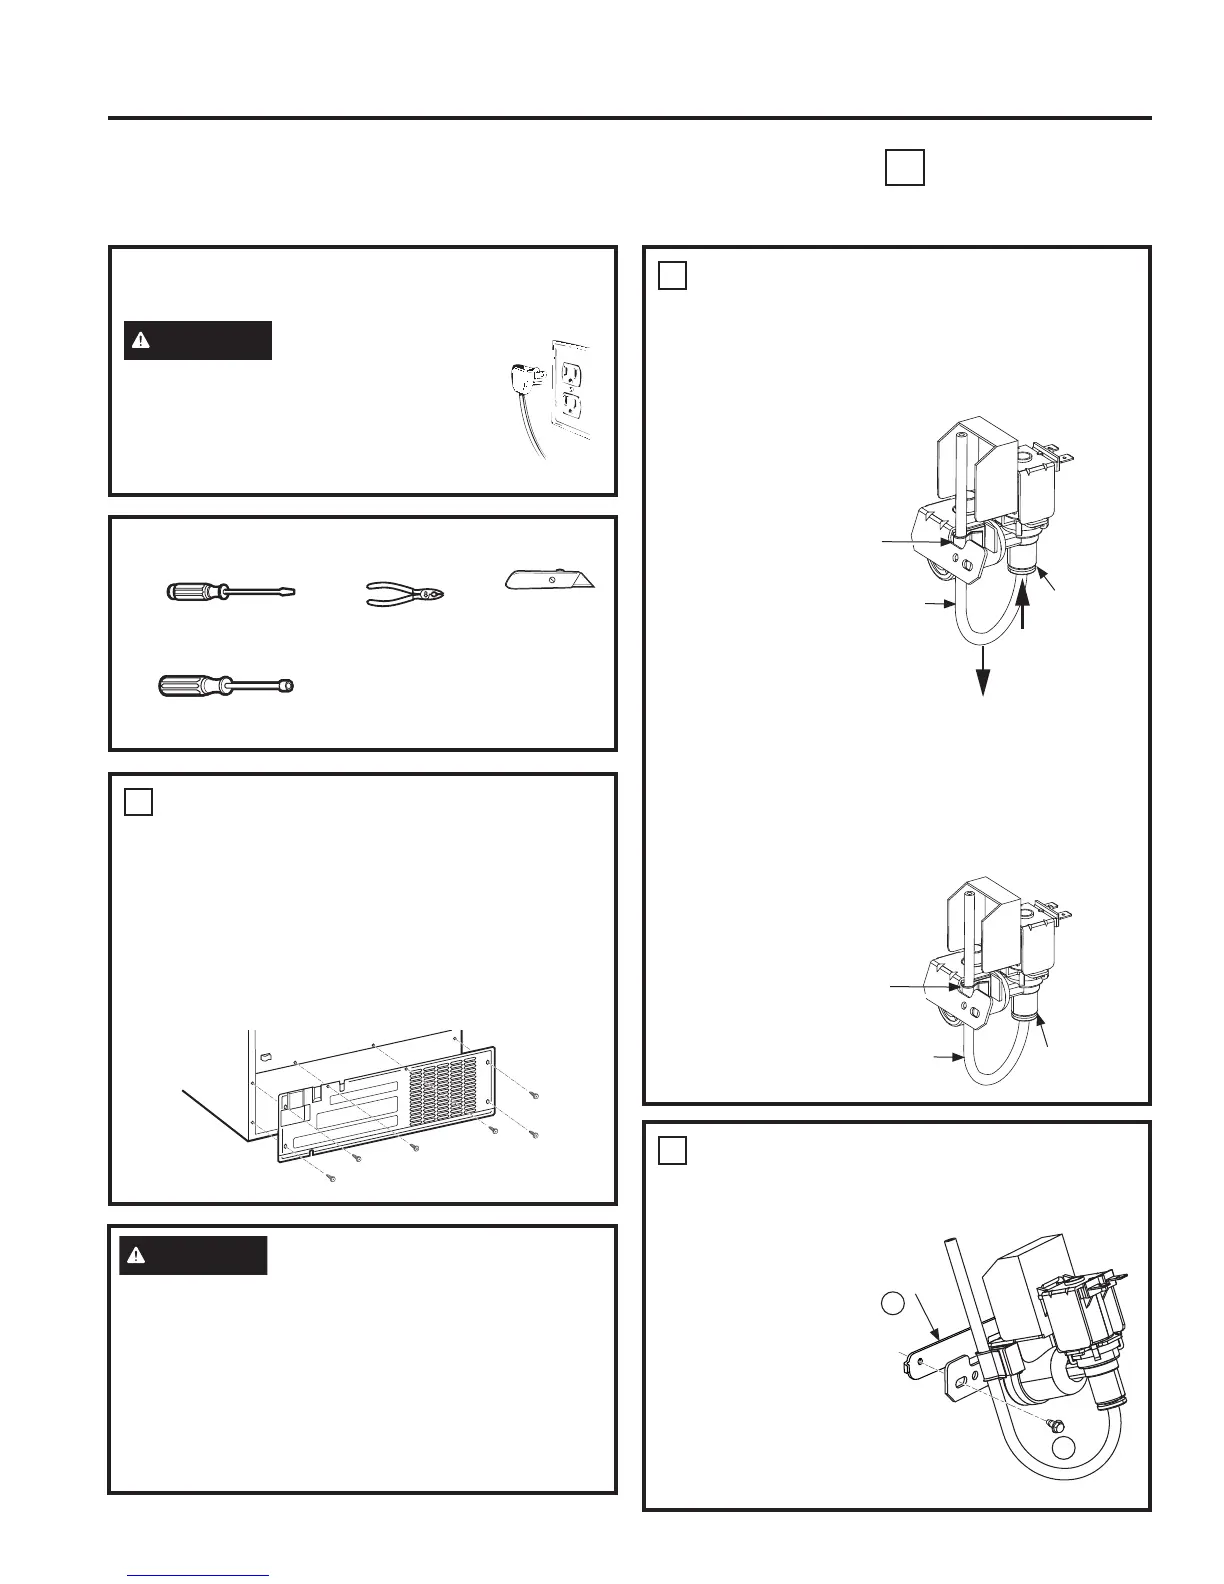
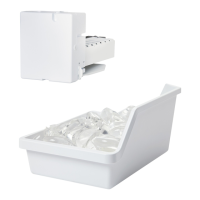
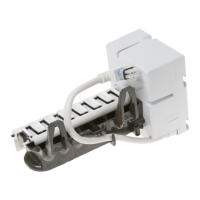
PLASTIC WATER TUBING
Ɣ5HPRYHZDWHUOLQHIURPWKHYDOYHDVVHPEO\
LQFOXGHGLQWKLVNLWE\UHPRYLQJWKHWXEH
from the clip and pushing on the bottom of the
YDOYHTXLFNFRQQHFWGLVHQJDJLQJWKHWXEHDQG
pulling it from the valve.
Ɣ8VHWKHZDWHUOLQHIURPWKHILOOWXEHDVVHPEO\
that came with the refigerator. The water line
is attached to the fill tube assembly that is
DOUHDG\LQVWDOOHGLQWKHUHIULJHUDWRU5HPRYH
WKHSOXJIURPWKHHQGRIWKHZDWHUOLQH5RXWH
the water line through the clip on the valve
SXVKLQJLWLQWRWKHTXLFNFRQQHFWRQWKHYDOYH
The white line will
be barely visible
if properly
engaged.
1
REMOVE THE COVER
8VHDQXWGULYHURUDQDGMXVWDEOHZUHQFK
to remove the compressor compartment access
FRYHU7KLVUHTXLUHVUHPRYLQJVL[VFUHZVZKLFK
attach the cover to the back of the refrigerator
case.
Be sure to save the screws as the access
cover must be reinstalled later to ensure your
refrigerator will function properly.
3
ATTACH THE BRACKET
EXTENSION TO THE WATER
VALVE
Ɣ8VHD´
nutdriver to
attach the
bracket extension
WRWKHZDWHU
valve bracket
with the screw
WATER VALVE INSTALLATION INSTRUCTIONS
T
- IM4D ONLY
Flat blade and Phillips
screwdrivers
Pliers
Sharp knife
TOOLS YOU WILL NEED
BEFORE YOU BEGIN
Read these instructions completely and carefully.
WARNING
To reduce the risk of
electric shock or injury during installation,
you must first unplug the refrigerator
before proceeding. Failure to follow
these instructions can result in electrical
shock.
DQG1XWGULYHUV
Installation Instructions
Push up
Quick-connect
Pull down
Clip
Water line
Quick-connect
Clip
Water line
Bracket
extension
17
16
INSTALLATION INSTRUCTIONS
WARNING
To reduce the risk of death or
electric shock, you must follow these
instructions:
Ŷ Unplug the refrigerator before removing any
panels.
Ŷ Do not damage any wiring while the panel is
removed.
Ŷ Replace all parts and panels before plugging
the refrigerator back in.