ge.com
Oven Shelves
Theshelves aredesigned with stop-locks
sothat,whenplaced correctly on the shelf
supports,they will stop before coming
completelyoutof theovenandwill not tilt
whenyouare removingfood from themor
placing foodon them.
When placing cool<ware on a shelf, pull file
shelf out to file bump on the shelf support.
Place the cookware on the shelf; then slide
the shelf back into the oven° This will
eliminam reaching into the hot oven.
Toremove a shelf flom rite oven, pull fire
shelf toward you, ult fire flont end upward
and pull the shelf out.
Toreplace, place rite shelf on fire shelf
support with the Stol>locl<s (cmved
extension of the shelf) facing up and
toward the rear of the (wen. Tilt up the
flont and push the shelf toward the back
of the (wen unul it goes p_st the bump on
the shelf support. Then lower the fiont of
the shelf and push it N1 the way back.
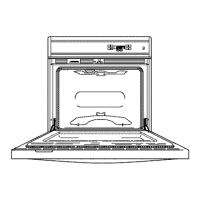
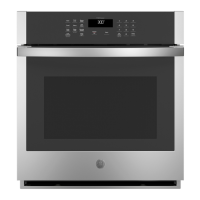
Sheff Positions
The oven has 4 shelf supports, identified
in this illustration as A (bottom), B, C and
D (top).
Shelf positions for cooking are suggested in
the Baking, Roasting and Broiling sections.
Oven Moisture
As your oven beats up, dte changing
temperature of fire ah in fire oven may
cause wamr droplets to form on the door
glass. These droplets are harmless and will
evapomm _ksthe (wen continues to heat up.
15