Do you have a question about the GE Monogram ZDP30L4HSS and is the answer not in the manual?
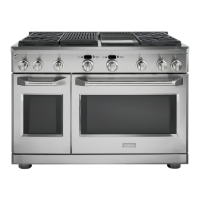
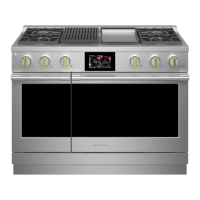
Lists available GE Monogram Professional Range models and their configurations.
Details required backguards and their specifications for different range models.
Provides critical measurements and clearance requirements for range installation.
Guidance on pre-installation planning, including cabinet and wall clearances.
Lists the necessary tools and materials for installing the range.
Specifies requirements for electrical supply and gas line connections.
Instructions for safely unpacking the range and its components.
Procedure for ensuring the range is level for proper operation and safety.
Critical safety step to secure the range against tipping.
Guide for connecting the gas supply line to the range.
Instructions for attaching the required backguard to the range.
Procedure for connecting the range to the electrical power supply.
Guidance on carefully moving the range into its final installation spot.
Instructions for re-attaching the oven doors after installation.
Steps for assembling burner components and adjusting flames.
How to adjust the low setting for the range's burners.
Final checks and adjustments to complete the range installation.
| Width | 30 inches |
|---|---|
| Number of Burners | 4 |
| Convection Oven | Yes |
| Self-Cleaning | Yes |
| Color | Stainless Steel |
| Fuel Type | Gas |
| Ignition Type | Electronic |
| Grates Material | Cast Iron |
| Cooktop Material | Stainless Steel |
| Depth | 28.5 inches |
| Weight | 250 lbs |
| Type | Slide-In |
| BTU per Burner | 15, 000 BTU |
| Height | 36 inches |