12 49-1000418 Rev. 8
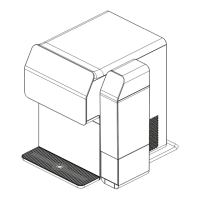
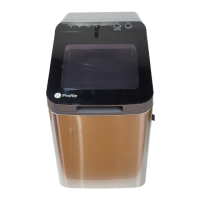
Side Tank Accessory
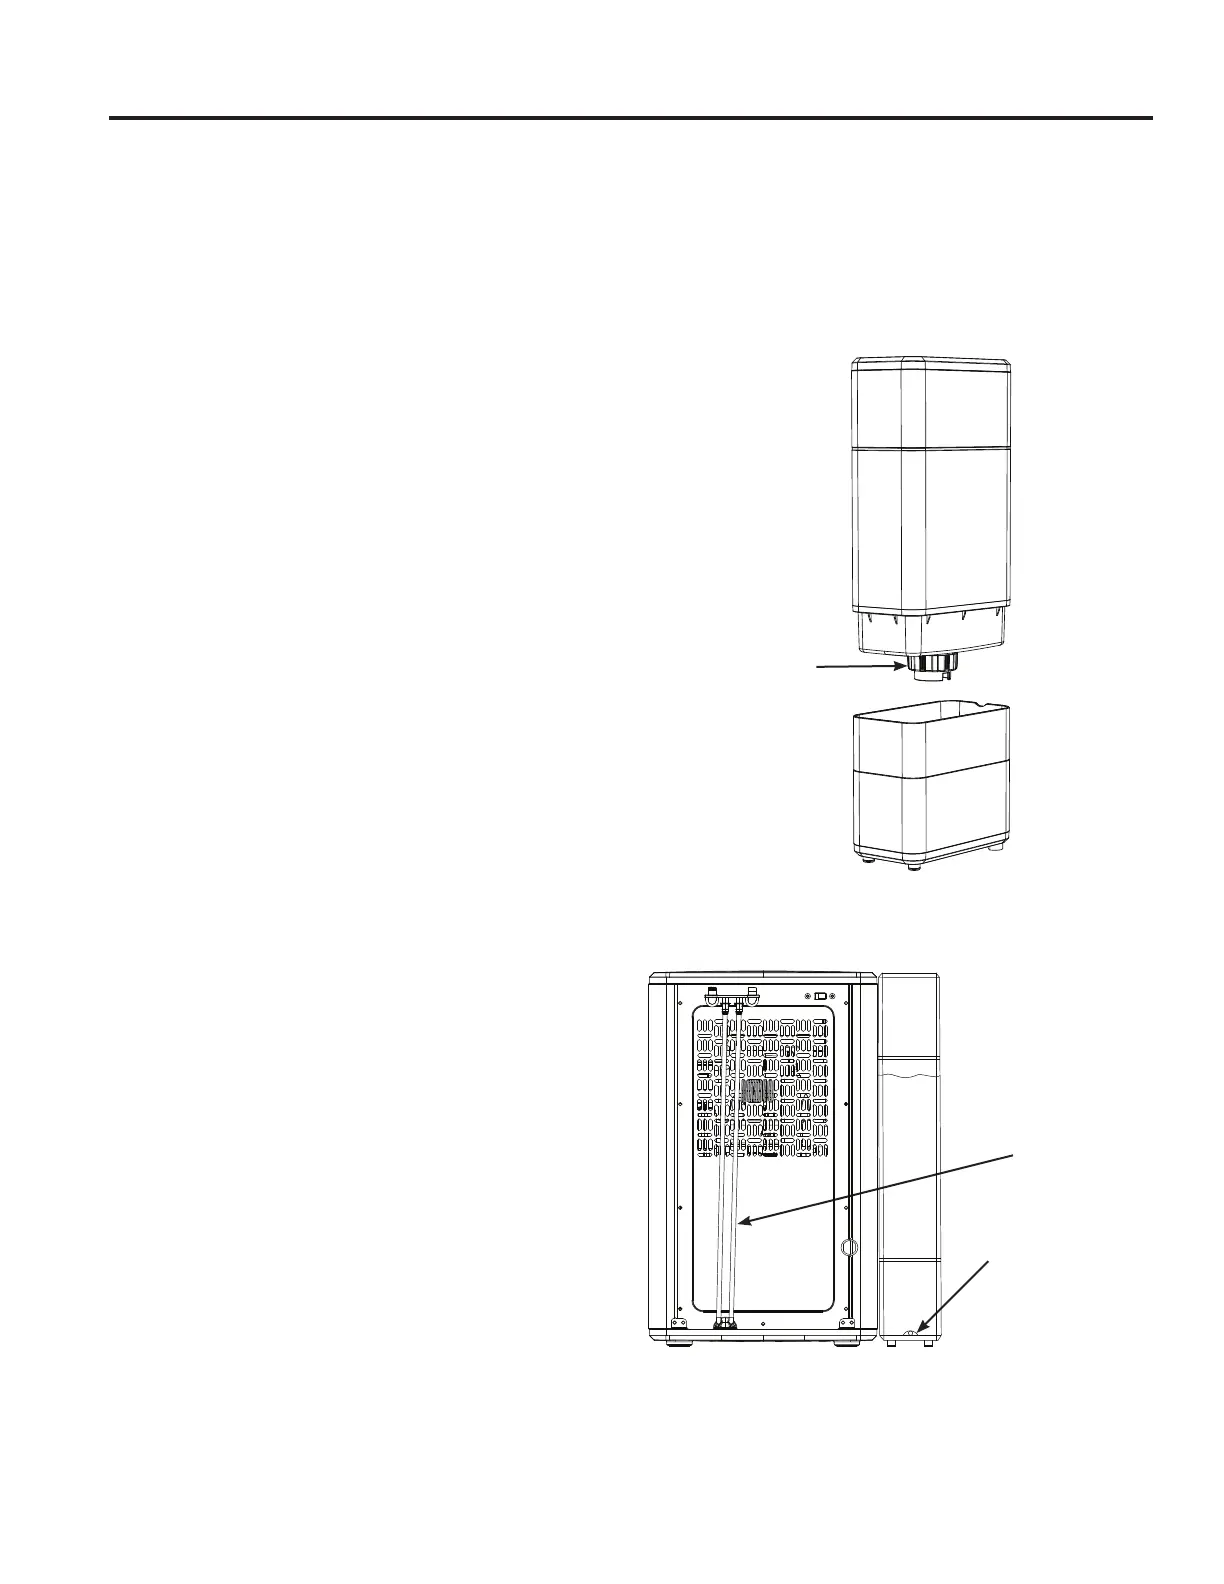
NOTE:7KHUHDUHWZRGUDLQWXEHVORFDWHGRQWKHEDFNRI\RXU2SDO1XJJHW,FH0DNHULQGLFDWHGDVGUDLQWXEH$DQG%
in the illustration on page 12.
+DQG:DVK2QO\5LQVHDQGKDQGZDVK2SDO6LGH
7DQNZLWKZDUPZDWHUDQGDPLOGGLVKVRDS5HPRYH
2SDO6LGH7DQN¶VFDSDQGZDVKWKHFDSDQGUXEEHU
YDOYHZLWKZDWHUDQGDPLOGGLVKVRDS7KH6LGH7DQN
base can be washed by disconnecting the hose and
DGGLQJDVPDOODPRXQWRIVRDS\ZDWHUWRLW6FUXEDV
needed and rinse thoroughly. The rinse water should
drain out the port in the back.
5LQVHWKHFDSUXEEHUYDOYHWDQNDQGWKHEDVHZHOOWR
remove any residual soap (see illustration).
DO NOT WASH THE SIDE TANK IN THE
DISHWASHER.
8QSOXJ2SDO1XJJHW,FH0DNHU8QKRRN2SDO¶VGUDLQ
tubes and drain the water from the reservoir.
&RQQHFWGUDLQWXEHODEHOHG%WRWKHEDFNRI2SDO6LGH
Tank’s base.
4. Make sure drain tube (A) is connected to the black
hanger and installed on the back of Opal.
0DNHVXUHGUDLQWXEH%FRQQHFWLQJWRWKH6LGH7DQN
LVUHVWLQJÀDWRQWKHFRXQWHUWRS
6LGH7DQN
Cap and
9DOYH
8QSOXJWKLV
GUDLQWXEH%
from the black
hanger and
connect this
tube to the
6LGH7DQN
Plug drain
WXEH%LQWRWKH
side tank here.
%A
SIDE TANK ACCESSORY
NOTE: The Side Tank Accessory is only included with model numbers
OPAL01GEPKT and OPAL01GENKT.