49-3000368 Rev 0 37
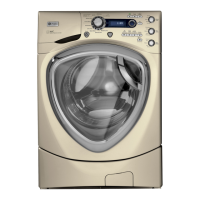
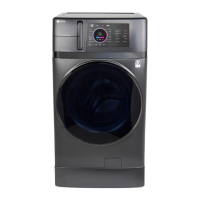
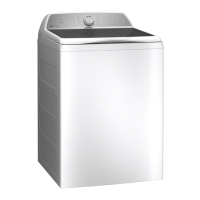
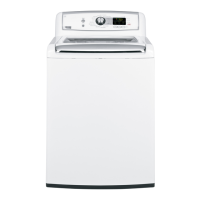
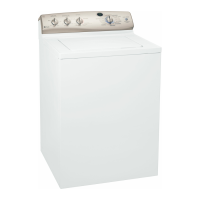
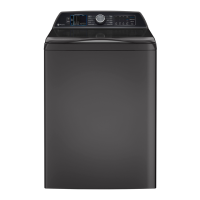
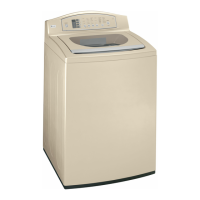
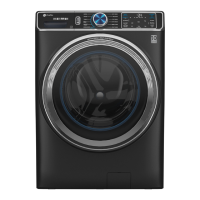
Getting started
Try these washer features
(not available on all models)
UltraFresh Vent™
Works to eliminate
excess moisture to
help prevent odors
so your washer stays
fresh and clean.
OdorBlock™
Microban
®
technology
delivers antimicrobial
durable protection
that lives on load
after load.
SmartDispense™
The dispenser holds
up to 32 loads and
automatically
dispenses the right
amount every time.
1 Step Wash + Dry
Wash and dry
a small load to
eliminate the need
to transfer clothes to
the dryer.
Time Saver
Delivers a thorough
clean for any size
and type of load in
only 35 minutes.
WiFi
Monitor and control
your laundry from
anywhere and receive
real-time updates
and notifications.
dBT™
Onboard sensing
enables real-time
balancing during
spin to save time
and reduce noise.
Troubleshooting Tips...Before you call for service
Before you call for service, see the Troubleshooting Tips section in your
OWNER’S MANUAL & INSTALLATION INSTRUCTIONS.
Service
If needed, schedule a visit from GE Appliances local factory service for advanced
service by visiting localgeappliancerepair.com or calling 866.530.7025.
Care & Cleaning
Cleaning the pump filter
Cleaning the door gasket
To clean the interior of the
washer, use the SELF CLEAN
cycle using the following
procedure:
Step 1: Remove any garments
or objects from the washer to
ensure the basket is empty.
Step 2: Open the door
and add one cup (250 ml)
of bleach directly into the
washer basket.
Step 3: Close the door and
select the SELF CLEAN
cycle. Press the Start pad.
Step 4: When the SELF
CLEAN cycle is working,
the display will show the
estimated cycle time
remaining. The cycle will
complete in about 90 minutes.
Do not interrupt the cycle.
Step 5: After the cycle is
complete (on some models),
the washer will automatically
start an UltraFresh Vent
operation so that the door
can remain closed until the
next time the washer is used.
SELF CLEAN may be
interrupted by pressing
Start/Pause. When
interrupted, be sure to
run a complete SELF
CLEAN cycle before
using the washer again.
For more information,
please refer to your
OWNER’S MANUAL.
STEP 1: Open the washer
door.
STEP 2: Press down on the
door gasket and pull down
on the interior gasket with
your fingers.
STEP 3: Remove any
foreign objects trapped
inside the interior gasket.
STEP 4: When you are
finished cleaning the door
gasket, release it and the
gasket will return to the
operating position.
NOTE: Make sure nothing
is blocking holes behind
gasket.
NOTE: Clean pump
filter every 6 months
or sooner if unit is
not draining properly.
Cleaning the interior of the washer
Routine maintenance
Genuine GE Appliances Parts and Accessories make appliance maintenance easy by providing
cleaning products, replacement parts and accessories that are designed to keep your appliance
at peak performance. To order direct visit GEApplianceparts.com or call 877.959.8688.
IMPORTANT
• Run SELF CLEAN with tub cleaner once a month.
• After the completion of a SELF CLEAN cycle, the interior
of your washer may have a bleach smell.
• It is recommended to run a RINSE & SPIN or a light
color load after the SELF CLEAN cycle.
Step 1
Load clothes into
your washer and
close the door.
Step 1: Open
the access door
using a coin or flat
screwdriver in the
notch of the door
and pull down the
pour spout.
Step 2: Place a
shallow pan or dish
under the pump
access door and
towels on the floor
for protection. It is
normal for up to a
cup of water to drain
from the filter.
Step 3: Turn
pump filter
counterclockwise
and remove the filter
slowly to let the water
drain.
Step 4: Clean the
debris from the filter.
Step 5: Replace the
filter by pushing in
firmly and turning
clockwise until
tightened securely.
Flip
up the pour spout and
close the access door.
Scan this code
to watch a
video
on this topic.
Video
GE is a trademark of the General Electric Company. Manufactured under trademark license.
QUICK REFERENCE GUIDE
Step 2
Turn the knob
to wake up the
display and select
your desired cycle.
Step 3
Open the dispenser
to add detergent,
or on models with
SmartDispense™
select the
SmartDispense
setting as desired.
Step 4
Press Start to begin
the wash cycle.
When finished, the
door will unlock.
Step 5
For washers equipped
with the UltraFresh
Vent™, select this
option to eliminate
excess moisture when
you’re done with laundry
for awhile. Otherwise,
leave your washer door
slightly ajar.
OR
SmartDispense
Use only HE
High-Efficiency
detergent
 Loading...