11
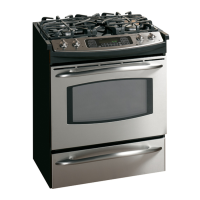
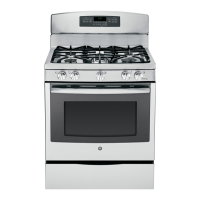
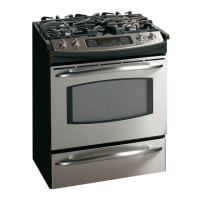
Installation Instructions
INSTALL THE RANGE
SLIDE RANGE INTO OPENING
Position the range in front of the cabinet
opening.
Make sure the supports which overhang
the countertop clear the countertop.
If necessary, raise the unit by lowering
the leveling legs.
Push while lifting the range into the
opening, until the range is within 2″
of engaging the anti-tip bracket.
Remove the protective trim from the side
(if provided).
Using the adjustable pliers or wrench,
carefully screw in the back leveling leg
until the overhang comes to rest on the
countertop.
Carefully screw in the front two leveling
legs (similar to Step E) until the overhang
touches the countertop.
Carefully push the range into the opening
until the countertop fully engages the
control panel. The back maintop overhang
should cover the cutout opening.
G
F
E
D
C
B
A
20
SLIDE RANGE INTO OPENING
(cont.)
Plug the range cord into the receptacle.
Locate the cord in the back of the range
in a manner that it will not touch or be
moved by the drawer.
H
20
STORAGE DRAWER
Position range cord
so that there is no
interference with
storage drawer
Adjustable
wrench or pliers
Countertop
Make sure the edge of
the countertop fits flush
against the end of the
front control panel
FINAL CHECK OF ANTI-TIP
BRACKET
Check to make sure that the rear leveling leg
is fully inserted into the Anti-Tip bracket and
that the bracket is securely installed.
21
 Loading...