49-60466-6 13
Installation Instructions
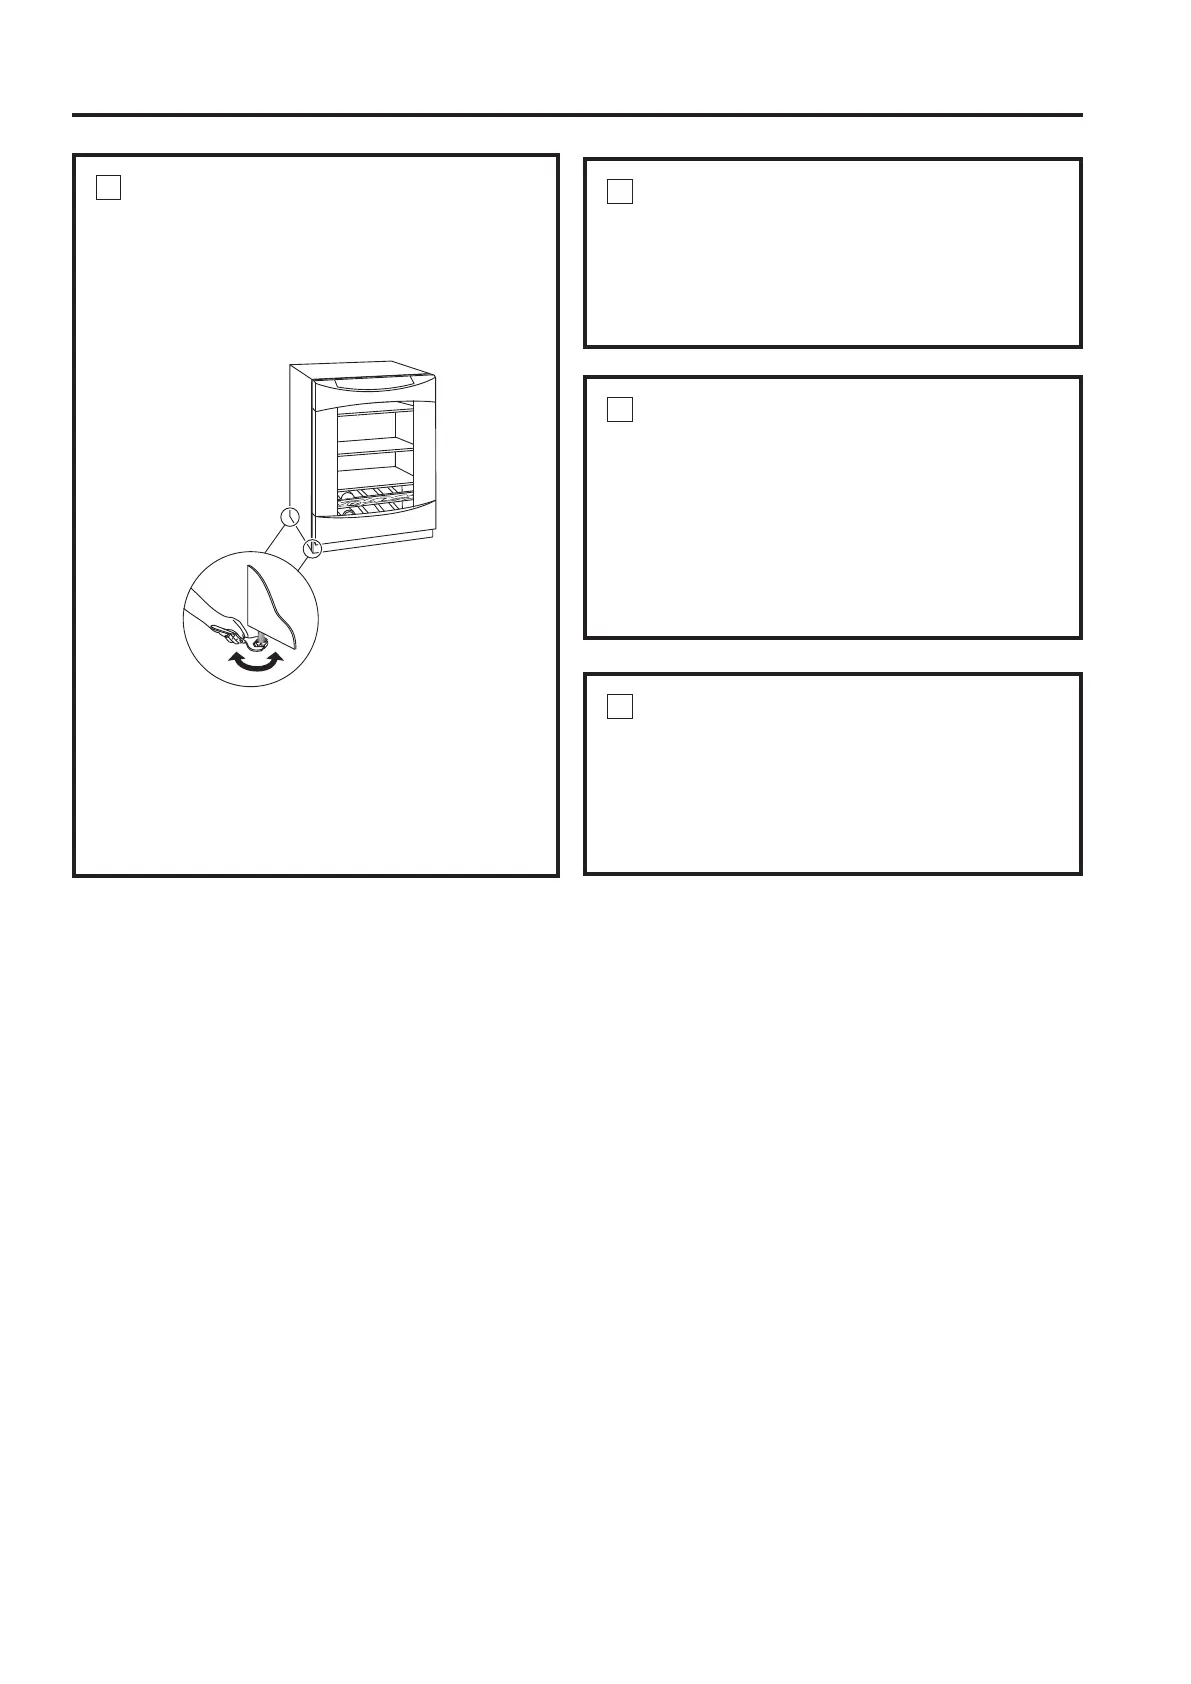
3
LEVEL
8VHDQDGMXVWDEOHZUHQFKWRWXUQWKHOHYHOLQJ
legs and raise or lower the product.
$GMXVWFDUHIXOO\WKHSURGXFWVKRXOGEHOHYHO
and plumb with cabinetry, and should align with
adjacent toekick height.
If you skipped Step 2:
6HOHFWWKHKLQJHFRYHUPDUNHG³5´RU³/´
depending on door swing.
• Peel backing off the tape inside the decorative
hinge cover. Press and snap into position.
4
CONNECT POWER
• Connect power cord plug to a properly grounded
receptacle.
• Make sure power is on by opening the door to
see if interior light turns on.
6
SET TEMPERATURE
CONTROLS
• The temperature controls are preset. Refer
to the Temperature Control section for more
information. Allow 24 hours for temperature to
VWDELOL]H
5
SLIDE PRODUCT INTO THE
CUTOUT
• Carefully slide the unit into the opening. Be
careful not to entangle power cord.
0DNHFHUWDLQWKDWWKHGRRUSURWUXGHV´EH\RQG
the surrounding cabinets.
• Check again to be sure the unit is level.
Turn Right to Lower
Turn Left to Raise
INSTALLATION INSTRUCTIONS
 Loading...