Do you have a question about the GE ve735am and is the answer not in the manual?
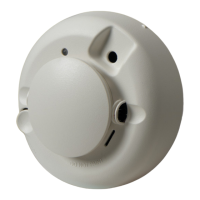
Provides an overview of the VE735AM/VE736AM PIR/AM motion sensors and their certifications.
Details environmental factors and placement considerations to avoid false alarms and ensure optimal performance.
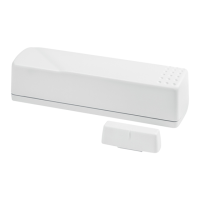
Step-by-step instructions for physically installing the detector base and housing securely.
Configures the detector's sensitivity, modes, and loop settings using jumpers and DIP switches.
Configures PIR sensitivity, Curtain Location Mode (CLM), and Dual Loop settings.
Details configuration of PIR and AM functions using DIP switches.
Outlines the steps to verify the anti-masking functionality of the detector.
Instructions for aiming the detection beam and performing walk tests to ensure proper coverage.
Details how to use the VE710 alignment tool for precise beam setup.
Provides steps for beam alignment and walk testing without a specialized tool.
Explains how to interpret the status of the detector based on LED indications.
Provides a table detailing LED behavior for various detector states.
Covers various operational aspects like latching, remote control, alarm memory, and coverage patterns.
Explains latching, remote LED control, alarm memory, and coverage pattern selection.
Details tamper detection, curtain blocking, and optional mounting bracket usage.
Describes methods for remotely testing and self-diagnosing the detector's functionality.
Explains the causes and reset procedures for technical faults detected by the unit.
Details how to initiate and interpret a remote test of the detector.
Explains the detector's built-in self-monitoring and fault reporting.
Provides definitions for key terms used throughout the manual.
Lists the detailed technical parameters and performance characteristics of the detector.
| Brand | GE |
|---|---|
| Model | ve735am |
| Category | Accessories |
| Language | English |