7
Installation
1. Open the front door. Return the door handle to a vertical position.
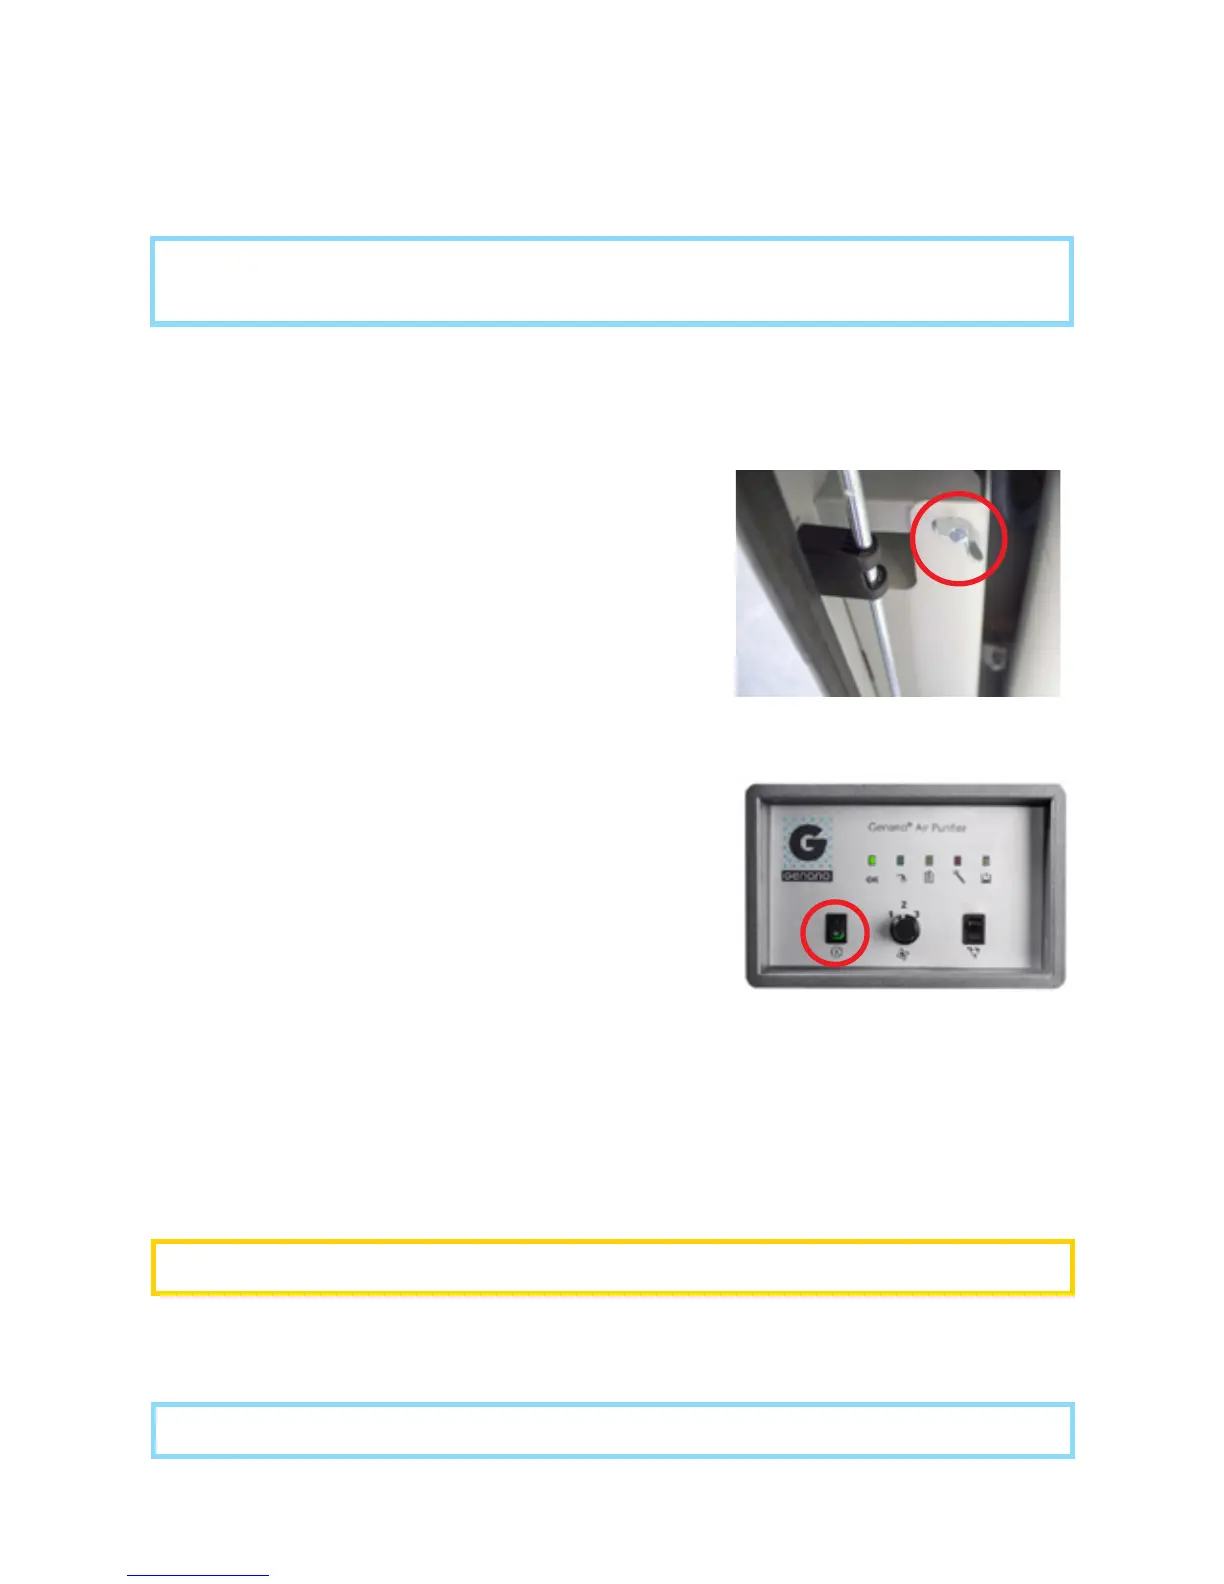
2. Open the wing screw in the washing liquid container (see picture) and carefully
lift the container on the floor.
3. Open the cork, remove the safety seal, and fill
the washing liquid reservoir with Genonex washing
liquid. Note: The washing liquid reservoir of the
unit holds max. 9,5 ltr and is typically pre-filled with
about 5 ltr of washing liquid.
4. Insert the washing hose into the washing liquid
reservoir.
5. Lift back the washing liquid container, fit the
bottom part carefully to the base and attach the
upper part with the wing screw. Keep the cork for
future use.
6. Make sure the flush bowl is its place on the
bottom of the unit placed.
7. Close the door.
7. Make sure that the power switch (see picture) is in the 0-position. Plug the
grounded main power cable that came with the unit first into the Genano 5200
before you plug in the main cable into a grounded power socket (230V / 50Hz).
WARNING! Only plug the unit into a grounded power socket.
NOTE! Lock the front door of the unit when operated near children or pets.
8. Switch the power switch to the 1-position. The unit starts up.
NOTE! We recommend that only authorized Genano service installs the
Genano 5200 unit.
Power switch
Opening the washing liquid
container (wing screw)