ASSEMBLY
Your generator requires some assemblyand is ready for
use after it hasbeen properly serviced with the
recommended oil and fuel.
If you have any problems with the assembly of your
generator, please call the generator helpline at
1-800-270-1408.
Remove Generator From Carton
• Set the palteted carton on a rigid flat surface.
• Carefully cut bands around the shipping carton.
• Lift carton off the generator.
• Remove all packing material, carton fillers, etc.
• Remove the generator from the shipping pallet.
Carton Contents
Check all contents. If any parts are missingor damaged,call
the generator helpline at 1-800-270-1408.
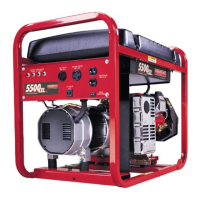
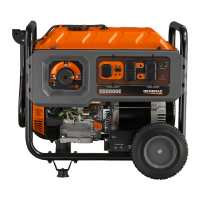
The generator
Electric start battery cables
Generator and engine owner's manuals
Locking 30Amp plugs
Battery mounting bracket/hardware
2 bottles engine oil
Wheel kit
INSTALL WHEEL KIT
NOTE: Wheel kit is not intendedfor over-the-road use.
To installyour wheel kit, you need the following toot:
• Socket wrench with I/2" or 13mm sockets.
• Neddle-nose pliers
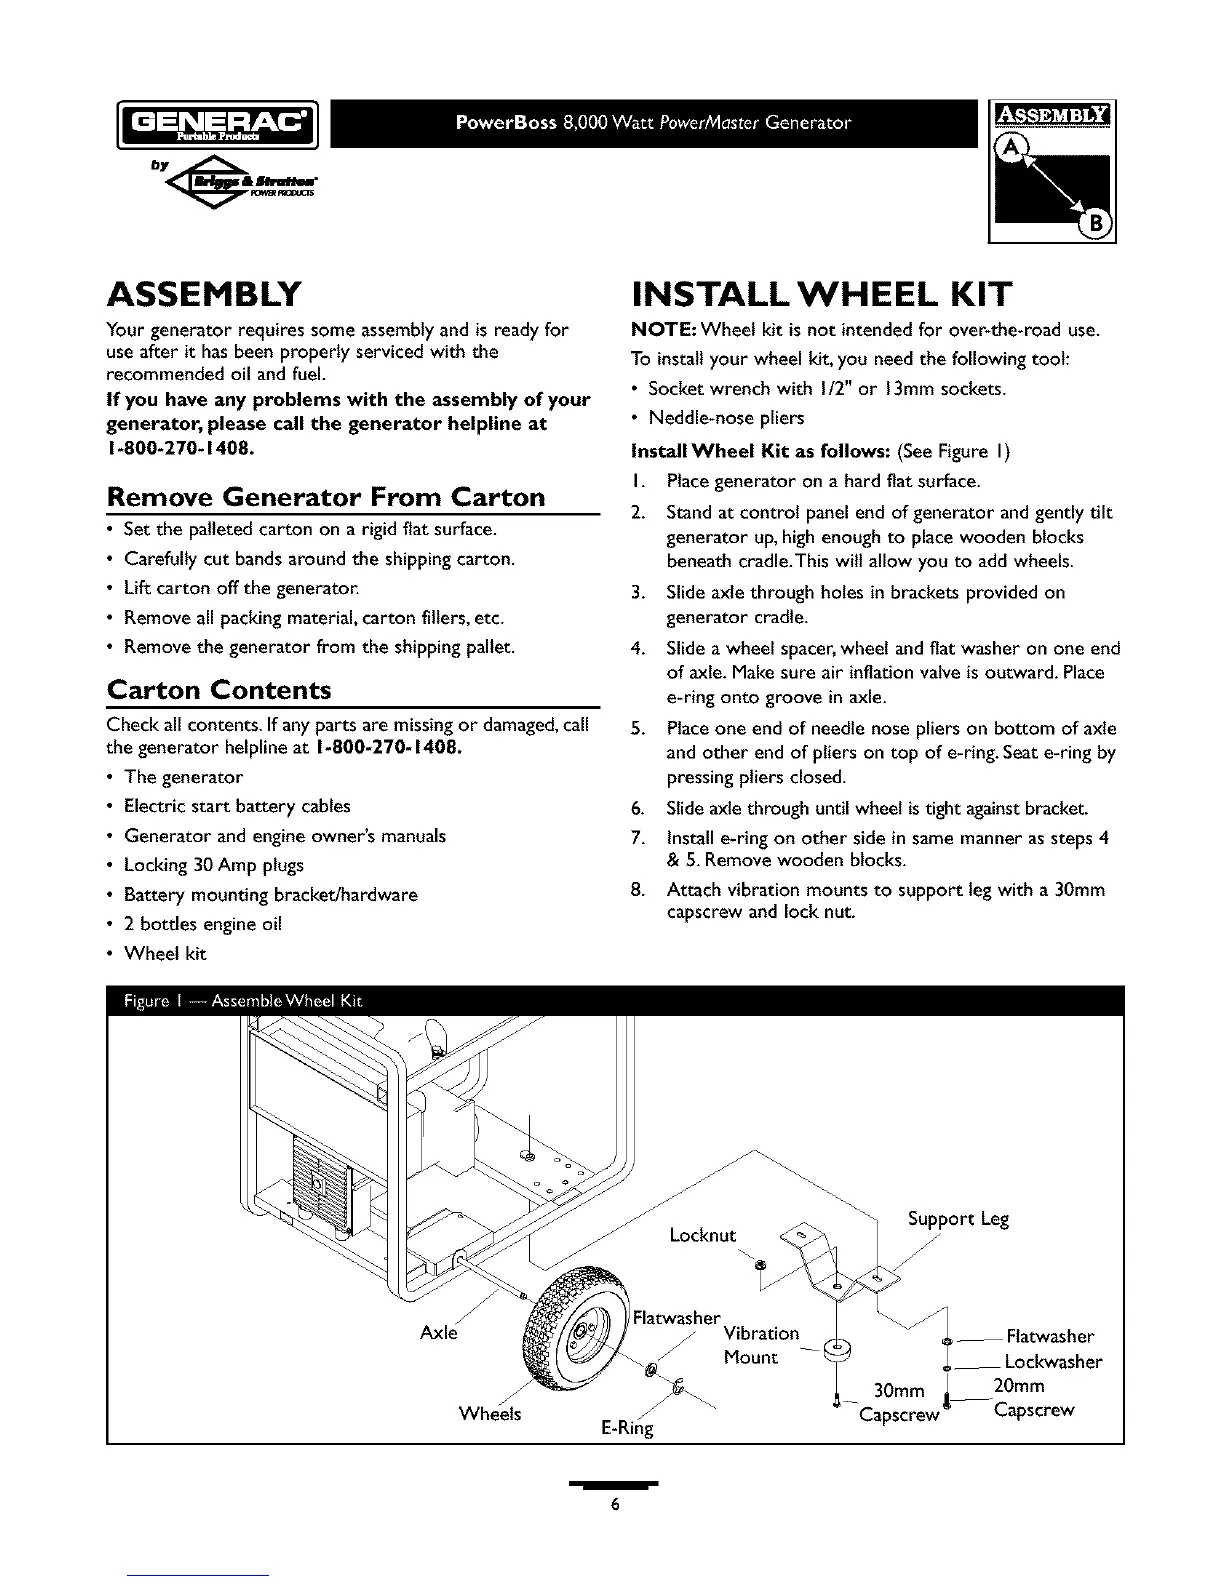
InstallWheel Kit as follows: (SeeFigure I)
I. Placegenerator on a hard flat surface.
2. Standat control panel end of generator and gently tilt
generator up,high enough to place wooden blocks
beneath cradle.This will allow you to add wheels.
3. Slide axle through holes in brackets provided on
generator cradle.
4. Slide a wheel spacer,wheel and flat washer on one end
of axle. Make sure air inflationvalve is outward. Place
e-ring onto groove in axle.
5. Placeone end of needle nose pliers on bottom of axle
and other end of pliers on top of e-ring.Seate-ring by
pressing pliers closed.
6. Slideaxle through until wheel istight againstbracket.
7. Install e-ring on other side in same manner as steps 4
& 5. Removewooden blocks.
8. Attach vibration mounts to support leg with a 30mm
capscrew and lock nut.
J
Wheels
J
Locknut
Flatwasher
/ Vibration
_ Mount --
E-Ring
,_port Leg
_-- Flatwasher
__ Lockwasher
30mm _ 20mm
-Capscrew Capscrew
/
6
 Loading...