English
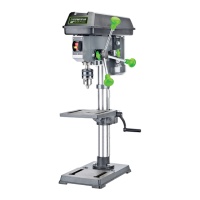
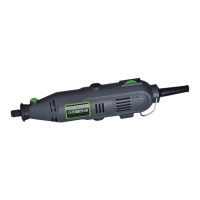
10" Drill Press
Operator’s Manual GDP1005A
12
2. Place the chuck key (I) into the side keyhole of the chuck (4), meshing the gear teeth.
3. Turn the chuck key counterclockwise to open the chuck jaws.
4. Insert a drill bit into the chuck far enough to obtain maximum gripping of the chuck jaws.
5. Center the drill bit in the chuck jaws before final tightening of the chuck.
6. Use the chuck key for the final tightening to make sure the drill bit will not slip while drilling.
To remove the bit, reverse the steps listed above.
WARNING: Make sure the chuck key is removed from the chuck before starting
any drilling operation.
APPLICATION
You may use this drill press for the following applications:
1. Drilling in wood.
2. Drilling in ceramics, plastics, fiberglass, and laminates.
3. Drilling in metals.
WARNING: Read and understand the following items about your drill press
before attempting to use it.
POSITION THE TABLE AND WORKPIECE
Always place a piece of backup material (wood, plywood, etc.) on the table underneath the workpiece This will
prevent splintering on the underside of the workpiece as the drill bit breaks through. To keep the material from
spinning out of control, it must contact the left side of the column, and be clamped to the table.
For small workpieces that cannot be clamped to the table, use a drill press vise (not included). The vise must be
clamped or bolted on the table.
WARNING: Always make sure the workpiece is not in contact with the bit
before operating the switch to start the tool. Failure to heed this warning may cause the
workpiece to be kicked back toward the operator and result in serious personal injury.
WARNING: Make sure the chuck key is removed from the chuck before
starting any drilling operation.
WARNING: Always make sure the workpiece is secured to the table by clamps
or other clamping devices.
GENERAL DRILLING INSTRUCTIONS
1. Using a clamping device, secure the workpiece to the worktable. If drilling a through hole, place a piece of
backup material (wood, plywood, etc.) on the table underneath the workpiece to prevent splintering on the
underside of the workpiece. To protect the top surface of the workpiece, use a piece of scrap wood between
the vise and the workpiece.
2 Select the proper drill bit based on the hole size desired. For large holes, drill a pilot hole first, using a smaller
size bit.
3 Select and set the recommended spindle speed.
4. Set table assembly to desired height.
5. If desired, set feed shaft at desired spindle depth. Refer to "Set Drill Depth" section.
6. Make sure the work table is free of all loose objects and the bit is not in contact with the workpiece.
7. Plug in power supply and turn switch ON. Make sure spindle rotates freely.
8. Slowly lower drill bit into workpiece. Do not force the bit; let the drill press do the work.
9. Once the hole is completed, allow the spindle to return to its normal position.
WARNING: Make sure the chuck key is removed from the chuck before
starting any drilling operation.