9
English
UNPACKING AND CONTENTS
IMPORTANT: Due to modern mass production techniques, it is unlikely the tool is
faulty or that a part is missing. If you find anything wrong, do not operate the tool until
the parts have been replaced or the fault has been rectified. Failure to do so could result
in serious personal injury.
CONTENTS IN PACKAGE
Description Q'ty Description Q'ty
UNPACKING
1. Remove all loose parts from the carton.
2. Remove the packing materials from around the saw.
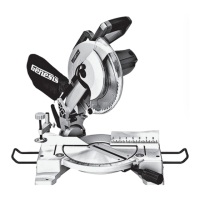
3. Using the carrying handles (5 & 8-FIG 1) carefully lift the saw from the carton and place it on a level work
surface.
4. The saw has been shipped with the saw head locked in the down position. To release the saw head push down
on the top of the saw head, pull the lock pin (24-FIG 1) outward, slowly raise the saw head.
ASSEMBLY AND ADJUSTMENTS
WARNING: DO NOT connect your compound miter saw to the power source
until the machine is completely assembled, all necessary adjustments made, and you
have read and understand the entire operator’s manual.
WARNING: Be sure that the tool is switched off and unplugged from the power
source before performing any work on the tool. Failure to unplug the saw may result in
accidental start-up, causing possible serious personal injury.
Your saw comes from the factory fully adjusted and requires only minor assembly to prepare the miter saw for
operation.
MOUNTING THE SAW
WARNING: Always make sure the miter saw is securely mounted to a workbench
or an approved miter stand. Failure to heed this warning can result in serious personal
injury.
The compound miter saw should be permanently mounted to a firm supporting surface such as workbench. Four
bolt holes have been provided in the saw base for this purpose. Each of the four mounting holes should be bolted
securely using 3/8" machine bolts, lock washers and hex nuts (not included). After securely mounting the saw,
carefully check the workbench to make sure that no movement can occur during use. If any tipping, sliding, or
walking is noted, secure the workbench to the floor before operation.
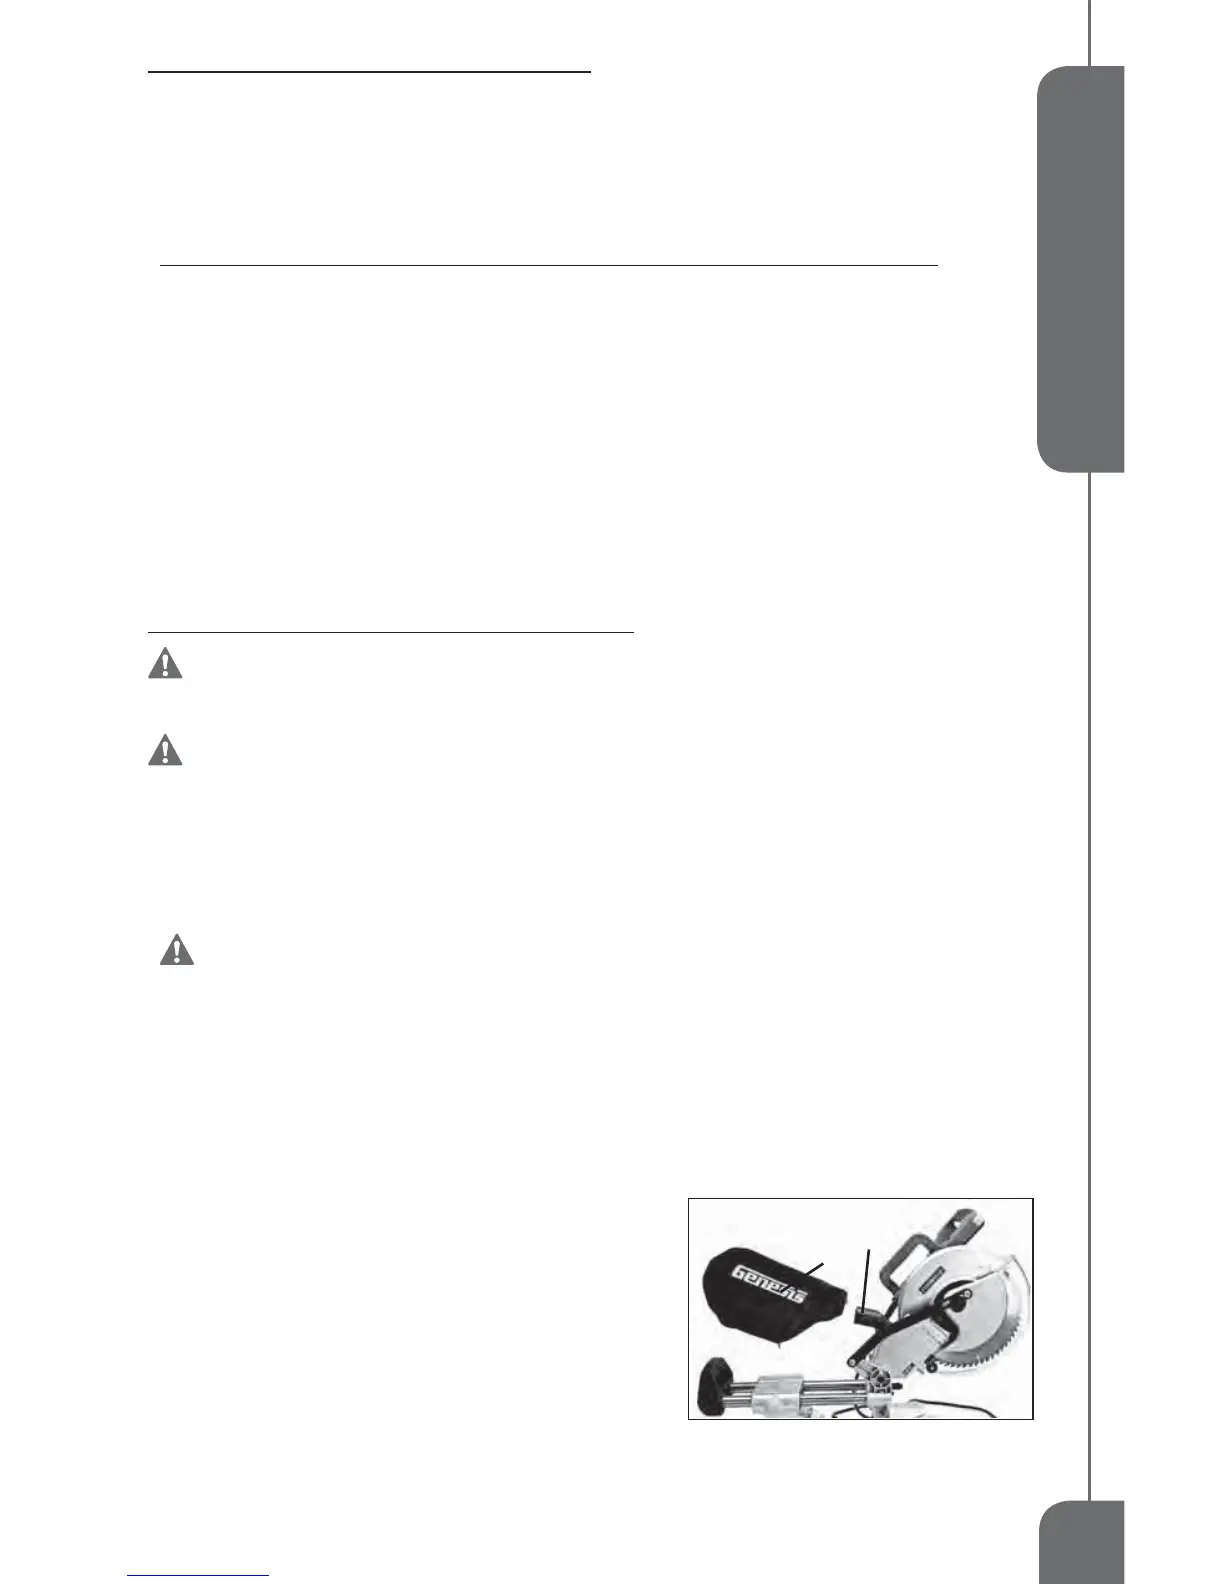
DUST PORT & DUST BAG (FIG 2)
The saw has a 1-1/2" sawdust port (1) at the rear of upper blade
guard. A dust collection system can be attached to this port to help
remove sawdust from the work area.
A dust bag (2) is provided for use with your miter saw. It can
be installed over the sawdust port. Squeeze the two metal clips
to open the mouth of the bag and slide onto the sawdust port.
Release pressure on the clips and the metal ring at the bag’s
opening should lock in the grooves of the sawdust port. To remove
the dust bag for emptying, simply reverse the above procedure.
The dust bag should be checked often and if more than half full, remove the bag by simply reversing the installation
procedure. Dispose of the accumulated saw dust in the dust bag and then reinstall the dust bag before resuming
operation of the miter saw.
FIG 2
1
2
Saw Assembly 1
Dust Bag 1
Hold Down Clamp 1
Rear Support Foot 1
Wrench 1
AAA batteries 2
Operator's Manual 1