English
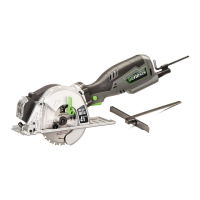
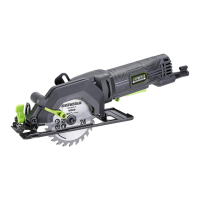
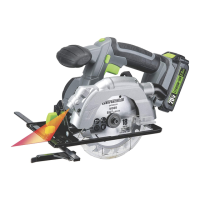
Plunge Circular Saw with Miter Base
Operator’s Manual GPCS535CK
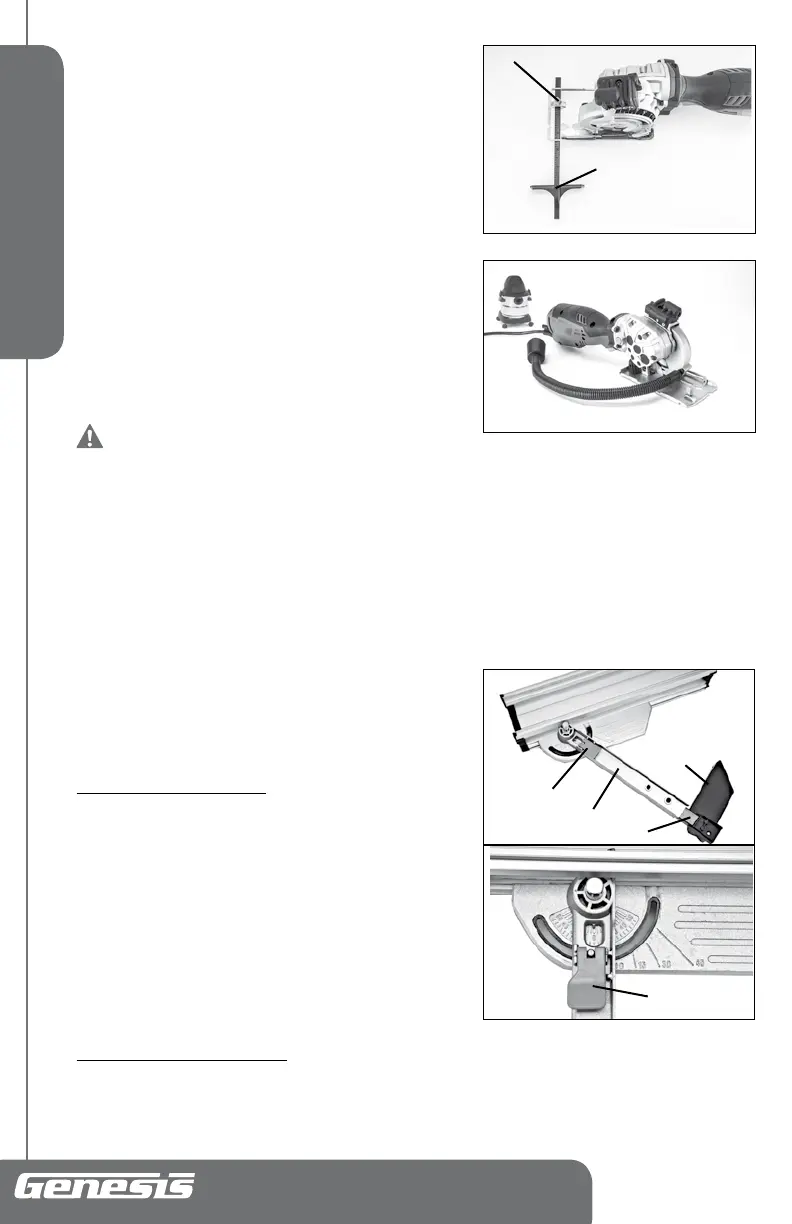
INSTALLING RIP GUIDE (FIG 6)
When cutting lumber lengthwise you are usually cutting “with” the
wood’s grain rather then across the grain. Cutting “with” the grain
of wood is called “ripping” or a rip cut. Since rip cuts tend to be
lengthy it can be difficult to accurately follow the guideline the
entire distance of the cut. To assist the operator to obtain a straight
rip cut, a straight edge can be clamped to the work piece or the
supplied rip guide can be used. To install the rip guide on your saw,
perform the following steps.
1. Unplug the tool from the power source.
2. Insert the rip guide through all three slots in the saw base at the
front of the saw, starting with slot in the right side edge of the
base. See figure 6.
3. Slide the guide through the slots until it extends out the left
side of the base.
4. Adjust the rip guide for the desired width of cut and then
securely tighten the thumbscrew (11) in the center slot to hold
the rip guide in position.
WARNING: To avoid personal injury and
damage to the workpiece, extend the rip guide
through all slots in the base.
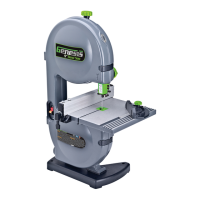
INSTALLING VACUUM ADAPTOR HOSE (FIG 7)
A vacuum adaptor hose has been supplied with the tool. When used correctly it can help remove dust, chips and
cutting debris away from the cutting area.
1. Connect the small end of the vacuum adaptor to the dust extraction port on the tool.
2. Connect the other end of the vacuum adaptor to the end of a vacuum hose.
MITER BASE ADJUSTMENTS
A miter base is included for making precise mitered cuts.
NOTE: The angle scale shows miter angles from 0° to 60° to
the left, and 0°to 60° to the right. The most common angles for
cutting operation (0°, 15°, 30° and 45°) are marked on the angle
scale.
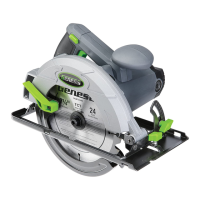
To Adjust the Cutting Angle (FIG 8, 9)
1. Release the fence locking lever (20) by pulling it up.
2. To set the miter angle, slide the fence (19) along the miter angle
scale.
3. If the desired angle is one of the most common angles for
cutting, set the right edge of the fence align scale mark to the
required degree measurement on the angle scale.
4. If the desired angle is not one of the most common angles for
cutting, set the pointer of the display scale window align scale
mark to the required degree measurement on the angle scale.
5. Push down the fence locking lever to secure the angle.
6. Insert the workpiece and secure in place with the clamp.
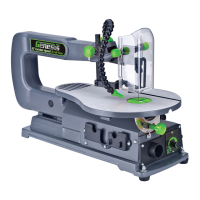
To Adjust the Extension Fence (FIG 8)
1. The fence extension (25) can be extended to suit the length of workpiece.
2. Flip the tiltable support (22) out to support longer workpiece.
FIG 6
11
RIP GUIDE
FIG 7
FIG 9
20
FIG 8
20
19
22
25