1
REGISTRO DI MANUTENZIONE / MAINTENANCE REGISTER / REGISTRE D’ENTRETIEN / REGISTRO
DE MANTENIMIENTO / WARTUNGSPROGRAMM / ONDERHOUDREGISTER
Dati impianto / System data / Données de l’installation / Datos equipo / Daten der Anlage / Gegevens
installatie
Installatore / Installer / Installateur / Instalador / Monteur /
Installateur
Cliente / Customer / Client / Cliente / Kunde / Klant
Tipo impianto / Type of system / Type d’installation / Tipo
de equipo / Art der Anlage / Type installatie
Matricola / Serial No. / N° de série / N° de serie / Serien-
nummer / Serienummer
Data installazione / Installation date / Date d’installation
/ Fecha de instalación / Installationsdatum / Datum in-
stallatie
Attivazione / Start-up / Activation / Activación / Inbetrieb-
nahme / Activering
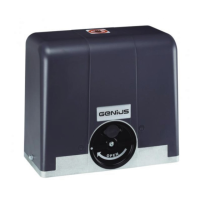
Configurazione impianto / System configuration / Configuration de l’installation / Configuración del
equipo / Konfiguration der Anlage / Configuratie installatie
COMPONENTE / PART / COMPOSANT / COMPONEN-
TE / BAUTEIL / ONDERDEEL
MODELLO / MODEL / MODÈLE / MODELO
/ MODELL / MODEL
MATRICOLA / SERIAL NUMBER / N° DE
SERIE / N° DE SERIE / SERIENNUMMER /
SERIENUMMER
Operatore / Operator / Opérateur / Operador /
Antrieb / Aandrijving
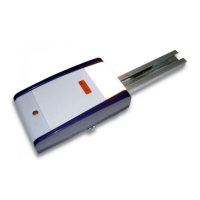
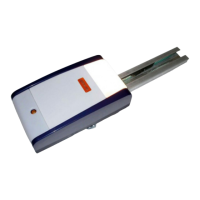
Dispositivo di sicurezza 1 / Safety device 1 / Dispositif
de sécurité 1 / Dispositivo de seguridad 1 / Sicherhei-
tsvorrichtung 1 / Veiligheidsvoorziening 1
Dispositivo di sicurezza 2 / Safety device 2 / Dispositif
de sécurité 2 / Dispositivo de seguridad 2 / Sicherhei-
tsvorrichtung 2 / Veiligheidsvoorziening 2
Coppia fotocellule 1 / Pair of photocells 1 / Paire de
photocellules 1 / Par de fotocélulas 1 / Fotozellenpaar
1 / Paar fotocellen 1
Coppia fotocellule 2 / Pair of photocells 2 / Paire de
photocellules 2 / Par de fotocélulas 2 / Fotozellenpaar
2 / Paar fotocellen 2
Dispositivo di comando 1 / Control device 1 / Dispositif
de commande 1 / Dispositivo de mando 1 / Schal-
tvorrichtung 1 / Bedieningsvoorziening 1
Dispositivo di comando 2 / Control device 2 / Dispositif
de commande 2 / Dispositivo de mando 2 / Schal-
tvorrichtung 2 / Bedieningsvoorziening 2
Radiocomando / Radio control / Radiocommande /
Radiomando / Funksteuerung / Afstandsbediening
Lampeggiante / Flashing lamp / Lampe clignotante
/ Destellador / Blinkleuchte / Signaallamp
Indicazione dei rischi residui e dell’uso improprio prevedibile / Indication of residual risks and of
foreseeable improper use / Indication des risques résiduels et de l’usage impropre prévisible / Indicación
de los riesgos residuos y del uso impropio previsible /
Angabe der Restrisiken und der voraussehbaren
unsachgemäßen Anwendung /
Aanduiding van de restrisico’s en van voorzienbaar oneigenlijk gebruik