23
Instruction manual
GB
1. Remove the water tank 3 by pressing the unlocking mechanism on the main device 1 (g. D).
2. Open the seal and ll the water tank
3 2/3 of the way (g. E, F). Attach the water tank 3 again until it locks in place (g. G).
3. Fill the water tank
3 with distilled water to prevent calcifying.
Application
ATTENTION!
Only use the device with a lled water tank.
Only use the device on suitable surfaces.
1. If necessary, unwind the power cable and insert the plug into a functional outlet.
2. The control light will blink red while the device heats up.
3. The device is ready for operation as soon as the control light is illuminated continuously in red (after approximately 30 seconds).
4. Press the ON/OFF switch to activate the steam function.
Press once – Outer LED lights up in blue – max. steam strength
Press twice – Middle LED lights up in blue – min. steam strength
Press three times – Only the red control light lights up – Device ready for operation
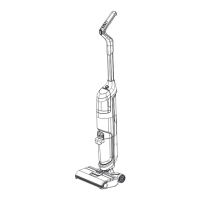
5. Place the cleaning base
4 on the oor and move it above the surface to be cleaned. The cleaning base 4 should remain in
movement while cleaning. Do not clean the same spot for a longer period of time.
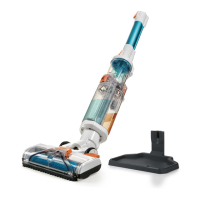
Carpet glider:
1. In order to clean carpet, place the cleaning base
4 with the microber wiper 5 in the carpet glider 6. This makes it easier to
move the cleaning base
4 over the carpet.
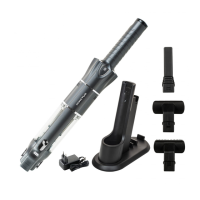
Use as hand-held device:
1. In order to use the steam cleaner as a hand-held device, remove the handle with bar
2, by pressing the unlocking button and
pulling the bar up.
2. Remove the cleaning base
4 by pressing the round button on the lower end of the main device.
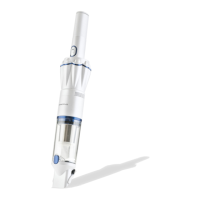
3. Place the extension hose
13 on the lower end of the main device 1 until it locks into place (g. H).
4. Plug the accessories adapter incl. nozzle 7 on the front end of the hose and rotate this counter-clockwise until it locks in place (fig. I).
5. The nozzle can be used separately and serves as an attachment for further accessories (g. J).