EasyManua.ls Logo

Genius LOOK 315FS User Manual

Genius LOOK 315FS
20 pages
To Next Page IconTo Next Page
Page #1 background imageLoading...
Page #1 background image
English
-1- www.geniusnet.com
1. Please install the driver first and then connect Look 315FS
to the USB port.
2. Installing the Look 315FS driver
Windows Environment
a. Insert the Look 315FS Installation CD into the CD-ROM drive.
b. The Autorun screen will bring up the installation screen. Click on
Driver” then simply follow the on-screen instructions.
c. Install “DirectX” from the CD.
Notice: If the Autorun screen doesn’t start, please follow these
steps:
z Click on “Start Menu”.
z Type D\SETUP.EXE , then click “Enter” key.
1
SnapShot Button
You can press the snapshot button to
take the images.
2
LED Indicator
When the Look 315FS connects to the
3
Lens
Adjust the focus by twisting the lens.
4
Swivel Base
You can move forward and backward to
adjust the position
Look 315FS Features
Installing the Look 315FS
Question and Answer IconNeed help?

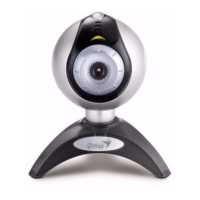
Do you have a question about the Genius LOOK 315FS and is the answer not in the manual?

Genius LOOK 315FS Specifications

General IconGeneral
Resolution640 x 480
Frame Rate30 fps
InterfaceUSB 2.0
MicrophoneBuilt-in
SensorCMOS
Focus TypeManual
Cable Length1.5 meters
CompatibilityWindows XP, Vista, 7

Summary

Installing the Look 315FS

Windows Driver Installation

Steps for installing the Look 315FS driver on Windows via CD-ROM.

Mac Driver Installation

Instructions for installing the Look 315FS driver on Mac OS X via CD-ROM.

Genius Application

Camera Control Settings

Personalize camera settings like brightness, contrast, and image flip.

Video Clip Mode

Record real-time images and convert AVI files into MPEG-1 format.

Security Monitoring System

Records movements automatically and can record until the HD is full.

DDPlayCam Software

Installing DDPlayCam Software

Steps to install the DDPlayCam software from the Installation CD.

Select Paper Size and Layout

Choose paper size (A4, 4*6, 3*5) and layout templates for printing.

Choose and Load Photos

Select and load captured photos into the chosen layout template.

Add, Delete, and Save Photos

Add, delete, and save photos within the layout template.
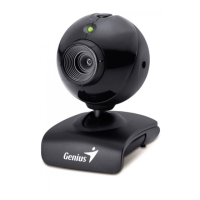
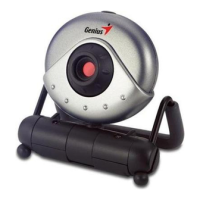
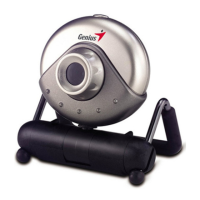
Related product manuals