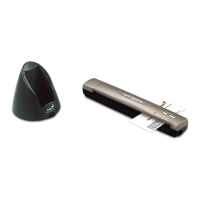
Chapter V. The Scanner Software
The Image Editor - MGI
Photo Suite SE
Image-editing is used to enhance, correct and
process your images. With your new scanner and your
image-editing software, you will begin to explore a
new world of editing using colors, paint techniques
and special effects.
Opening the Program
To open the image editor, simply left-click on the
image editor icon in the ScanManager window.
Alternatively, the image editor is also located in the
START menu for Windows 95/98, Windows NT4.0
WorkStation.
Acquiring an Image from the
Scanner
When you left-click on the image editor button
in the ScanManager window, the TWAIN program
will automatically be launched. If you wish to scan
another image:
1. Under the FILE menu, select ACQUIRE (scan).
The TWAIN dialog box will open (see the chapter
on TWAIN for information).
2. Select an image mode: Color Photo, B/W Photo,
or Text.
3. Select the image resolution (DPI).
4. Click PRESCAN. The scanner will scan and
display a preview image.
5. Adjust the brightness and contrast by using the
slide adjustments (Contrast not used for black and
white).
6. After a satisfactory Prescan, select SCAN to scan
the image.
7. To finish processing the image and view it within
the application, close the TWAIN dialog box by
clicking CANCEL.
 Loading...