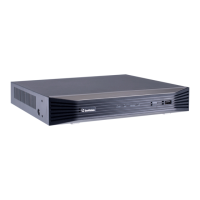
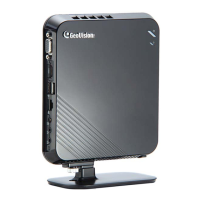
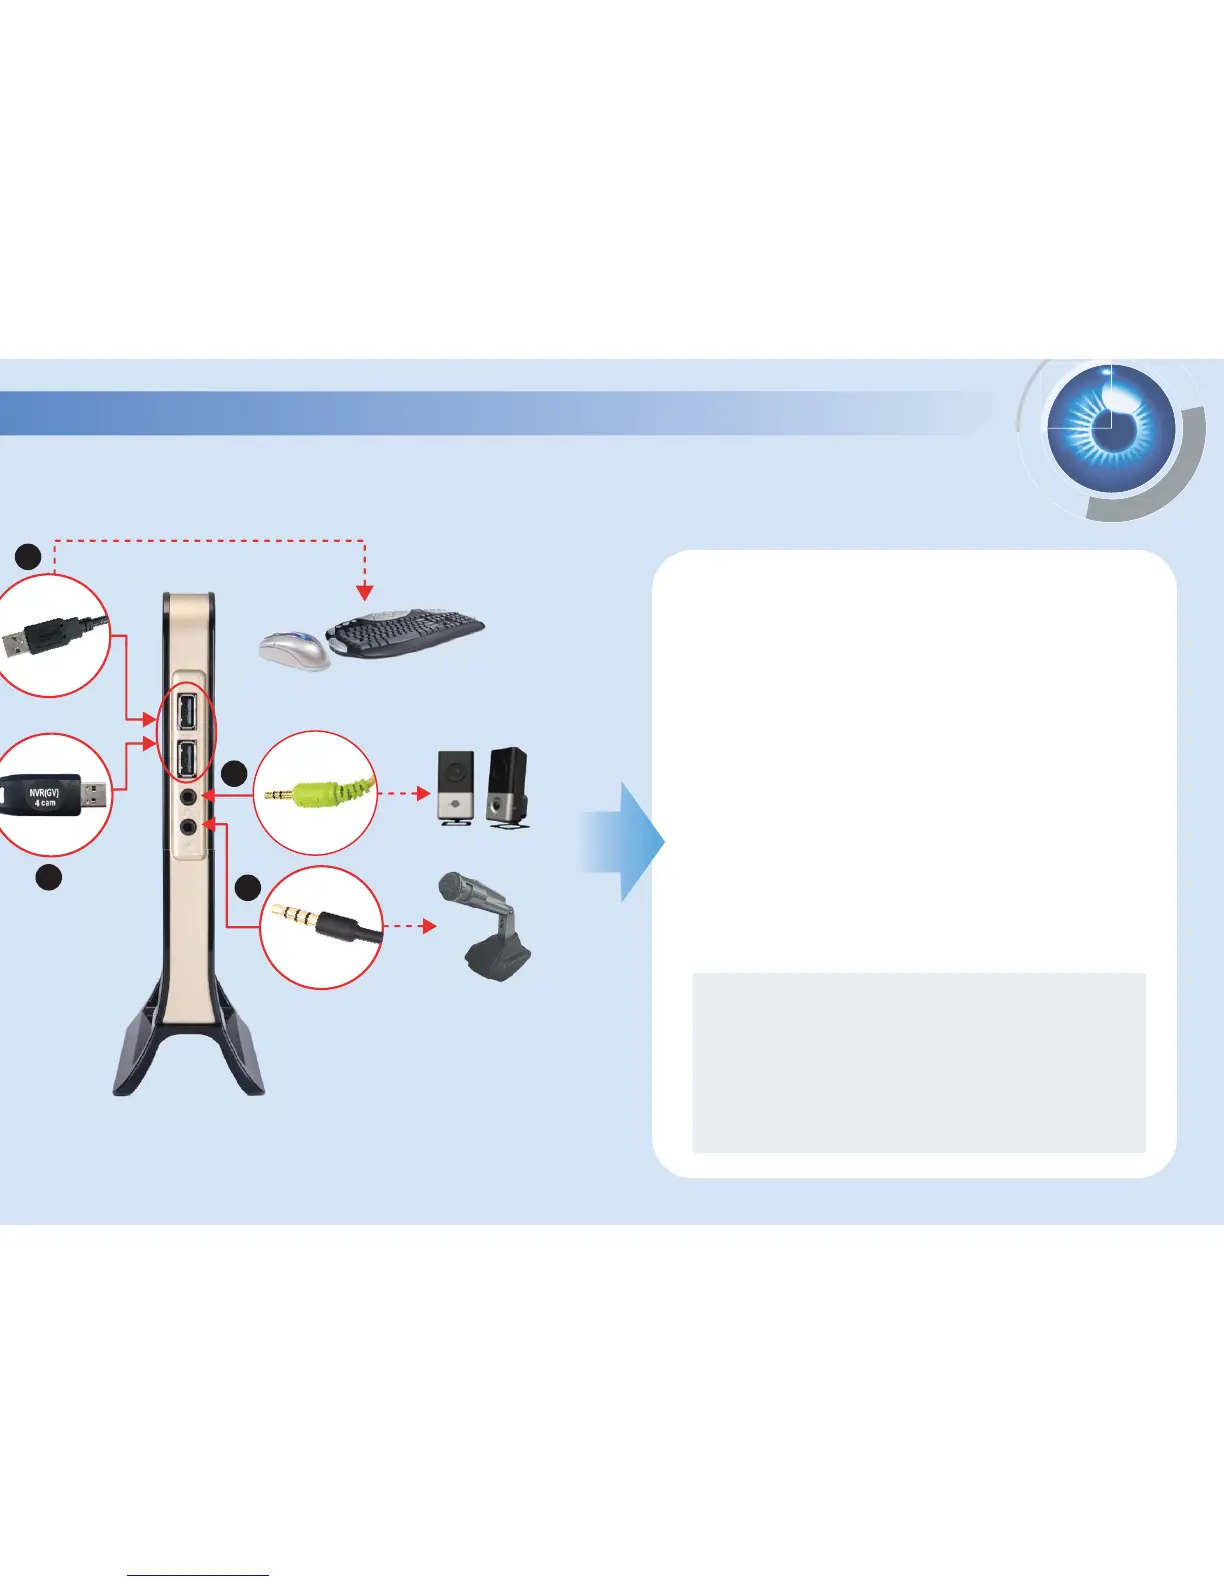
1. Connect the speakers to the unit.
2. Connect the microphone to the unit.
3. Using the USB cables, connect a keyboard and a mouse to
the unit.
4. Connect the GV-USB Dongle to the unit.
5. Using the DVI cable, connect the computer monitor to the
unit.
6. Using the RJ-45 cable, connect a switch or a hub to the unit.
7. Connect the GV-IPCAM H.264 and the unit to the network or
Internet. See 4 Basic Configuration later in this Quick Guide.
8. Using the supplied power adapter and power cord, connect
the unit to the power outlet.
The power of the GV-NVR System Lite will be automatically turn on
once the GV-NVR System Lite is connected to the power outlet.
Right Side
4
3
1
2
Note:
1. The monitor you use must be capable of having a screen
resolution of 1280 x 1024 and display color of 32 bits.
2. The GV-NVR System Lite and the GV-IPCAM H.264 have the
default IP addresses. The automatic connection between
GV-NVR System Lite and GV-IPCAM H.264 only works when
they are using the default IP addresses. For details on default
IP addresses, see Installing GV-IPCAM H.264 later in this
Quick Guide.
 Loading...