2. Select
the COM port that is connected to the reader and click Open COM. The seria
number and firmware version of the reader will be automatically detected. The red s
next to
3. Under
l
quare
the COM port box should change to blue to indicate the COM port is correct.
Master / Slave, set the reader to Slave.
If you want to connect multiple readers to the GV-System, you need to set up a unique ID
number for each reader. For this you need to connect each reader to the computer one
reader at a time, and follow the instructions above to set up an ID number.
4. Select an ID number for the reader. The ID number ranges from 0 to 7.
5. Click Setup. The settings are sent to the reader.
Note:
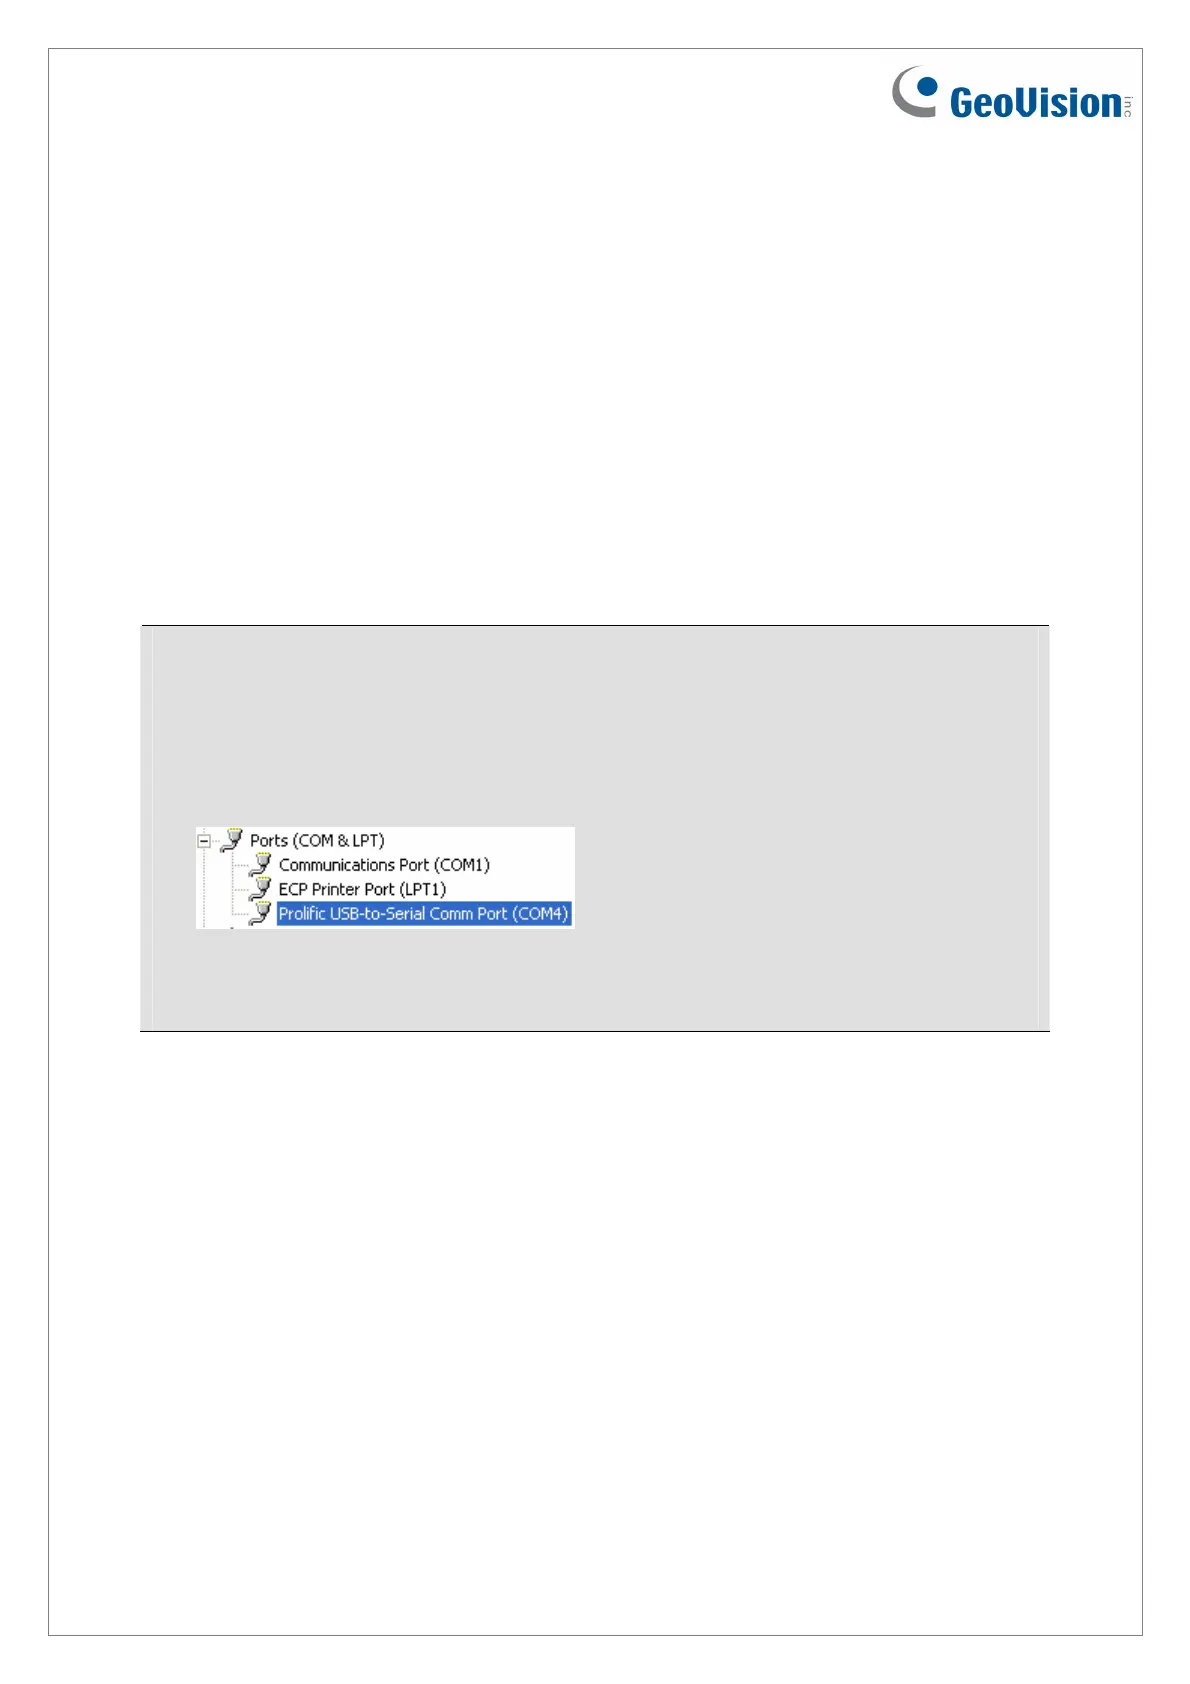
1. If the COM port is incorrect, an “Error opening serial port” message will appear. To
verify the COM port that is connected to the reader, go to Windows Device Manager. In
the Ports (COM & LPT) field, you should see the entry for Prolific USB-to-Serial
Comm Port and the COM number currently in use.
2. If you are using an older version of the Config AP, you will have to manually type the
serial number of the reader. The serial number is on the rear panel of the reader.
December
31, 2014
10

 Loading...