1
Getting Started
Unpacking
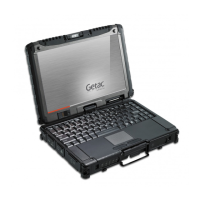
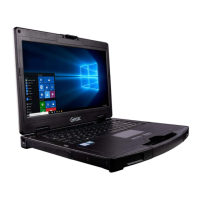
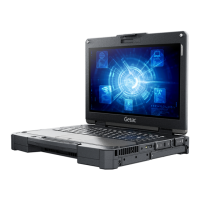
Notebook computer
Battery pack
4
Driver disc*
* Optional
Installing the Battery Packs
The computer has four battery compartments
(
,
,
, and
) for four battery
packs; each is installed in the same way.
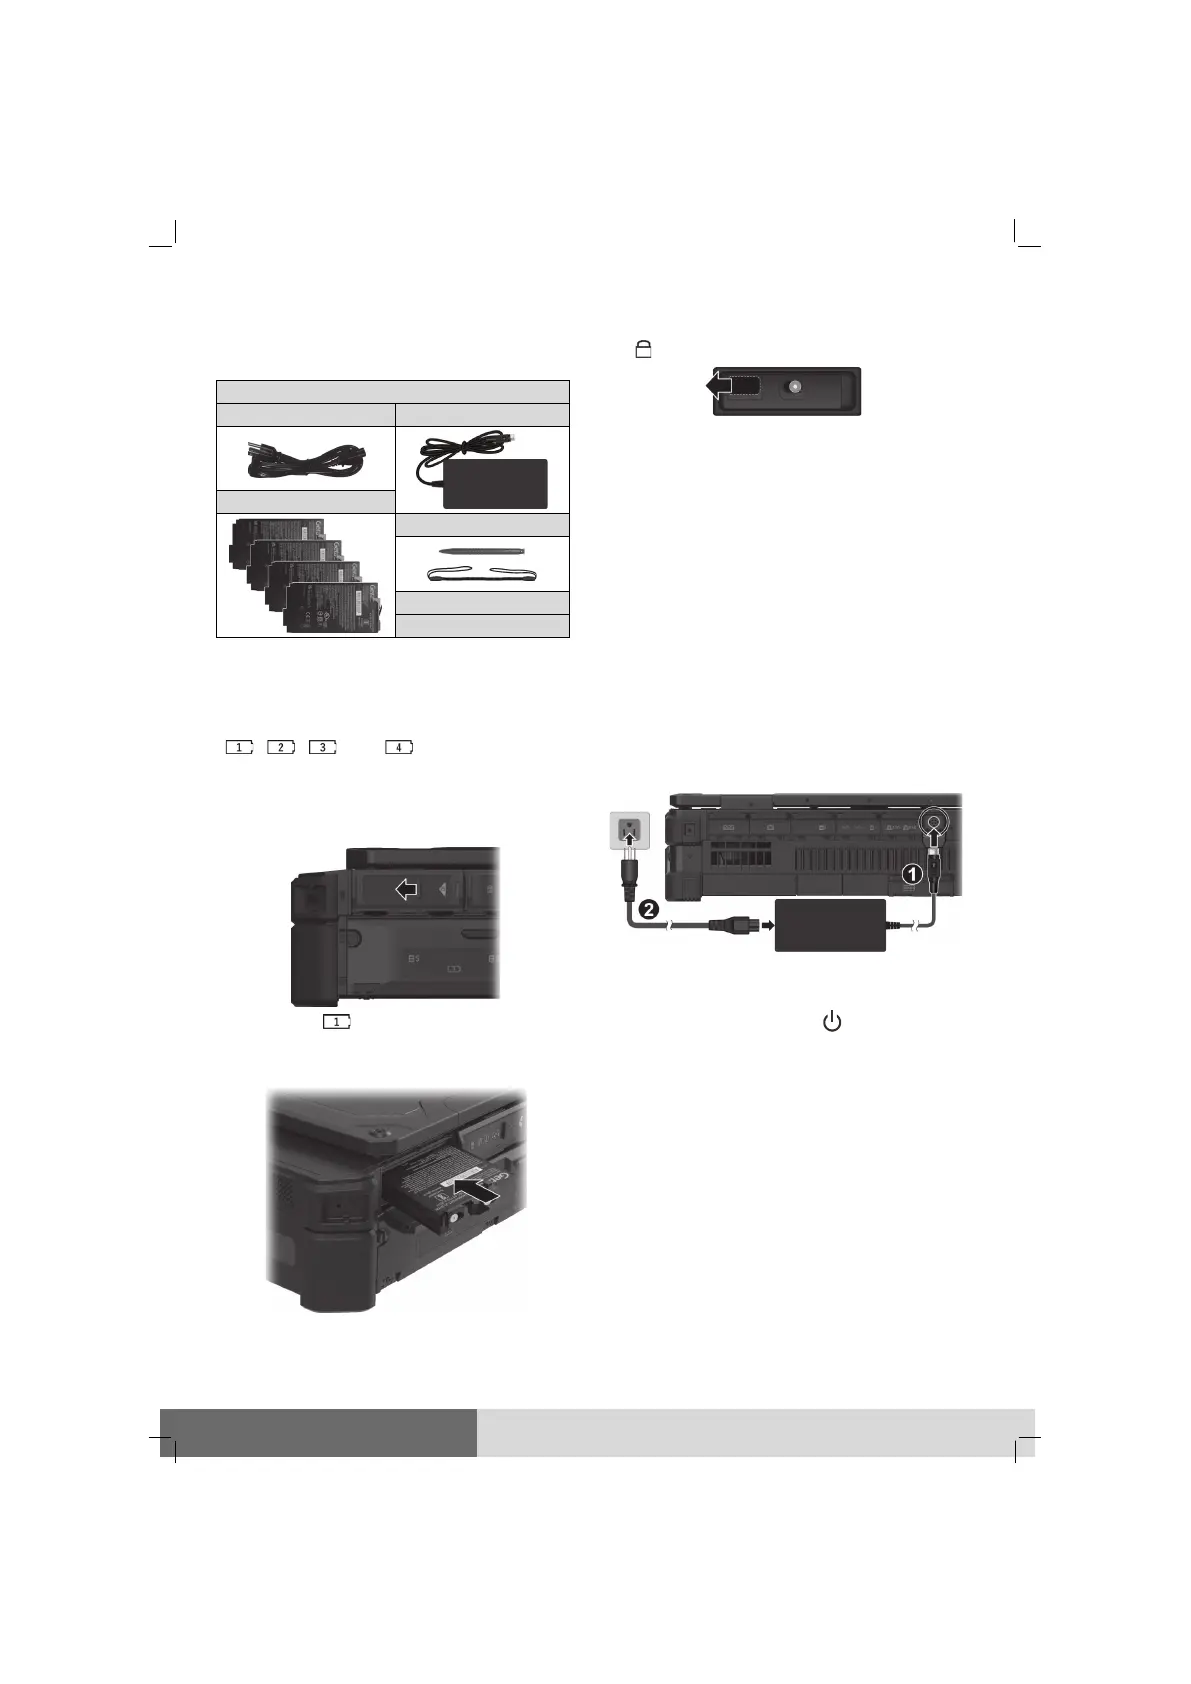
1. Slide the protective cover toward the
unlocked position. Then, flip open the
cover.
(
as the example)
2. Noting the orientation, insert the battery
pack all the way into the compartment.
3. Use the ribbon strip to pull the battery’s
locking latch toward the locked position
( ). The latch should click into place.
4. Close the cover and slide it toward the
locked position.
5. Proceed with the other battery packs.
CAUTION: Make sure the cover is correctly
locked, not revealing the underneath red
part.
Connecting to AC Power and
Starting Up
The first time you use your computer, connect
the AC adapter.
1. Plug the DC cord of the AC adapter to the
power connector of the computer (
).
2. Plug the female end of the AC power cord
to the AC adapter and the male end to an
electrical outlet (
).
3. Open the top cover by pulling the cover
latch and lifting up the cover.
4. Press the power button ( ) to start up.
5. The Windows operating system should start.
When turning on your computer for the
very first time, you will be guided through
a setup process. Follow the onscreen
instructions to complete.
NOTE: Do not expose your skin to the com-
puter when operating it in a very hot or cold
environment.