System Hardware Installation
- 27 -
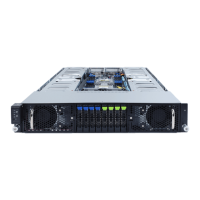
3-2 Removing and Installing the GPU Tray
Before you remove or install the GPU tray:
• Make sure the system is not turned on or connected to AC power.
Follow these instructions to remove/install the GPU tray:
1. Loosen the top thumbnail screw securing the handles on both sides of the system.
2. Pull the grip handles on both sides of the system slide the tray to the front of the system at the
same time to pull out the tray.
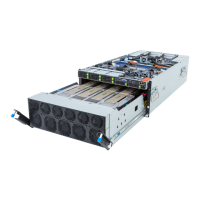
3. Slide the white latch on both sides of the tray rail and carefully remove the GPU tray.
4. To reinstall the GPU tray, align it with the rails on both sides and push the blue latches on each side
of the tray rail backward to slide it into the system. Then, reverse steps 1-2 to secure the GPU tray
in position.
System in the cabinet
1. Loosen the thumbnail screws securing the handles on both sides of the system.
2. Pull the grip handles on both sides of the system slide the tray to the front of the system at the
same time to remove the tray.
3. Follow steps 1-2 in reverse order to re-install the GPU tray.
3
3
1
1
2
4
4
1
1
1
1
2
 Loading...