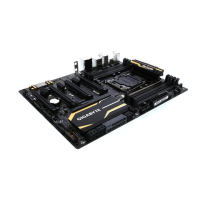
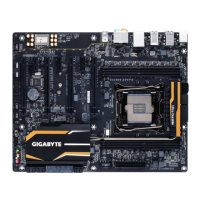
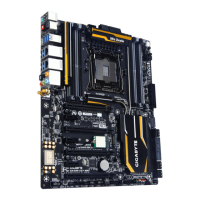
6) SATA3 0/1/2/3/4/5 (SATA 6Gb/s Connectors)
The SATA connectors conform to SATA 6Gb/s standard and are compatible with SATA 3Gb/s and SATA
1.5Gb/s standard. Each SATA connector supports a single SATA device. The Intel
®
ChipsetsupportsRAID0,
RAID1,RAID5,andRAID10.RefertoChapter3,"ConguringaRAIDSet,"forinstructionsonconguring
aRAIDarray.
To enable hot-plugging for the SATA ports, refer to Chapter 2, "BIOS
Setup,""Peripherals\SATAConguration,"formoreinformation.
Pin No. Denition
1 GND
2 TXP
3 TXN
4 GND
5 RXN
6 RXP
7 GND
5) SATA EXPRESS (SATA Express Connector)
The SATA Express connector supports a single SATA Express device.
7) M2F_32G (M.2 Socket 3 Connector)
TheM.2connectorsupportsM.2SATASSDsandM.2PCIeSSDs.ItcansupportSATARAIDconguration
through the Intel
®
Chipset.PleasenotethatanM.2PCIeSSDcannotbeusedtocreateaRAIDsetwith
SATAdrive(s).RefertoChapter3,"ConguringaRAIDSet,"forinstructionsonconguringaRAIDarray.
Step 1:
Use a screw driver to unfasten the screw and nut from the motherboard. Locate the proper mounting hole
fortheM.2SSDtobeinstalledandthenscrewthenutrst.
Step 2:
SlidetheM.2SSDintotheconnectoratanangle.
Step 3:
PresstheM.2SSDdownandthensecureitwiththescrew.
OnthemotherboardtherearethreelengthadjustmentholesfortheM.2SSD.Selecttheproper
holefortheM.2SSDtobeinstalledandrefastenthescrewandnut.
FollowthestepsbelowtocorrectlyinstallanM.2SSDintheM.2connector.
80F 60F 42F
7
7
1
SATA3
5 3 1
4 2 0
1
- 14 -
 Loading...
