- 36 -Hardware Installation
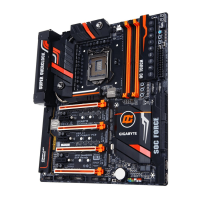
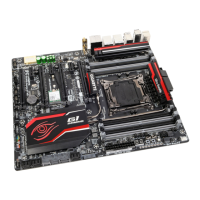
19) SUBZ (Temp Sensor Ports)
YoucanconnectaKprobecable(boughtseparately)totheportstomeasuresystemtemperature.Youcan
seethedetectedtemperatureinBIOSsetup(refertoChapter2,"BIOSSetup,""M.I.T.\PCHealthStatus,"
formoreinformation).
20) CLR_CMOS (Clear CMOS Jumper)
UsethisjumpertocleartheBIOScongurationandresettheCMOSvaluestofactorydefaults.Toclear
the CMOS values, use a metal object like a screwdriver to touch the two pins for a few seconds.
• Always turn off your computer and unplug the power cord from the power outlet before clearing
the CMOS values.
• Aftersystemrestart,gotoBIOSSetuptoloadfactorydefaults(selectLoadOptimizedDefaults)or
manuallyconguretheBIOSsettings(refertoChapter2,"BIOSSetup,"forBIOScongurations).
Open: Normal
Short: Clear CMOS Values
F_USB30
F_U
B_
F_ F_
_
B
BS_
B
SB_
B
_S
S_
_
B
_U
_
B
S
123
123
123
123
1
1
1
1
BSS
S
_S
SSU
1 2 3 4 5
S3
BSSS
U
__ 3
F_USB3F
S _
S _
S _
SF
B_
F
_0
S
S
_0F
_F
Temp Sensor Port 2
Temp Sensor Port 1
 Loading...