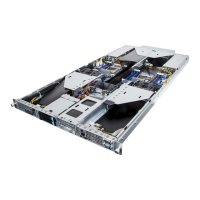
- 31 - System Hardware Installation
3-5 Installing the CPU and Heat Sink
Follow these instructions to install the CPU:
1. Aligntheprocessortothecarriersothatthegoldtriangleontheprocessoraligns
withthetriangleonthecarrier,andtheninstalltheprocessorintothecarrier.
NOTE: ApplythermalcompoundevenlyonthetopoftheCPU.
2. Carefully flip the heatsinkover.Align thecarrier assembly so that thetriangle
onthecarrieralignswiththetriangleontheheatsink,andtheninstallthecarrier
assemblyontothebottomoftheheatsink.
3. RemovetheCPUsocketcover.
NOTE: SaveandreplacetheCPUsocketcoveriftheprocessorisremovedfrom
itssocket.
4. AligntheheatsinktotheCPUsocketusingtheguidepinsandmakesurethegold
triangleisinthe correct orientation.Then placetheheatsinkontothetop of the
CPUsocket.
5. Securetheheatsinkbytighteningthescrewsinsequentialorder(1
g
2
g
3
g
4).
NOTE: Whenremovingtheheatsink,loosenthescrewsinreverseorder
(4
g
3
g
2
g
1).
1
2
Read the following guidelines before you begin to install the CPU:
• Make sure that the motherboard supports the CPU.
• Always turn off the computer and unplug the power cord from the power outlet before installing
the CPU to prevent hardware damage.
• Unplug all cables from the power outlets.
• Disconnect all telecommunication cables from their ports.
• Place the system unit on a at and stable surface.
• Open the system according to the instructions.
WARNING!
Failure to properly turn off the server before you start installing components may cause serious
damage. Do not attempt the procedures described in the following sections unless you are a
qualied service technician.
 Loading...