- 35 - System Hardware Installation
3-7 Replacing the Fan Assembly
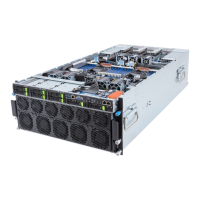
Follow these instructions to replace a fan assembly:
For Top Compartment Fans
1. Grasp the fan assembly from the left and right side and then push the release buttons while lifting
up the fan assembly from the chassis.
2. Reverse the previous steps to install the replacement fan assembly.
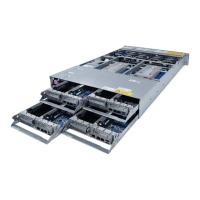
For Bottom Compartment Fans
1. Remove the 4 screws on the right chassis.
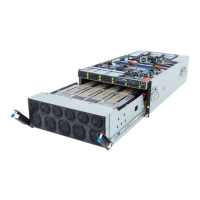
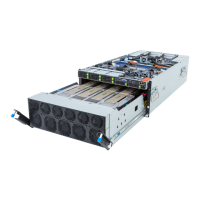
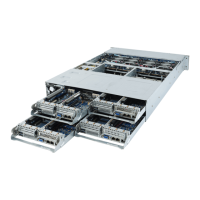
2. Use the release levers on the left and right side of the top compartment to pull the top compartment
outwards.
3. Grasp the fan assembly from the left and right side and then push the release buttons while lifting
up the fan assembly from the chassis.
4. Reverse the previous steps to install the replacement fan assembly.
1
 Loading...
