6
Walk Test
The walk test iterates through the following adjustments until the correct area is
covered.
Tip: The field of view of the mini Opal is affected by the cover. Always perform the walk
test with the cover fitted removing the cover each time you need to make adjustments.
1) Adjust the aim of the sensor, loosen the top and side plastic wing-nuts and swivel
the bracket. Tighten the wing-nuts again and replace the cover.
2) Configure the field of view by blanking lens areas as necessary.
You may want to blank parts of the field using the vertical curtains or by cutting the
foil sticker to size. Apply the sticker to the smooth, rear side of the lens.
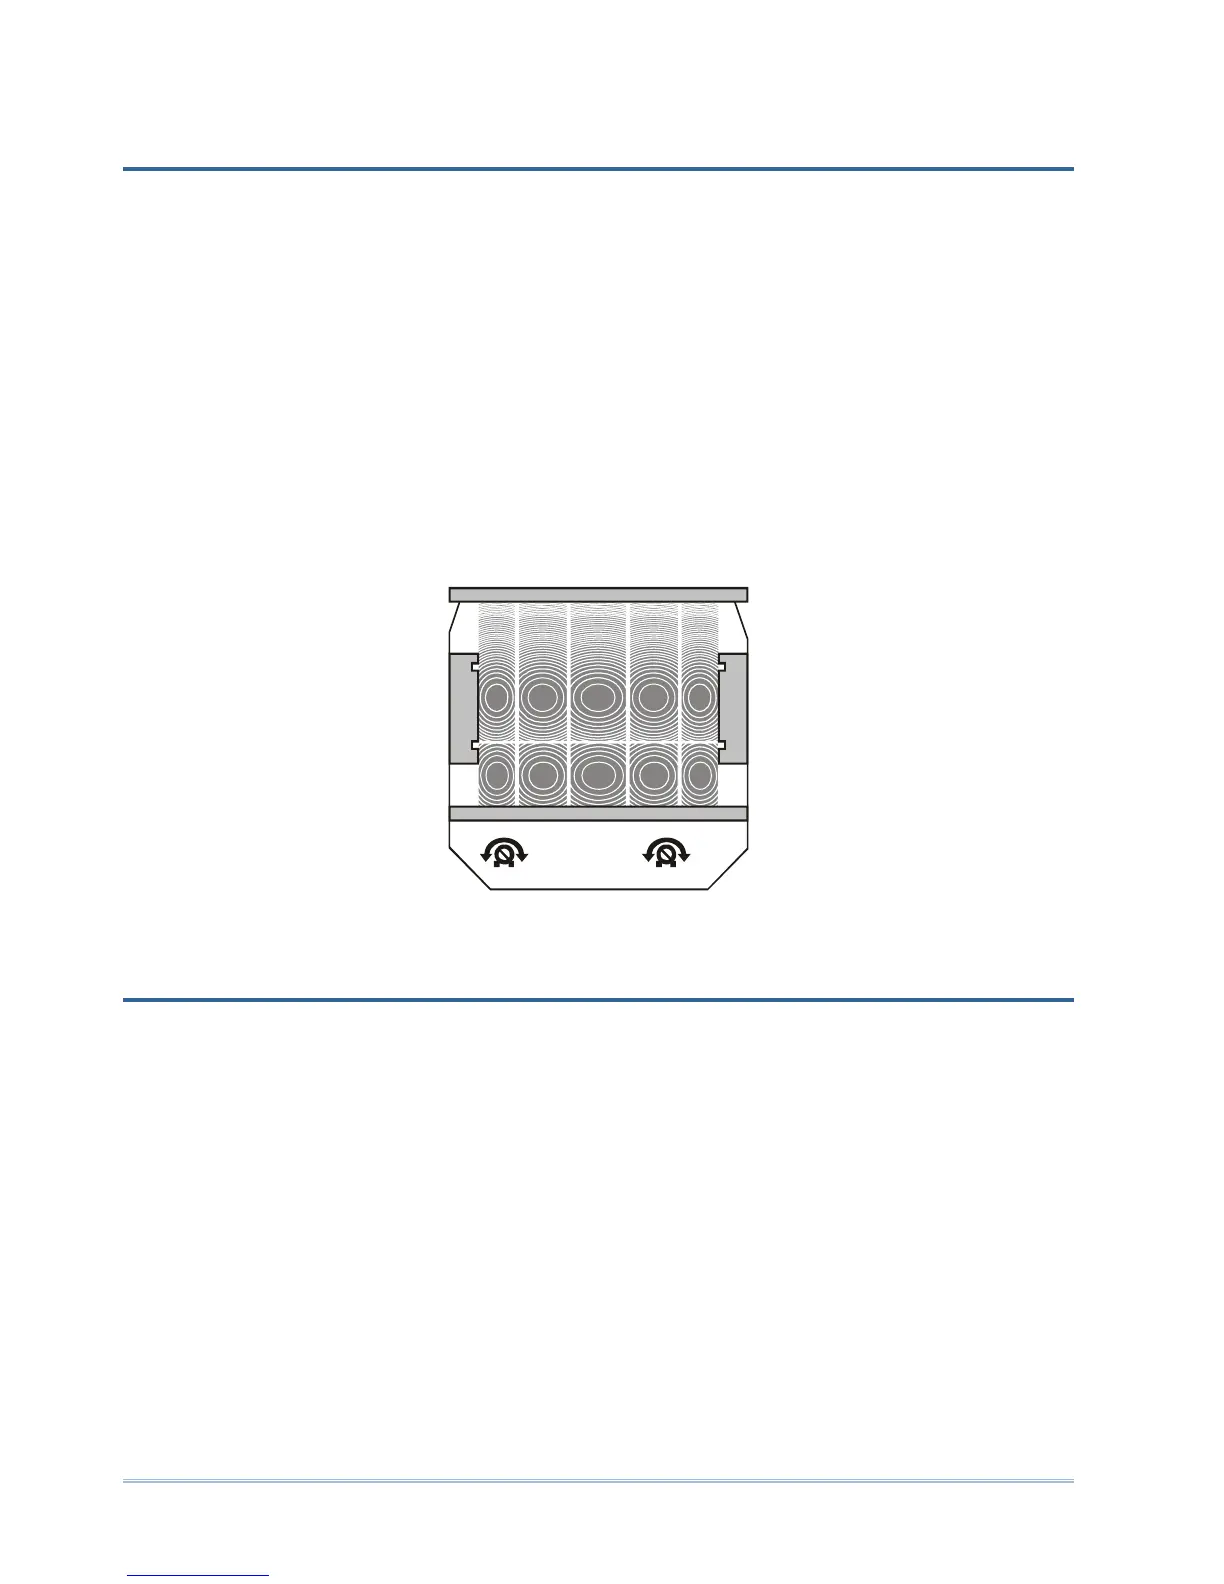
3) Adjust the range between 9 and 30 metres using the PCB mounted pot.
9
5 lux
30m
24hr
Figure 10: Range and lux potentiometers
Dusk Adjustment
Adjust the lux level for the day-night setting using the lux PCB mounted pot.
The S output is factory set to start operating at dusk. That is, when the light level falls
below 5 lux. If the ambient night-time light levels are higher than 5 lux then the S output
will remain inactive and your lights will not turn on.
If the light level in your installation is above 5 lux at night (lights do not operate),
increase the light level at which the S output starts to operate, by turning the lux pot
clockwise towards 24HR.
To set the S output to detect continuously, day or night, independent of light level,
turn the lux pot all the way to maximum, marked 24HR.
 Loading...