“Global Pool Products is committed to engineering and manufacturing world class products in the pool industry”
Global Pool Products
1330 Pigeon Rd
Bad Axe, MI 48413 Information contained in this document is proprietary and confidential to
P: 989-269-5900 - TF: 866-712-0606 Global Pool Products and not to be reproduced without
Fax: 989-269-5902 written consent from Global Pool Products.
www.global-poolproducts.com
Page | 17
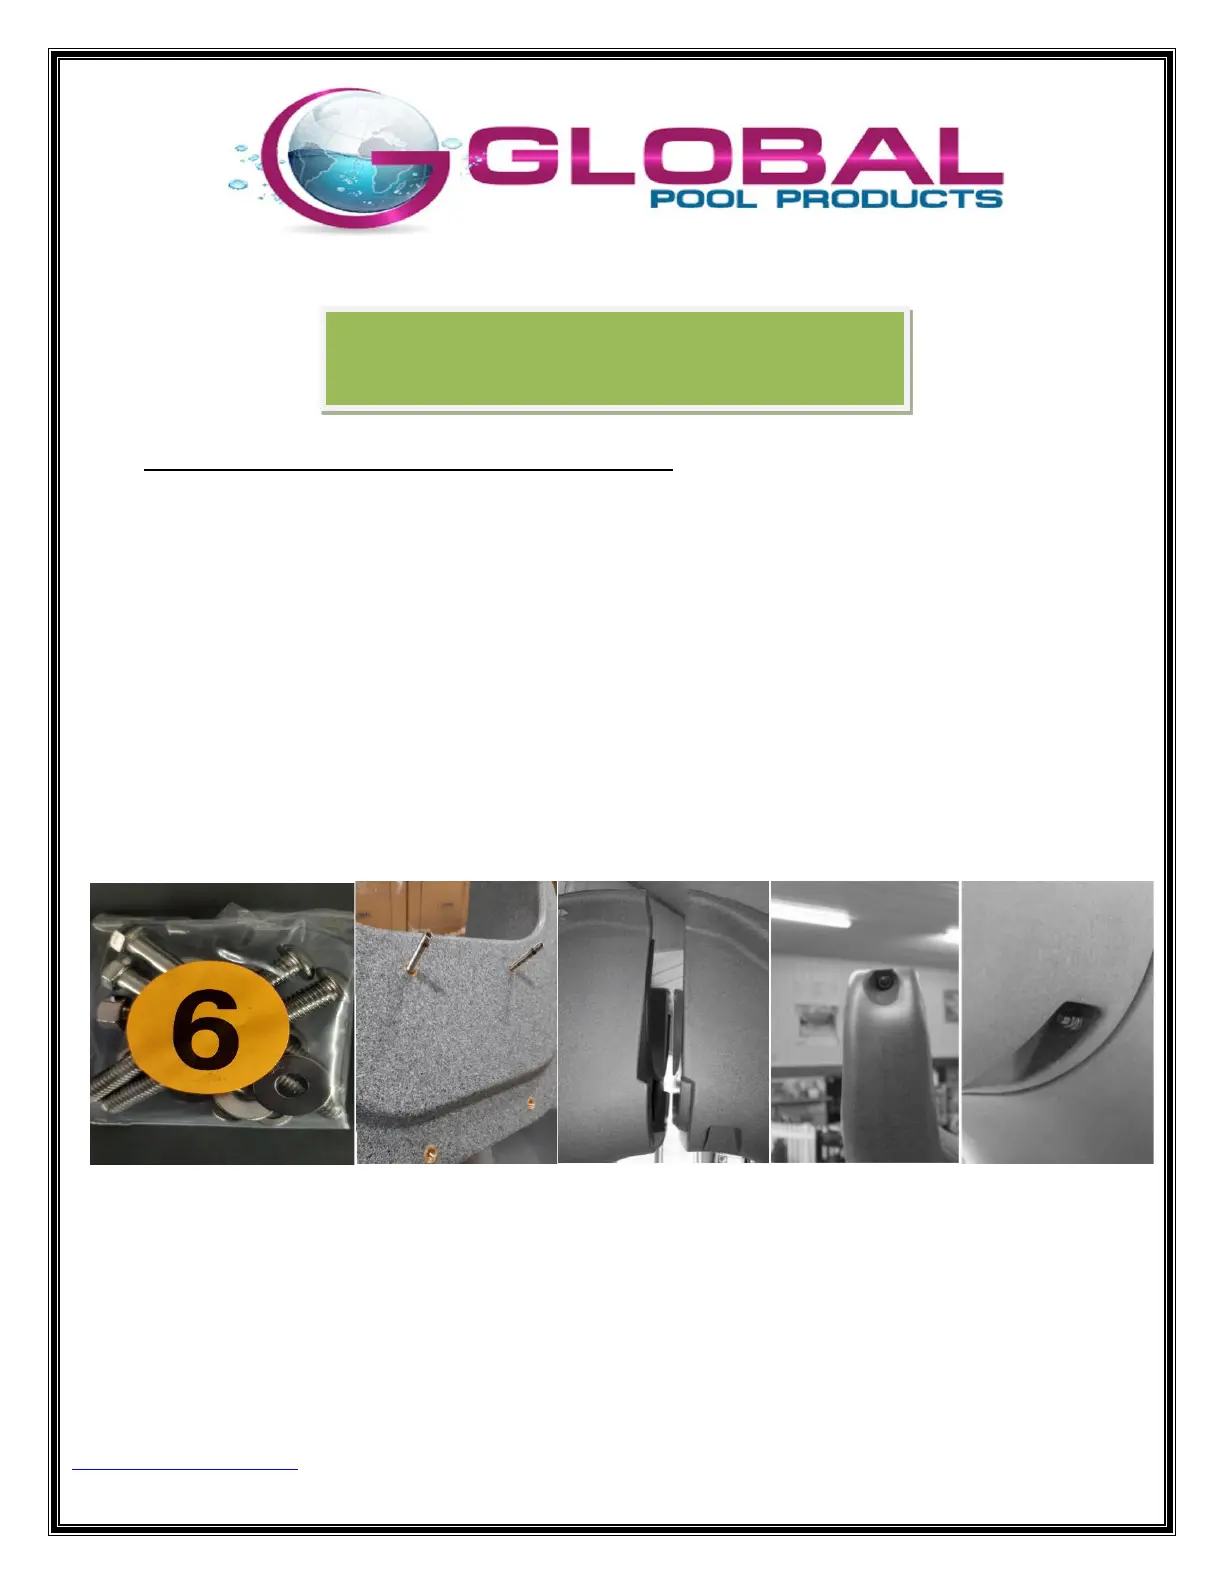
Attaching the ladder to the flume assemblies
a. From bag six in the hardware kit, use two 3” studs and install them into the upper flume, tighten
them using a 3/16” Allen Wrench
b. Connect the flumes to the ladder, guide the studs into the through bolt holes on the upper
ladder
c. From bag six in the hardware kit, use two 3 ¾” inch hex bolts, each with one flat washer, insert
them into the lower connection points on the ladder side, secure them on the flume side with a
flat washer, then a lock washer, and lastly a hex nut
d. From bag eight in the hardware kit, use two 3 ½” button head bolts, each with one flat washer,
insert them into the upper connection points on the flume side, secure them on the ladder side
with a flat washer, then a locker washer, and lastly a hex nut
e. DO NOT FULLY TIGHTEN ANY OF THE BOLTS IN STEP 6