Make Sure the Handle is in Front. Check that the handle’s in the front, and the wide black part
is in the back, just like the picture. Otherwise, you’ll have mysterious printing problems, and feel
silly when we ask you if your tray is in backwards.
Close the Front Door
Snap in the Printer Head
Never connect or disconnect the printer head while the Glowforge is plugged in or you might
break something.
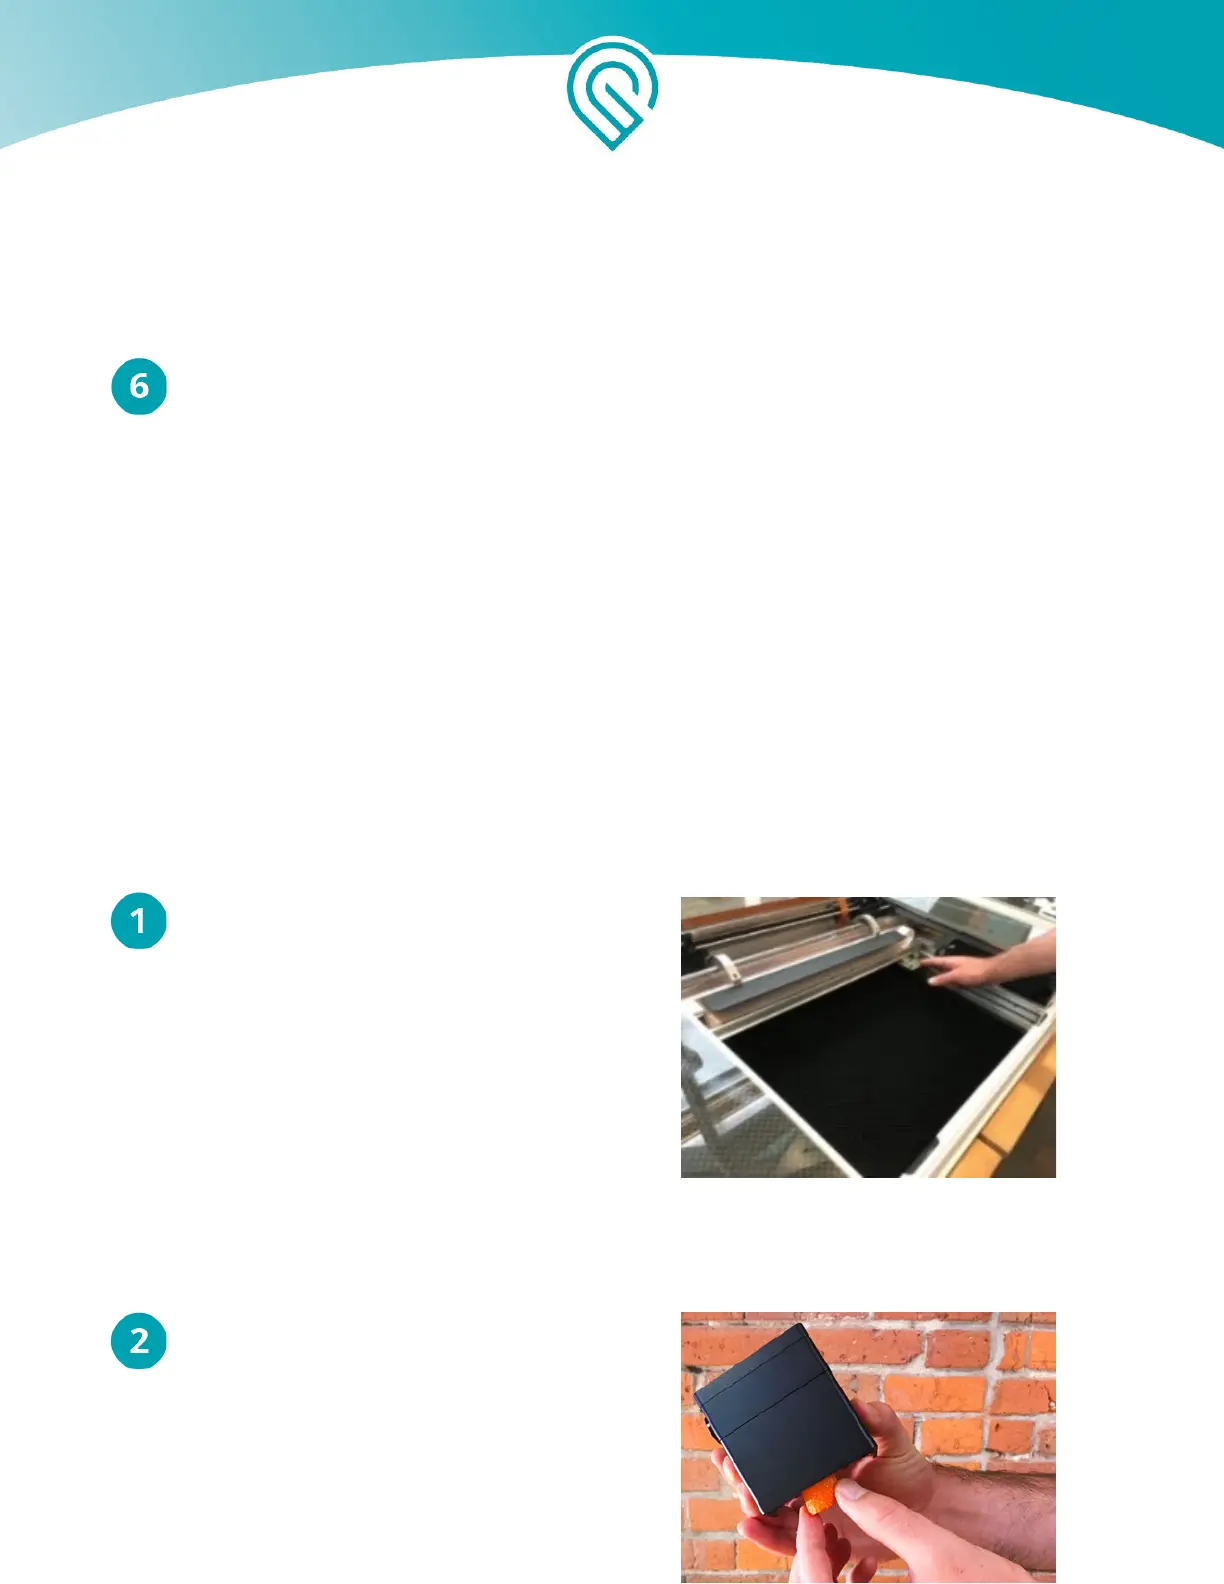
Position the Laser Arm and Metal Plate
Gently slide the metal plate on the laser arm
all the way to the right, then push the arm to
the back of the unit.
Carefully Pick Up the Printer Head
Do not touch any part of the printer head that
is not flat black metal. Be especially careful
of the yellow window on the side of the head.
R emove the printer head from the white foam
tray and remove the orange foam cylinder
from inside the head.
Copyright Glowforge, Inc. 2020 30