PAGE 8 INSTRUCTION MANUAL TX6155 / TX685
Charging the Battery Pack
Connecting the desktop charger
Plug the included PS002 plug pack into a standard 240V AC outlet.
Connect the plug pack’s DC connector to the socket on the rear of the desktop charger. The LED(s)
on the front of the charger will quickly flash Red, Green, Amber then Off. The charger is now ready
for use.
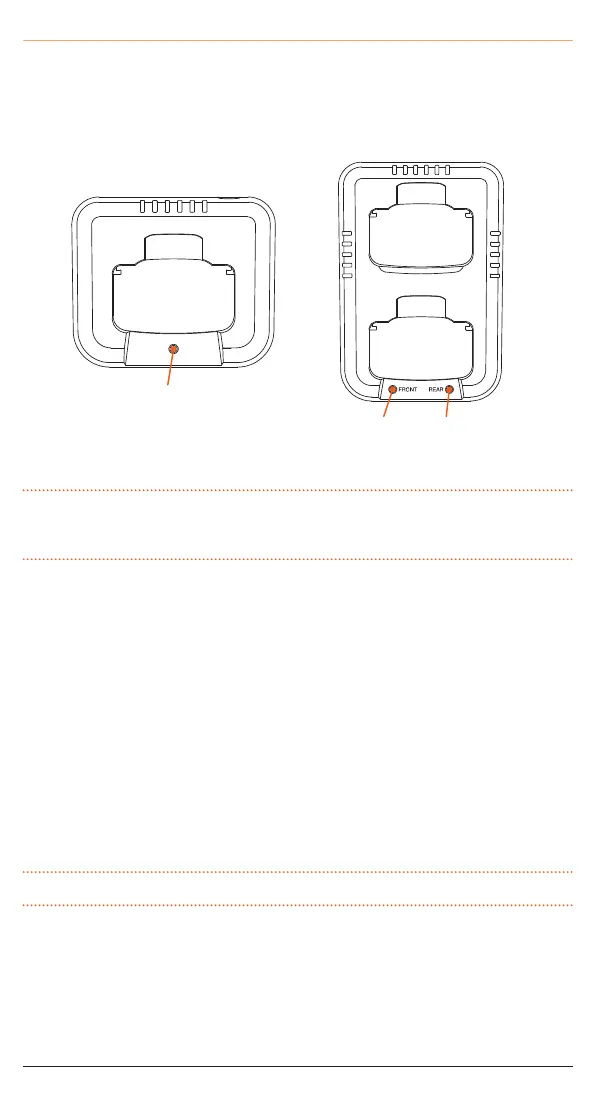
Charge status LED
Front-Slot Status LED Rear-Slot Status LED
TX685/TX6155 TX6155TP
Single Desktop Charger Dual Desktop Charger
Note: The desktop charger can also be powered from your vehicle via the optional BCV007 vehicle
accessory charger. Simply plug the BCV007 into your vehicle’s 12V accessory outlet and connect the
DC connector to the socket in the rear of the desktop charger.
TX685/TX6155
The single desktop charger (BCD020) will charge a fully discharged battery pack to full capacity in
around 4 hours.
To charge:
1. Place the radio into the cradle with the battery attached. The LED will light Red to indicate the
battery is charging.
2. When the battery has charged, the LED will change to GREEN.
The fully charged battery can be left on the charger until it is needed.
TX6155TP
The dual desktop charger (BCD021) supplied with the TX6155TP will charge two fully discharged
battery packs to full capacity in around 8 hours. The battery packs are charged sequentially (around
4 hours each) starting with the front battery. Once the front battery has charged, the charger will
automatically switch to the rear battery.
Note: When charging a single battery pack, the front slot should be used.
To charge:
1. Place one radio into the front slot and the second radio into the rear slot. The left LED will light
RED confirming the battery in the front slot is now charging and the right LED will light AMBER
indicating the battery in the rear slot is on Stand-by.
2. Once the front battery has charged, the left LED will become GREEN and the right LED will switch
to RED indicating the rear battery is now charging. Once the rear battery has charged, the right
LED will also change to GREEN.