[page 8] | gpelectric.com
5. OPERATING INSTRUCTIONS
5.1 POWER UP
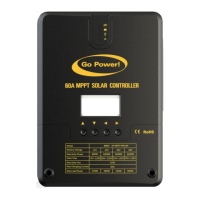
Pleasecheckyourbatterymanufacturer’sspecicationstoselectcorrectbatterytype.Theunitprovides4batterytypesforselections:
Gel, AGM, WET (conventional lead acid), and Calcium.
5.2 SETTING THE BATTERY CHARGING PROFILE
Press BATTERY TYPE button and hold for 3 seconds to go into your battery type selection mode,
the battery types you select will be shown on the LCD meter. The controller will automatically
memorize your battery type setting.
Incorrect battery type setting may damage your battery.
When the controller powers on, the unit will run self-test mode and automatically show below items on LCD before going into charging
process.RefertotheBatteryChargeProleChartonfordetailsoneachprole.
Self-test starts, digital
meter segments test
Software version test
Rated voltage Current test
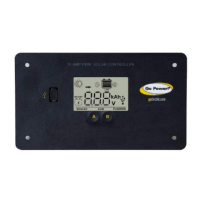
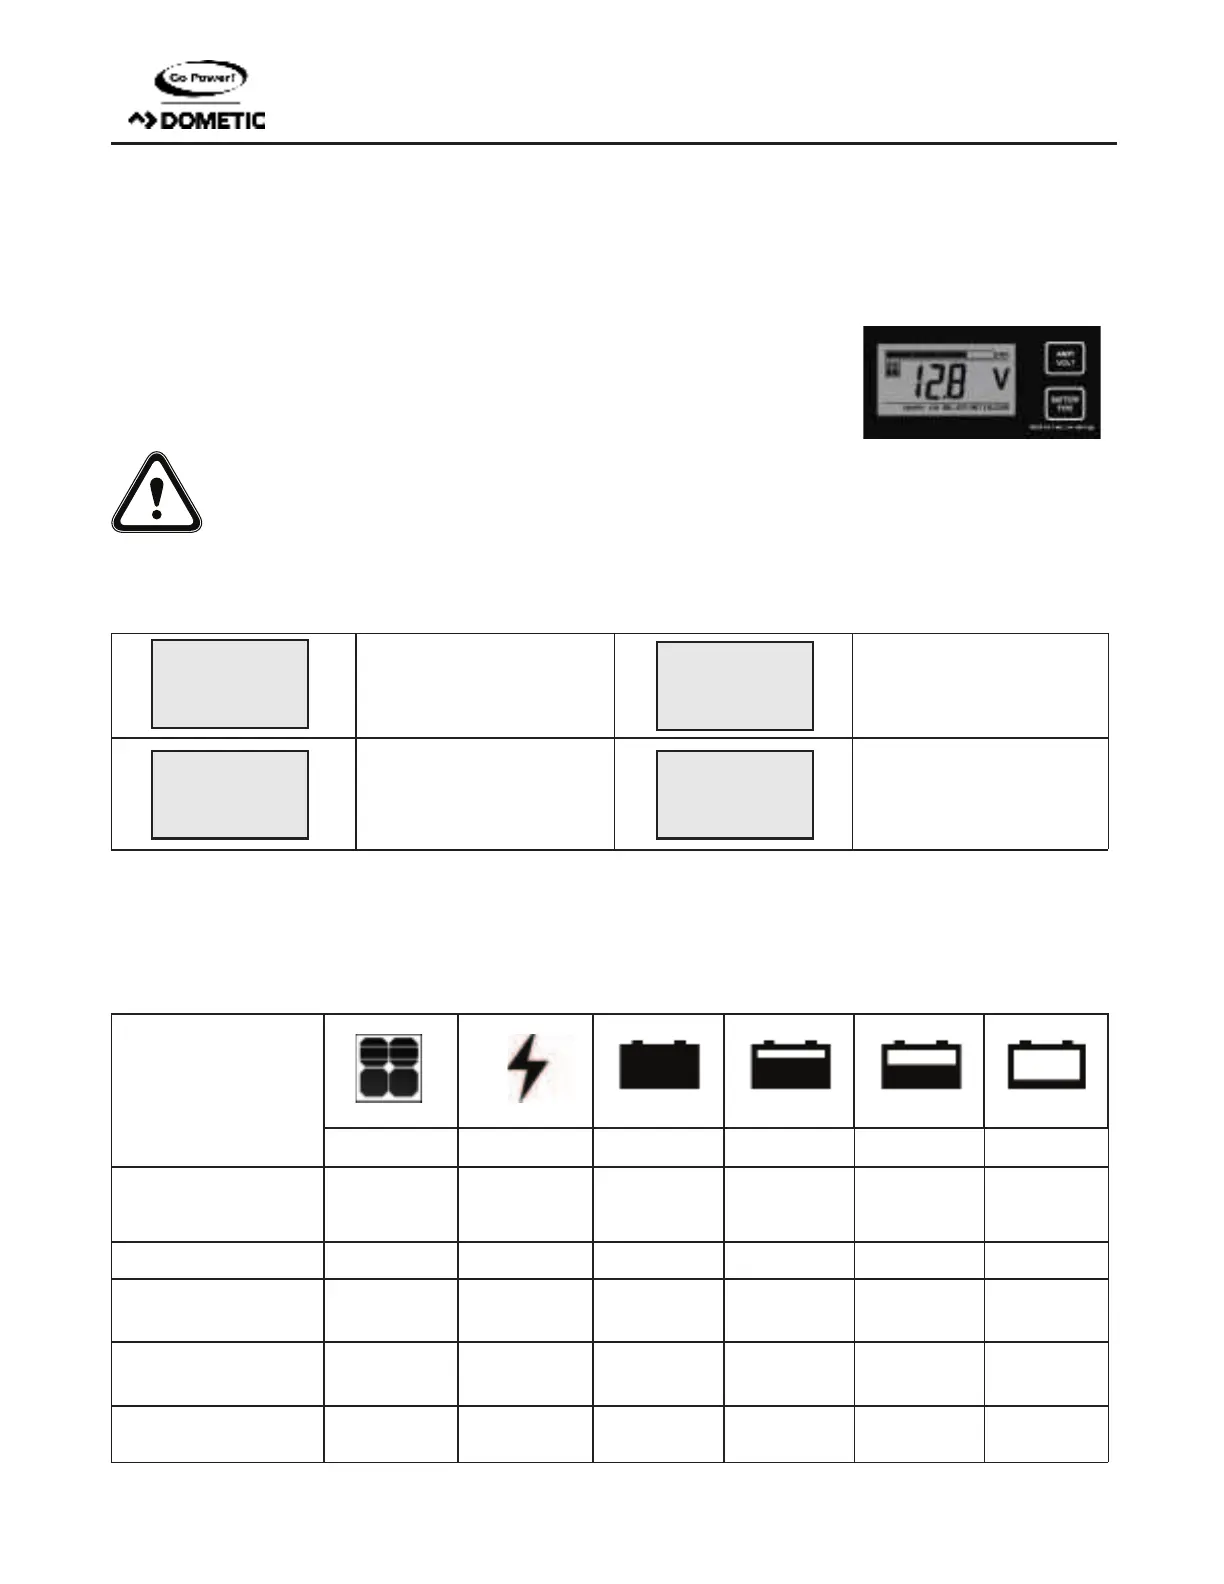
After going into charging process, the LCD displays the charging states as below. Press VOLT / AMP button in sequence, the LCD will
display in turn with Battery Voltage, Charging Current, Charged capacity (Amp-hour) and Battery Temperature (if external temperature
sensor connected).
5.3 BATTERY CHARGING PROFILE CHART
The 6 LED’s indicate the
charging status and the
battery condition
/GEL
RED BLUE GREEN GREEN YELLOW RED
Solar Power Present- No
battery connected
ON OFF OFF OFF OFF Flash
Soft charging
ON Flash OFF OFF OFF ON
Bulk charging
(Vb < 11.5V)
ON ON OFF OFF OFF ON
Bulk charging
(11.5V < Vb < 12.5V)
ON ON OFF OFF ON OFF
Bulk charging
(Vb > 12.5V)
ON ON OFF ON OFF OFF
8. 8. 8
r0.1
12.0
15.0
V
A
 Loading...