3
1. Installation
All scanning channels operations are carried out in the menu sections – Satellite, Terrestrial
or Cable, depending on the received TV format.
The receiver supports reception:
– DVB-S, DVB-S2 digital satellite channels, including T2-MI packet encapsulation;
– digital DVB-T, DVB-T2 terrestrial channels with the ability to supply +5V power to an active
terrestrial antenna;
– digital DVB-C cable channels.
The receiver supports work with MPEG-2, MPEG-4 (H.264) and HEVC (H.265) video codecs.
Thus, the receiver provides viewing not only SD and HD TV channels, but it is possible to
watch a UHD channel at a bit rate up to 22 Mbps via streaming on devices that have the
necessary hardware support. More details can be found in the separate RAMF options
manual.
1.1. Satellite Dish Installation Options and Channel Scan
Before starting the dish installation, it is worth mentioning that if you have an Android
smartphone, it is best to use the RAMF application. In this case, the receiver will become a
very high-quality sat finder. More details can be found in the separate RAMF options manual.
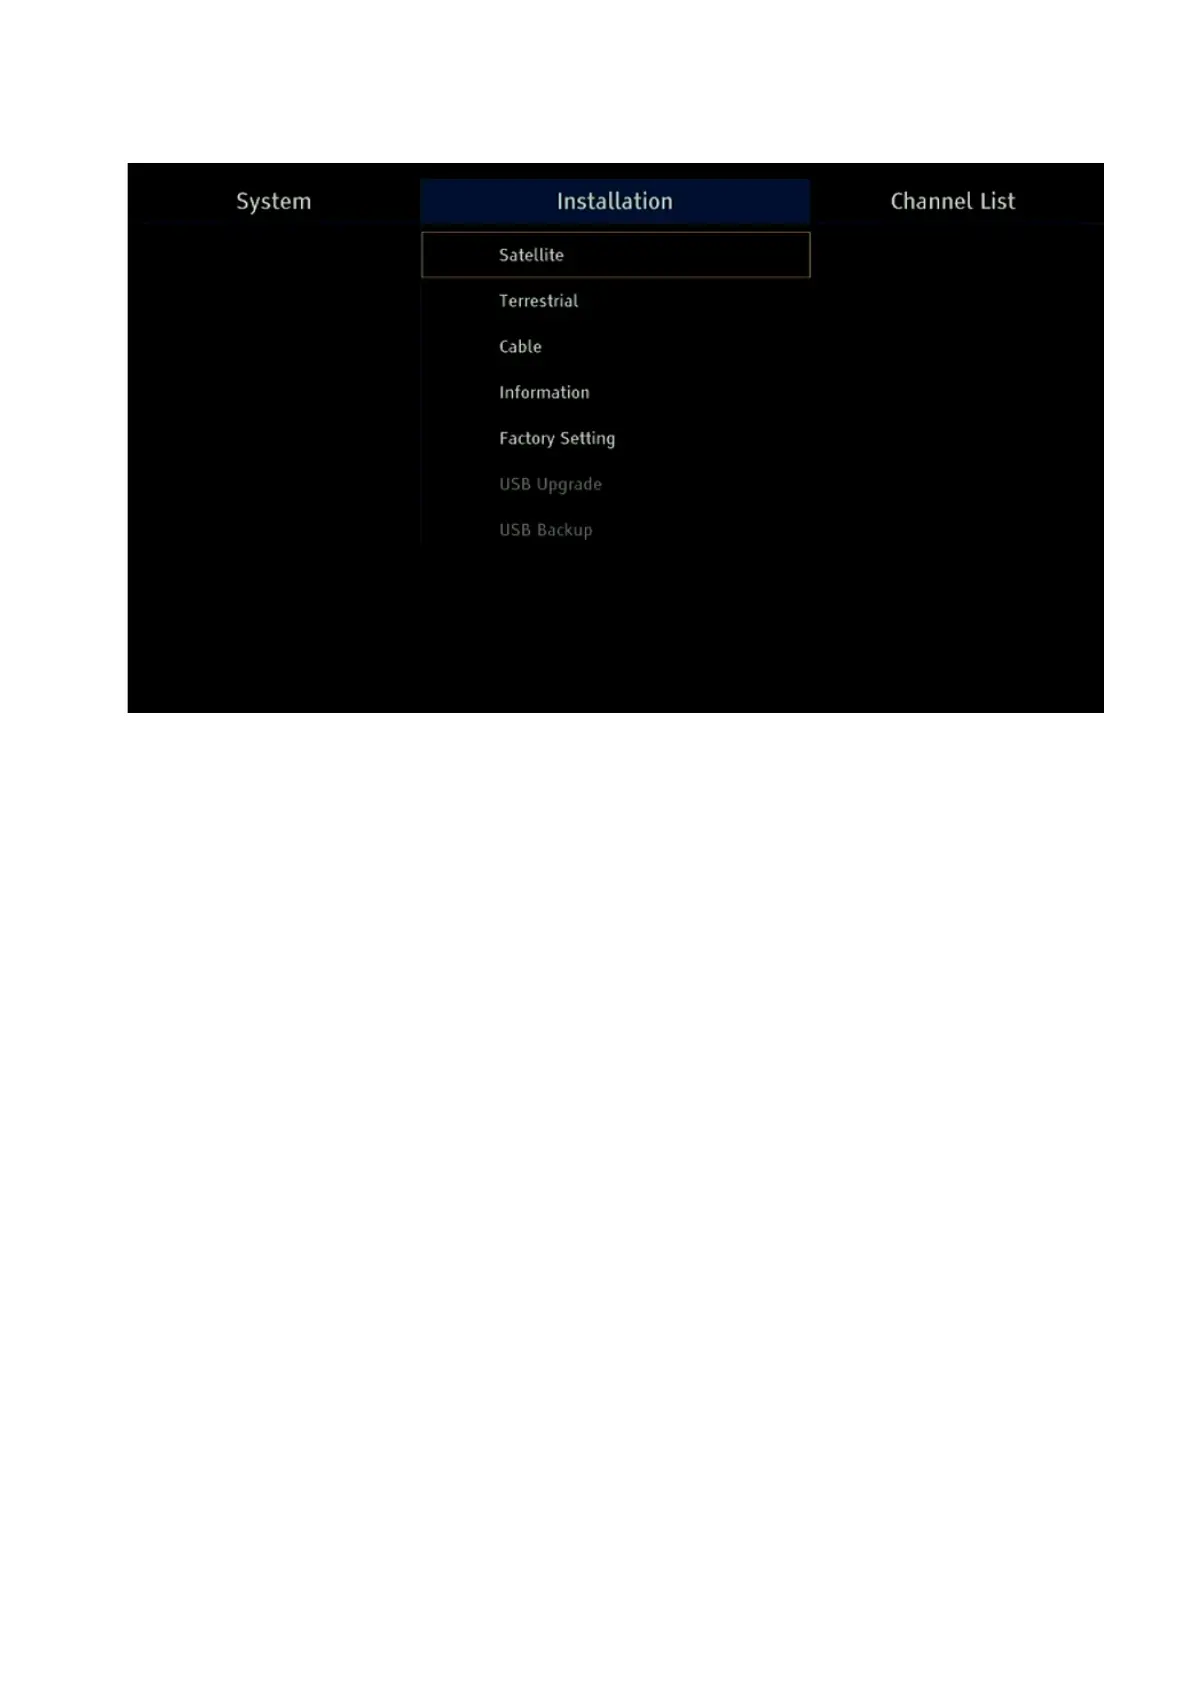
To scan the channels of the entire satellite or a specific operator, select the Installation section
in the main menu using the left/right buttons on the remote control. Then, using the up/down
buttons, you need to select the Satellite List and enter it through the OK button.
In the window that opens, in the Satellite section, use the up/down buttons to select the
required satellite or operator, and the operator's name always begins with a dot and cannot
be confused with the satellite name.
 Loading...