10
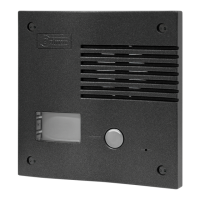
DOOR PANEL INSTALLATION
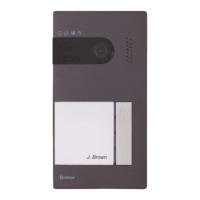
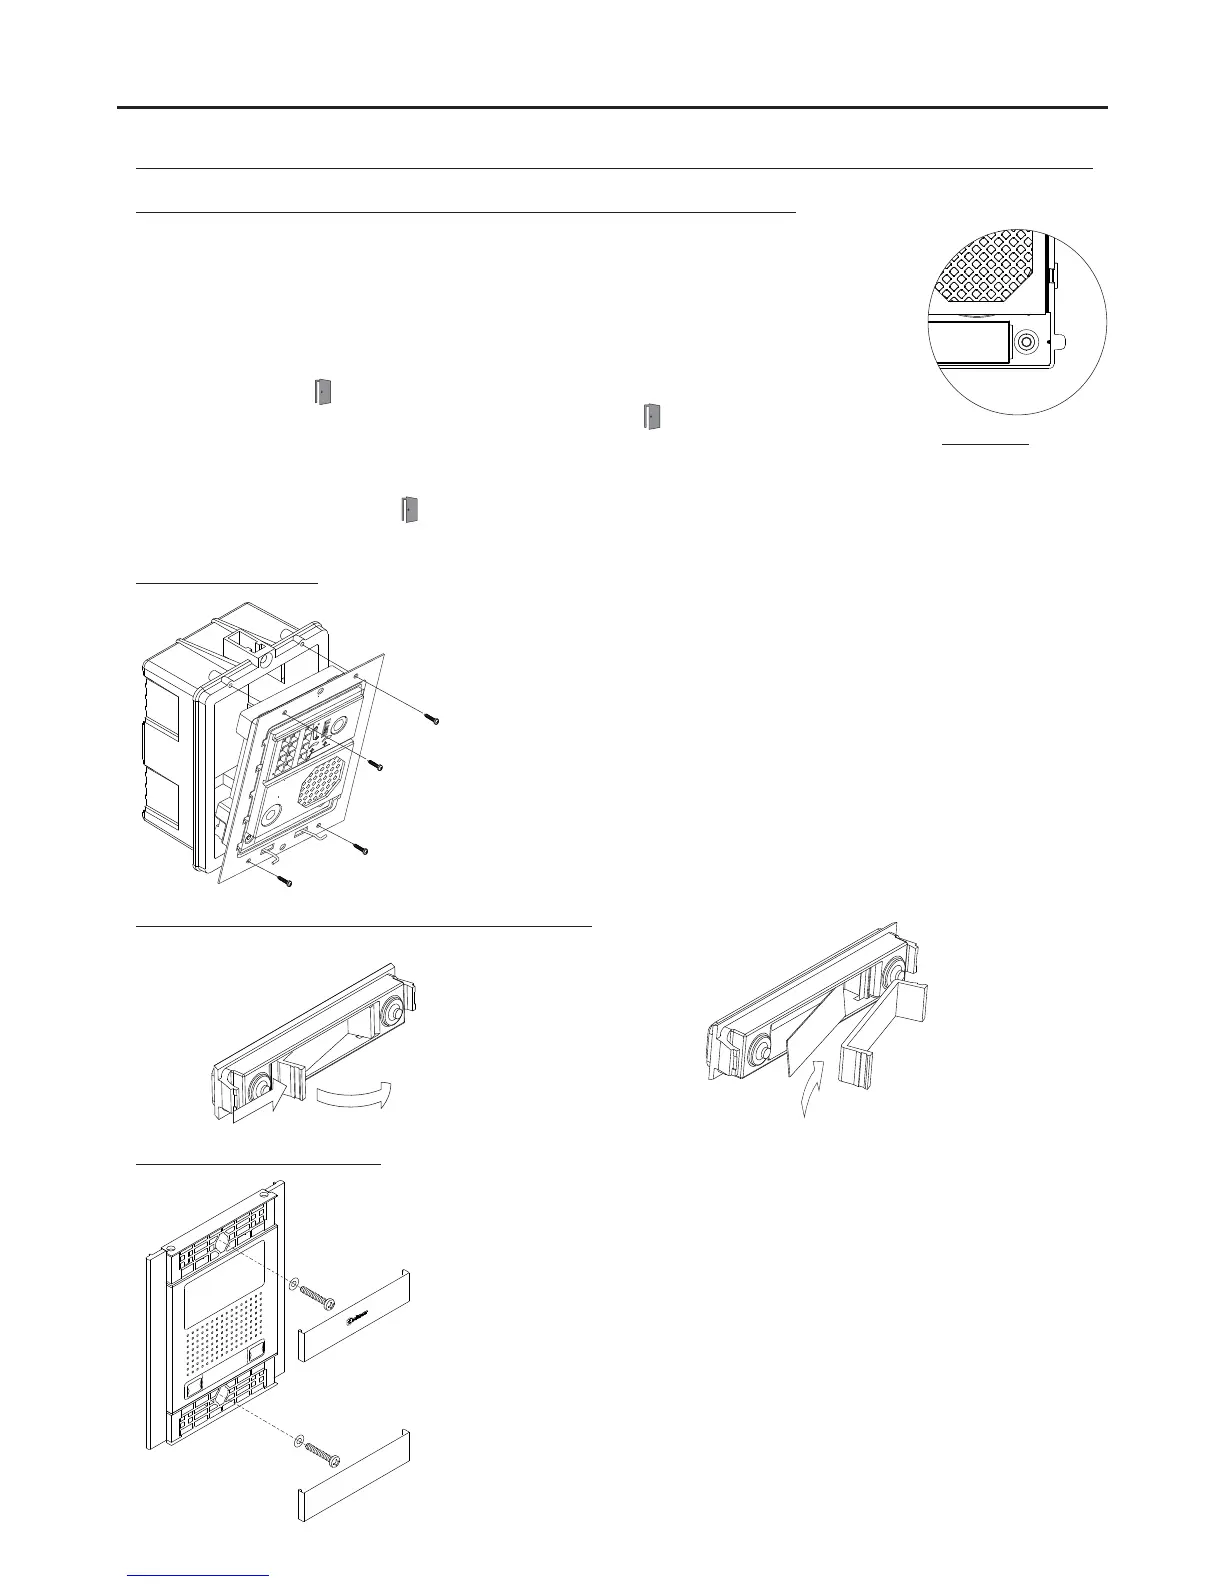
Closing the frame:
Configuring the contact type for Relay 1 and Relay 2 (lock release):
Inserting the push button identification labels:
Open the label holder.
Insert the label and close.
Closing the door panel:
Finish the door panel assembly by placing the closing
heads, put the head on one side and then make a slight
pressure on the other end, to its correct placement.
Fix the door panel to the embedding box using the
screws supplied.
Once the wiring and configuration work is done, fix the
frame to the embedding box using the screws supplied.
Important: Before closing the door panel, make a test call
to any apartment to ensure that everything works
correctly.
NEXA MODULAR GB2 VIDEO DOOR ENTRY SYSTEM KIT - VILLAS
To change the contact type for door release activation of Relay 1 and Relay 2 of the door
panel, follow these steps:
- door panel.Remove the power supply in the
- 7 .Set dip 6 of the sound module's configuration dip switch to ON (see page )
- .Connect the power supply in the door panel
- Press the sound module' s P1 push button for 6 seconds (until finish the confirmation tones and
the door panel starts to blink.led ).
- Each press will change the contact type, the door panel led will quick blink if the selected
contact is N.O (factory default) or slow blink if the selected contact is N.C. Stop pressing P1 when
the desired .contact type is selected
- fOnce finished set dip 6 o the configuration dip switch to OFF. A confirmation tone will be
heard and the door panel led turns off.
Description:
Normally open: N.O
Normally close: N.C
Important: The selected contact type will apply to both Relay 1 and Relay 2.
 Loading...