2
SAFETY PRECAUTIONS
- Video door entry system with simplified installation (non-polarised 2 wire bus).
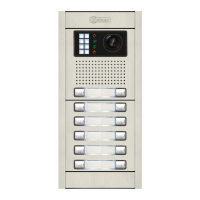
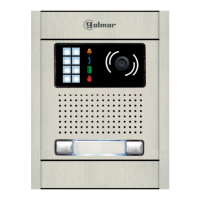
- Up to 4 access panels (DPM-G2+ distributor required for more than one access panel) per installation.
- Maximum 1 apartment (KIT N5110 ART4 LITE 1P) per installation.
- The maximum number of monitors / audio terminals in the apartment is 4 (master, slave1, slave2
and slave3).
- Maximum 4ART4 LITE monitors / audio terminals in parallel (without distributors) in the apartment.
- Call confirmation tone.
- Visual indications on the door panel for people with impaired hearing (indicating call process,
communication, door open and channel busy).
- isAudible indications on the door panel for people with impaired vision (indicating call in progress,
resident unavailable is ommunication is finished system is busy, try later, door open, c and ).
- before making modifications to the deviceAlways disconnect the power supply .
- installationThe and handling of these devices must be carried out by .authorised personnel
- The wiring must run at least .40 cm away from any other wiring
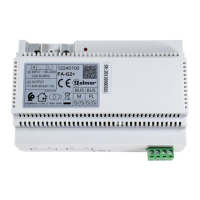
- In the power supply unit:
wDo not overtighten the screws on the connection block.
wInstall the power supply in a dry and protected place free risk of water .without drip or projections
wAvoid locations that are humid, dusty or near heat sources.
wDo not block ventilation holes of the equipments so that air can circulate freely.
wTo avoid damage, the power supply firmlyhas to be fixed.
wTo prevent electric shock, do not remove the cover or handle the wiring connected to the
terminals.
CHARACTERISTICS
SYSTEM OPERATION
*
( )
3
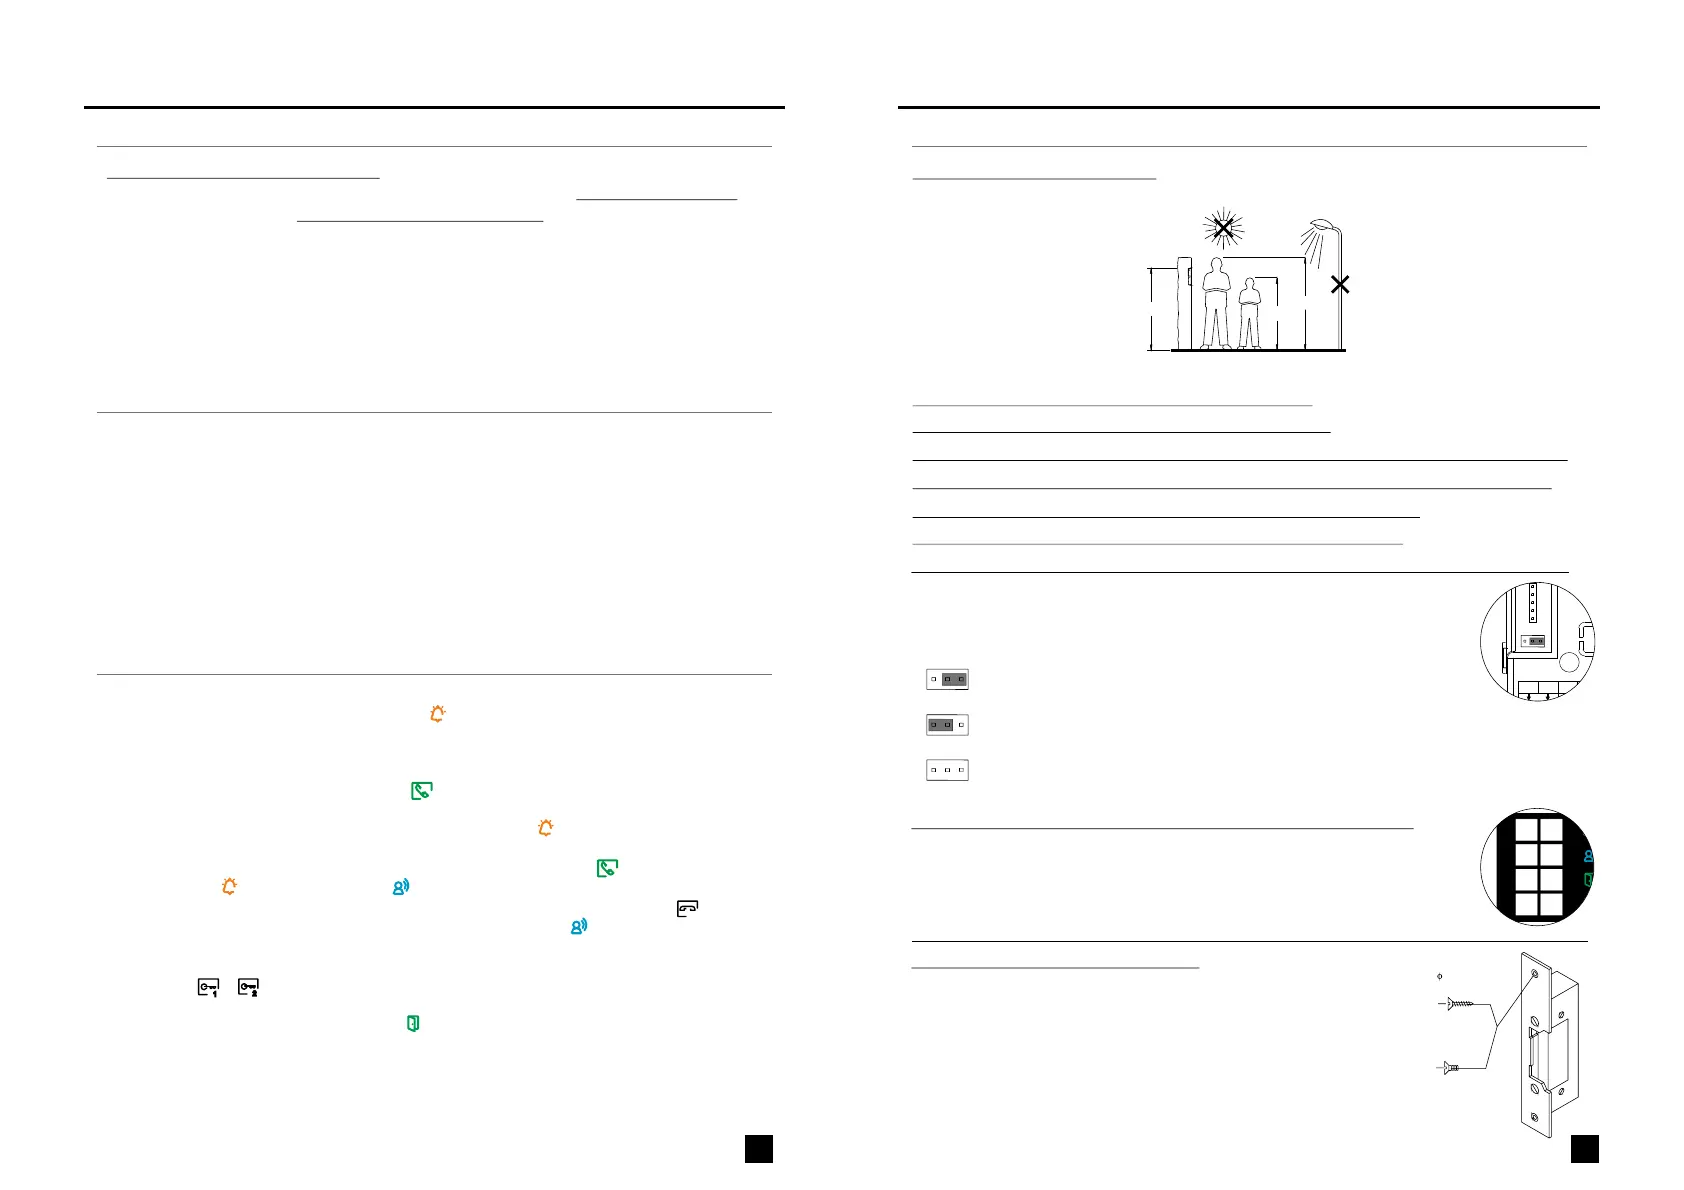
DOOR PANEL INSTALLATION
1650
1850
1450
Positioning the embedding box:
Make a hole in the wall to position the top of the door panel at a height of 1.65m.
Hole dimensions NCEV-90CS embedding box, 99(W) x 13 ,5(H) x (D) mm.2 56,5
:
*
( )
Description of the visual indications on the door panel.
Description of the vocal synthesis / tones mode (audible indications on the door panel).
Selecting the vocal synthesis language or tones mode of the EL632 G2+ SE module.
Description of the P1 external button of the EL632 G2+ SE module:
LOCK RELEASE INSTALLATION
*
( )
*
( )
*
( )
*
( )
*
( )
3.5 x 25
DIN-7972
If the lock release is to be fitted to a metal door, use a Ø3.5mm drill bit and
thread the hole made. For wooden doors, use a Ø3mm drill bit.
Lock release installation instructions:
M 4 x 8
DIN-963
IMPORTANT: The lock release must be Golmar 12V AC or DC. With the
AC lock release (TF-104 power supply required), fit the varistor supplied
with the kit directly to the lock release terminals to ensure the device
functions correctly.
*
( )
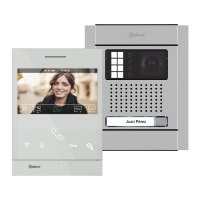
NEXA ART 4 LITE G2+ VIDEO DOOR ENTRY SYSTEM KIT - VILLAS
*
( )
NEXA ART 4 LITE G2+ VIDEO DOOR ENTRY SYSTEM KIT - VILLAS
ENEN
*
( )
For more information see “TKIT632 ART 4 LITE (cód. 5012 635)” manual.2
https://doc.golmar.es/search/manual/50122635
*
( )
For more information see ART 4 LITE 635 manual“TKIT632 (cód. 50122 )” .
https://doc.golmar.es/search/manual/50122635
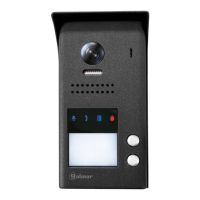
- To make a call, the visitor must press the button of the apartment; an audible sound indicatescall
that the call is being made and LED will turn on. If vocal synthesis is enabled, a 'Calldoor panel
is in progress' message appears indicating that a call is being made. At this moment, the
apartment's monitors receive the call.
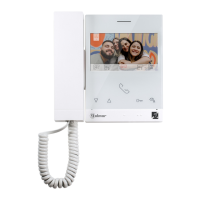
- Upon receiving the call, the image will appear on the screen of the master monitor (and slave 1, if it
exists) without the visitor knowing and icon displayed on the screen will blink green. To view
the image from slave monitors 2 or 3, press .one of the buttons of the monitor to display the image
If the call is not answered within 45 seconds, LED will turn off and the system willdoor panel
become free.
- To establish communication, press off-the-hook icon o the screen.the button below sh wn on
Door panel LED will .will turn off and the led turn on
- Co will last for 90 seconds or until on-the-hook iconmmunication the button below shown on
the screen is door panelpressed. When communication ends, LED will turn off and the system
will become free. If vocal synthesis is enabled, a 'Communication is finished' message will
indicate that the call is over.
- , press the corresponding iconTo open door of the door panelor button below the displayed
on the screen during the call or communication processes: one press will activate the lock
release for seconds and LED will also turn on for seconds. If vocal synthesis is3 3door panel
enabled, a 'Door open' message will be indicated on the door panel.is
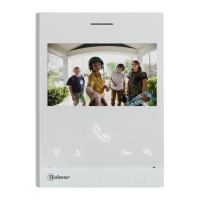
- , see "TART LITE"Detailed operation of the monitor 4 manual.Cód. 50122623
1
2
The door panel lighting LEDs will turn on during a call if the door panel
lighting at that moment is low. This enables the user to view the person
who has called from the apartment monitor.
Description of the door panel LED lights (for low light conditions):
Audio level jumper description (vocal synthesis and tones mode) EL632 G2+ SE module:
1
( )
The jumper for volume control, allows to select between a minimum, maximum
or mute of the vocal synthesis and tones mode from the door panel.
Audio level jumper is located on the left side of the back module.
1 2 3
1 2 3
1 2 3
1
( )
1
( )
Description of the EL632 G2+ SE module DIP switch:
Change the call code of the P1 button of the EL632 G2+ SE module:
*
( )
Factory default.
Jumper placed between 2 and 3, set to minimum volume the vocal
synthesis and tones from the door panel.
Jumper placed between 1 and 2, set to maximum volume the vocal synthesis and tones
from the door panel.
Jumper removed, set to mute volume the vocal synthesis and tones from the door panel.

 Loading...