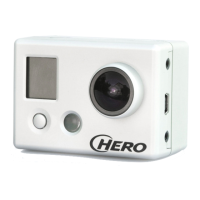
USING YOUR HD HERO2: CAMERA MODES ADVANCED MENU SETTINGS
SELFTIMER MODE
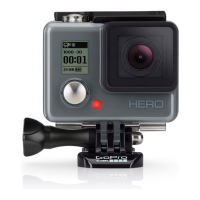
In Self-Timer Mode, the
HD HERO2
will take a single photo at the end of a
10-second countdown.
• Verify that the camera is in Self-Timer Mode, indicated by
on the LCD. If
not, press
repeatedly until the camera displays the Self-Timer Mode icon.
• To take a photo, press and release
. The camera will beep and the LED
Recording Light will flash during the countdown, ending with a series of
rapid beeps and flashes just before the photo is taken.
• To stop the countdown timer, press
.
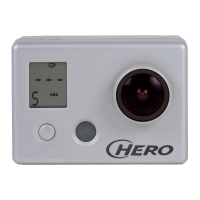
As in Photo Mode, the LCD screen will display your currently
selected photo resolution (11MP, 8MP or 5MP), the number of
photos stored on your SD card, and the number of photos that
can be taken before the card is full.
ENTERING THE SETTINGS MENU
Using the Settings Menu, many of the functions of the
HD HERO2
can
be customized based on your shooting needs.
To access your HD HERO2 settings:
1. Make sure your camera is powered ON.
2. Cycle through camera modes using
until the LCD Status Screen shows
the SETTINGS
icon.
3. To enter into the Settings Menu, press
.
4. Use
to toggle through each camera setting mode.
5. Every settings mode has a list of options. Press
to enter into a specific
mode. The option which is currently active will be highlighted. Press
to
toggle through the list. Press
to select highlighted option and exit list.
6. Press
to cycle to the next camera setting mode or press
to display
current option list again.
16 17
 Loading...