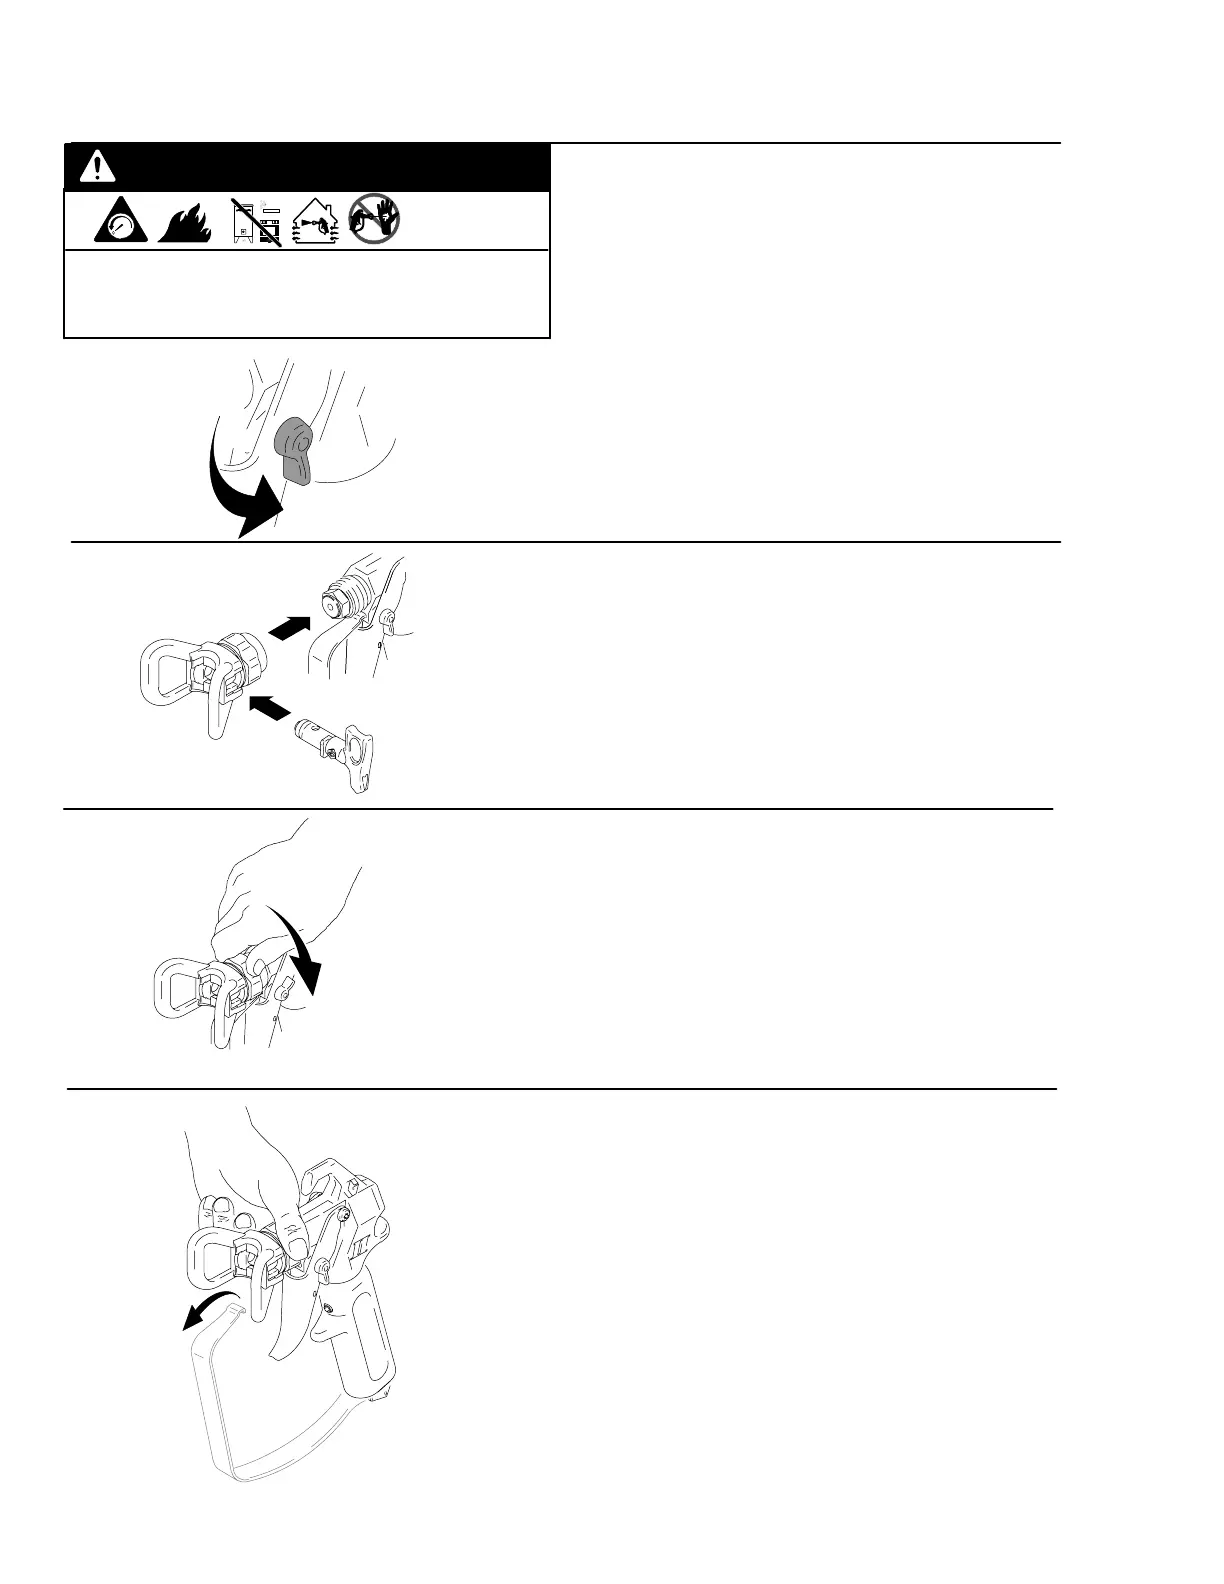
8 309639
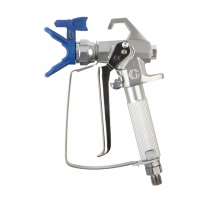
1. Set trigger lock.
Verrouiller la gâchette.
Fije el bloqueo del gatillo.
Aplique o fecho do gatilho.
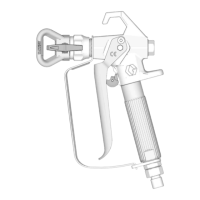
2. Install tip and guard.
Monter la buse et la garde.
Instale la boquilla y la protección.
Instale o bico e a respectiva protecção.
ADJUST SPRAY / RÉGLER LE JET /
AJUSTAR PULVERIZACIÓN / REGULAR A PULVERIZAÇÃO
3. Tighten retaining nut.
Resserrer l’écrou de retenue.
Apretar la tuerca de retención.
Aperte a porca de retenção.
NOTE: Disconnecting trigger guard from body
beneath diffuser provides unobstructed access to the nut for
tightening.
NB: en retirant le garde-buse du corps
en dessous du diffuseur, on dégage l’accès à l’écrou pour le
serrer.
NOTA: Si desconecta la protección del gatillo
por debajo del difusor podrá apretar la tuerca.
NOTA: ao separar o protector do gatilho do corpo sob o difu-
sor, é providenciado livre acesso à porca, para apertar.
Relieve Pressure, page 6. Read Fire and Ex-
plosion Hazard and Injection Hazard Warning,
pages 2.
WARNING
ti5923a