REPLACING THE DRIVE ASSEMBLY
To
reduce the risk of serious
bodily injury
, including
fluid injection or splashing in the eyes or on the
skin,
or injury from moving parts, always follow the
Pressure
Relief Procedure W
arning
on page 16
before
checking, adjusting, cleaning or shutting of
f
the
sprayer
.
Unplug the power supply cord.
WARNING
NOTE:
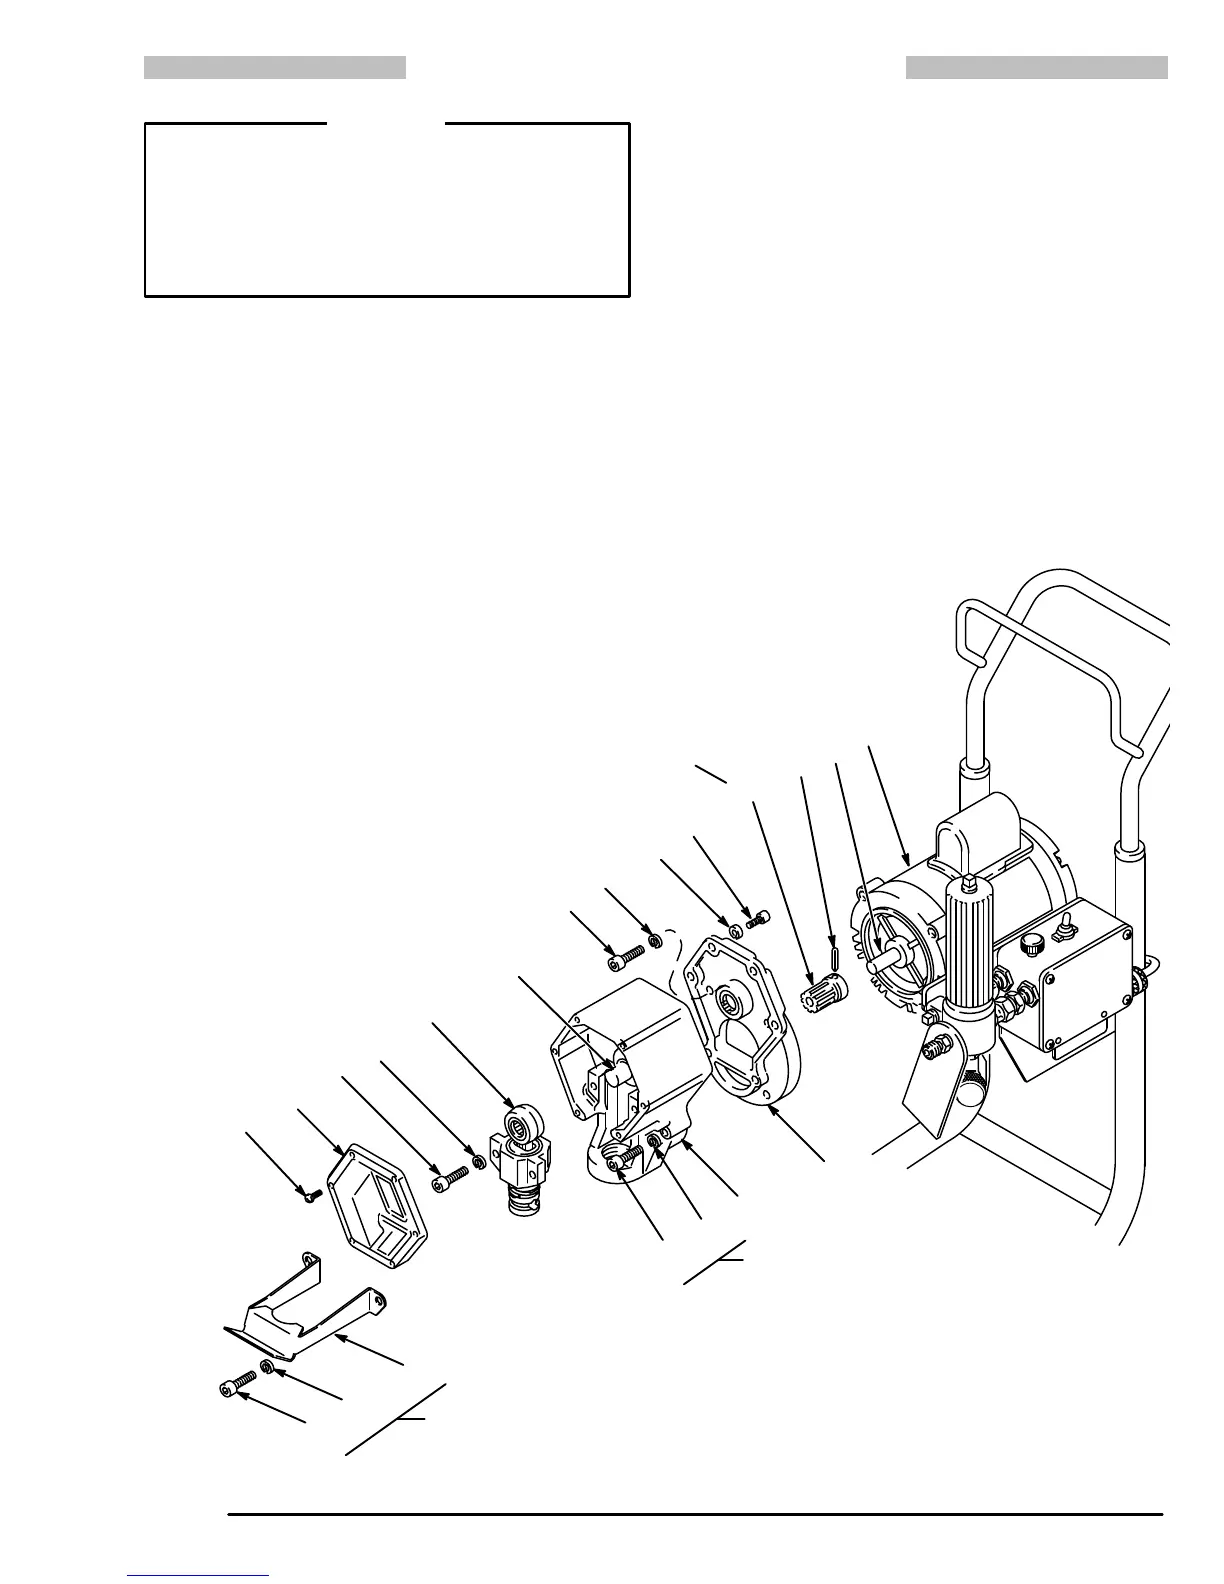
Refer to Fig 21–1 for this procedure.
1. Remove the front cover (35). Remove the displace-
ment
pump. See page 18.
2. Remove
the two screws (20). Pull the connecting
rod
and
bearing assembly (C) off the crankshaft (D).
3. Remove the screws (55d and 55f) and pull the drive
housing
(A) off the motor housing (B).
4. Remove
the screws (55c) and pull
the motor housing
(B)
of
f the motor (23).
5. Clean
the gear (37) and inspect
it for wear or damage.
Replace if necessary. To remove, drive out the pin
(27) and pull the gear off the motor shaft (E). Apply
molybdenum
disulfide spray lubricant to the gear
, al
-
low to dry, then apply industrial-grade, heavy-duty,
extreme-pressure,
lithium-soap grease.
6. Install
the new drive assembly in the
reverse order of
removal.
Fig
21–1
27
55f
55e
55b
55c
55d
55a
B
A
D
C
20
E
LUBRICATE
AS
EXPLAINED IN STEP 5
0674
18
113
19
35
37
23
55d
55a
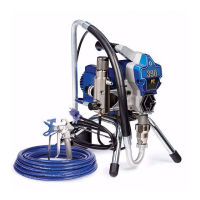
UPRIGHT SPRA
YER
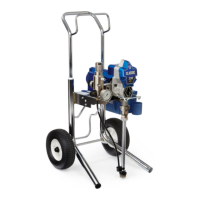
LO-BOY SPRAYER

 Loading...