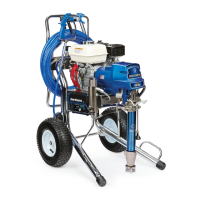
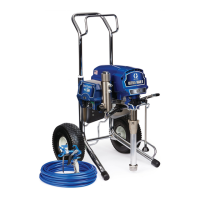
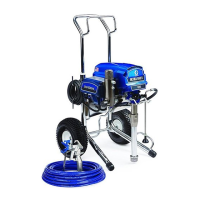
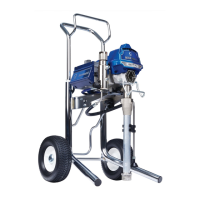
Startup
18 3A6400A
8. Hold gun against grounded metal flushing pail.
Trigger gun and increase fluid pressure slowly until
pump runs smoothly.
9. Inspect fittings for leaks. If leaks occur, turn sprayer
OFF immediately. Perform Pressure Relief
Procedure steps 1-3, page 13. Tighten leaky
fittings. Repeat Startup procedure steps 1 - 5. If no
leaks, continue to trigger gun until system is
thoroughly flushed. Proceed to step 6.
10. Place siphon tube in material pail.
11. Trigger gun again into flushing fluid pail until
material appears.
Switch Tip
™
Guard Assembly
1. Perform Pressure Relief Procedure, page 13.
2. Engage gun trigger lock. Insert Switch Tip. Insert
seat and OneSeal
™
.
3. Insert Switch Tip.
4. Screw assembly onto gun. Tighten.
Spray
1. Spray test pattern. Increase pressure to eliminate
heavy edges. Use smaller tip size if pressure
adjustment can not eliminate heavy edges.
2. Hold gun perpendicular, 10-12 in. (25-30 cm) from
surface. Spray back and forth. Overlap by 50%.
Trigger gun after moving and release before
stopping.
High-pressure spray is able to inject toxins into the
body and cause serious bodily injury. Do not stop
leaks with hand or rag.
To avoid serious injury from skin injection do not put
your hand in front of the spray tip when installing or
removing the spray tip and tip guard.
 Loading...