6. Ensure that the extension is ready to be configured via RPS by checking the “Event Log” from
the “Dashboard.” If the message appears as a “Warning,” follow the instructions outlined in the
message and use the Manual Link Provisioning method.
7. The phone is now ready to be provisioned and can be powered on.
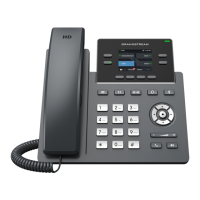
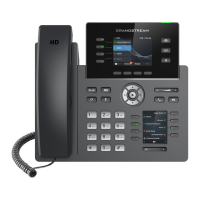
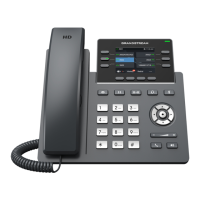
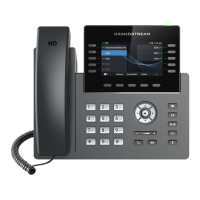
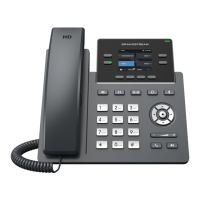
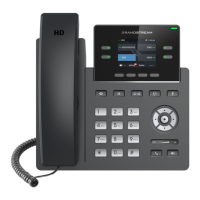
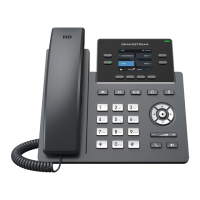
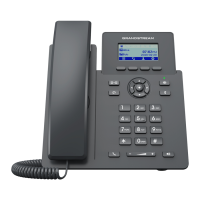
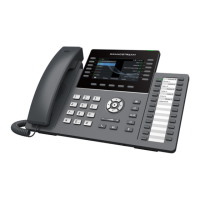
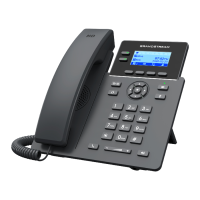
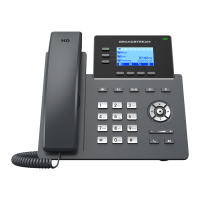
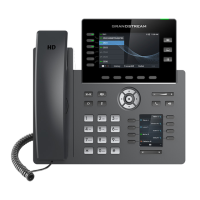
Figure 6: GRP261X Authentication Prompt
8. After the phone boots up, it will prompt for a username and password. Enter the extension number
as the username, press the DOWN arrow, and enter the voicemail PIN as the password. Press
“OK” when done.
Step 4: Extended Phone Configuration
IP phones can be tweaked to match the user’s needs or can be rolled out in default configuration. They can
also be altered at a later stage and the changes can be applied via “Phones” → “Select Device” → “Re-
Provision” on the 3CX Management Console:
• IP Phone Configuration Options (configurable per extension device)
• IP Phone BLF/DSS assignment (global for all extension devices)
• IP Phone VLAN management (configurable per extension device)
• Customizing the IP Phone background logo
 Loading...


