Log in to PBXware with your e-mail address and password.
■
UAD Settings
Navigate to Settings: UAD.
■
Make sure that the Grandstream UAD is enabled. To check the UAD status, click the Edit icon
■
corresponding to your Grandstream phone.
Make sure that Status is set to Active, Auto provisioning is set to Yes, and DHCP is set to
■
Yes.
Click the Save button to save changes.
■
Creating Extension
Creating Extension
Add Extension
Navigate to Extensions. Click the Add Extension button.
■
The standard options window will be shown below.
■
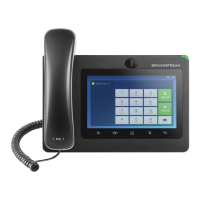
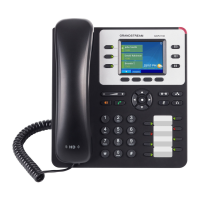
Select the Grandstream phone model from the UAD select box.
■
Select Location: Local or Remote.
■
Local is for all Extensions registered on the LAN and Remote is for all Extensions
registered from remote networks, WAN, Internet etc.
Click the Next step button.
■
Extension Values
Enter values into the required field text boxes.
REQUIRED FIELDS:
Name
■
Enter a name for the Extension being created. Example: John Smith.
E-mail
■
Enter the e-mail address associated with this Extension. This e-mail address will receive
all system notification messages. Example: john.smith@bicomsystems.com
Auto Provisioning
■

 Loading...


