~ 5 ~ ~ 6 ~
Conguring the GXV3450 using Touch Screen:
1. Ensure your phone is properly powered up and connected to the Internet.
2. Tap on Settings → Status → Network status, to obtain the IP address of
your phone.
3. Type the phone’s IP address in your PC’s browser.
4. Enter username and password to login.(The default administrator username
is “admin” and the default random password can be found at the sticker on
the GXV3450).
5. In the web GUI → Account, select Account 1/2/3/.../16 page to congure
Account name, SIP Server, SIP User ID, Authenticate ID and Authenticate
Password to register the account on the GXV3450.
1. Make sure the phone is properly powered up and in idle screen.
2. Select Settings → Advanced → Account settings. Tap on one of the
Account to congure Account name, SIP Server, SIP User ID, SIP Auth ID,
SIP Auth Password to register account on the GXV3450. After successfully
registered, the dial screen will be shown.
3. Follow the Menu options to congure other settings on the phone. For
example, to congure static IP on the GXV3450, set up static IP address
via LCD Menu → Settings → Network → Ethernet Settings.
4. Please contact your ITSP (Internet Telephony Service Provider) for
additional settings that may be necessary to congure the phone.
PHONE CONFIGURATION:
Conguring the GXV3450 using Web Browser:
GBX20 PACKAGE CONTENTS:
1x GBX20
Extension Board
1x GBX20 Extension
Board Stand
1x Extension Board
Connector Plate
1x Screw
1x TypeA-MicroB
USB Cable
CONNECTING GBX20 EXTENSION MODULE TO
GXV3450 (GBX20 is sold seperatly):
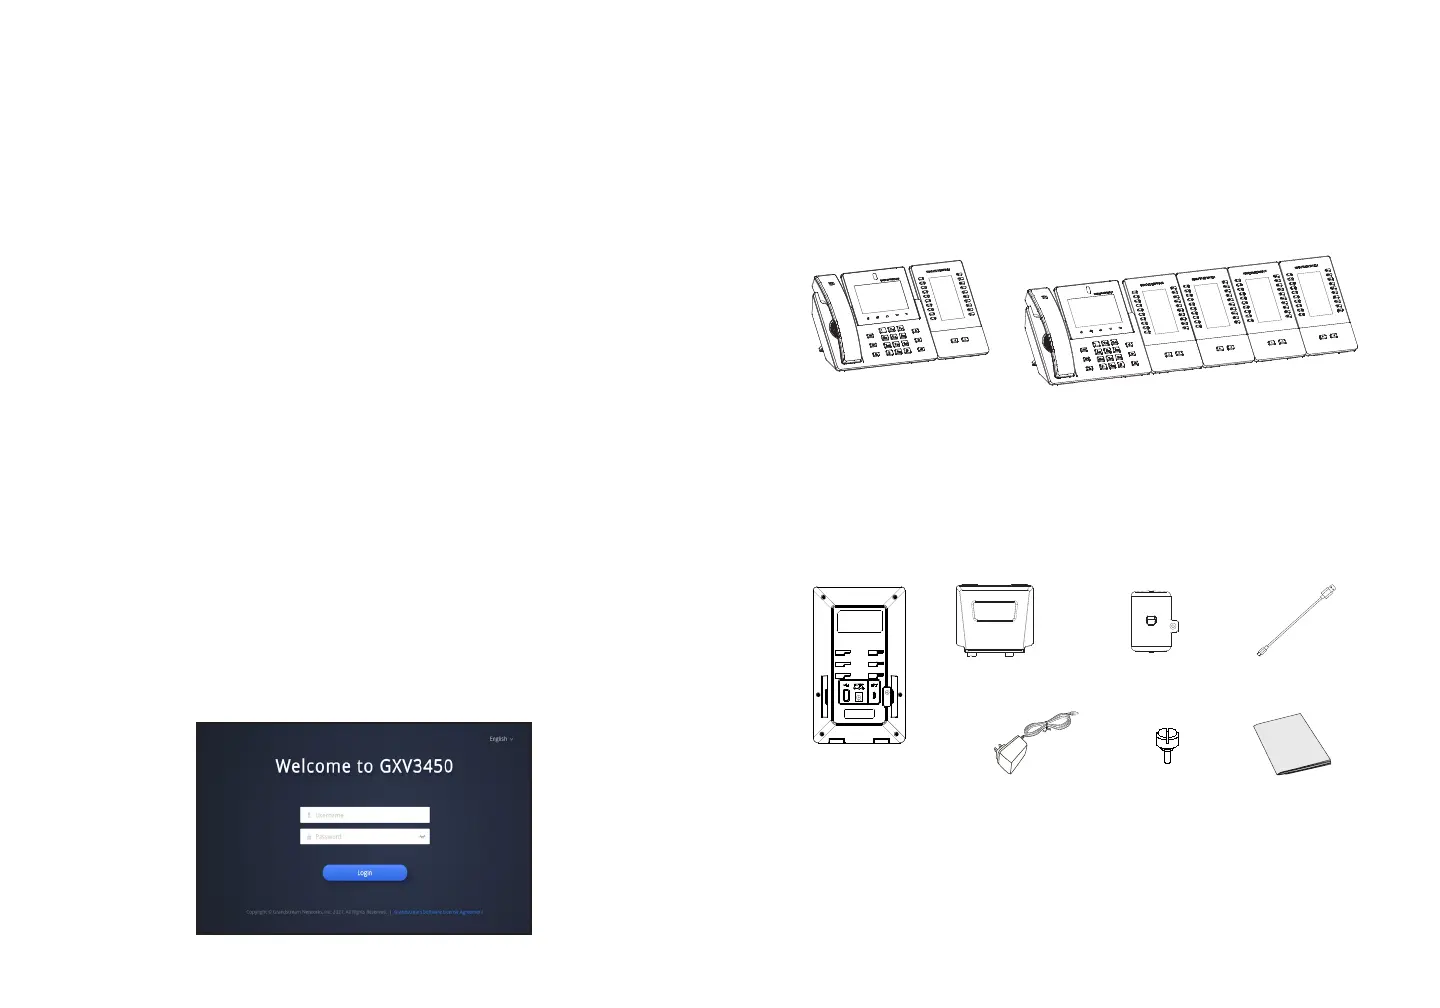
The GXV3450 uses GBX20 as the extension module. The extension module
is an ideal solution for the busy enterprise environment looking to add the
ability to receive and dispatch calls eciently. Each GBX20 extension module
has 20 programmable buttons, Left and Right buttons, supporting 40 Multiple
Purpose Keys to be congured. GXV3450 supports up to 4 extension
modules, adding 160 fully programmable phone extensions to the phone.
Installing the GBX20 to GXV3450:
1. On the back of the GBX20 and the GXV3450 there are slots for connector
plate. Attach the connector plate between the slots for the GBX20, Apply
the screw provided and securely tighten the connector plate to the
GBX20 (see gure in next page).
Notes:
• The GBX20 is an additional accessory for the GXV3450. Therefore, the
GBX20 (including extension module accessories for installation) is not
included in the GXV3450 package.
• In case two or more GBX20 extension modules are connected to the
GXV3450 , the second GBX20 needs to be powered on by a 12V/1A PSU.
GXV3450 with 1x GBX20
GXV3450 with 4x GBX20
1x 12V/1A Power Adapter
12V
1x Quick Installa-
tion Guide
 Loading...