4. Getting started
Quick Start example
fter installing SquirrelView an example setfile will be installed within the SquirrelView
installation directory. The example file will log the internal temperature of the logger. In
order to familiarise yourself with the logger the novice user may find this example Setup
useful.
4.1
4.2
Installing SquirrelView software
Install the software by following the instructions on the SquirrelView Installation Guide.
Connect the 2020/2040 to the PC via either USB or Serial connections. If you are using USB
the PC will request the USB drivers (it is assumed that SquirrelView is installed into the default
directory, if this is not the case then modify the path accordingly), select C:\Program
Files\SquirrelView\USB\ then click OK to complete the installation. Please ignore the
Hardware Installation warning that refers to Windows Logo testing.
4.3 Startup SquirrelView and select Logger Type
Click on the shortcut icon on your desktop to launch SquirrelView or select it from your start
menu - Program group menu within Windows. When the SquirrelView Assistant has opened,
ensure the correct logger type and communication method is selected. This can be viewed in
the top right corner of the screen, if you need to make any changes select Logger Selection from
the toolbar or run the Communication Wizard.
4.4
Synchronise Logger & PC
It is advisabl to start by synchronising the Logger clock with the PC clock. See step 1 e
and 2 below:
Synchronise clocks:
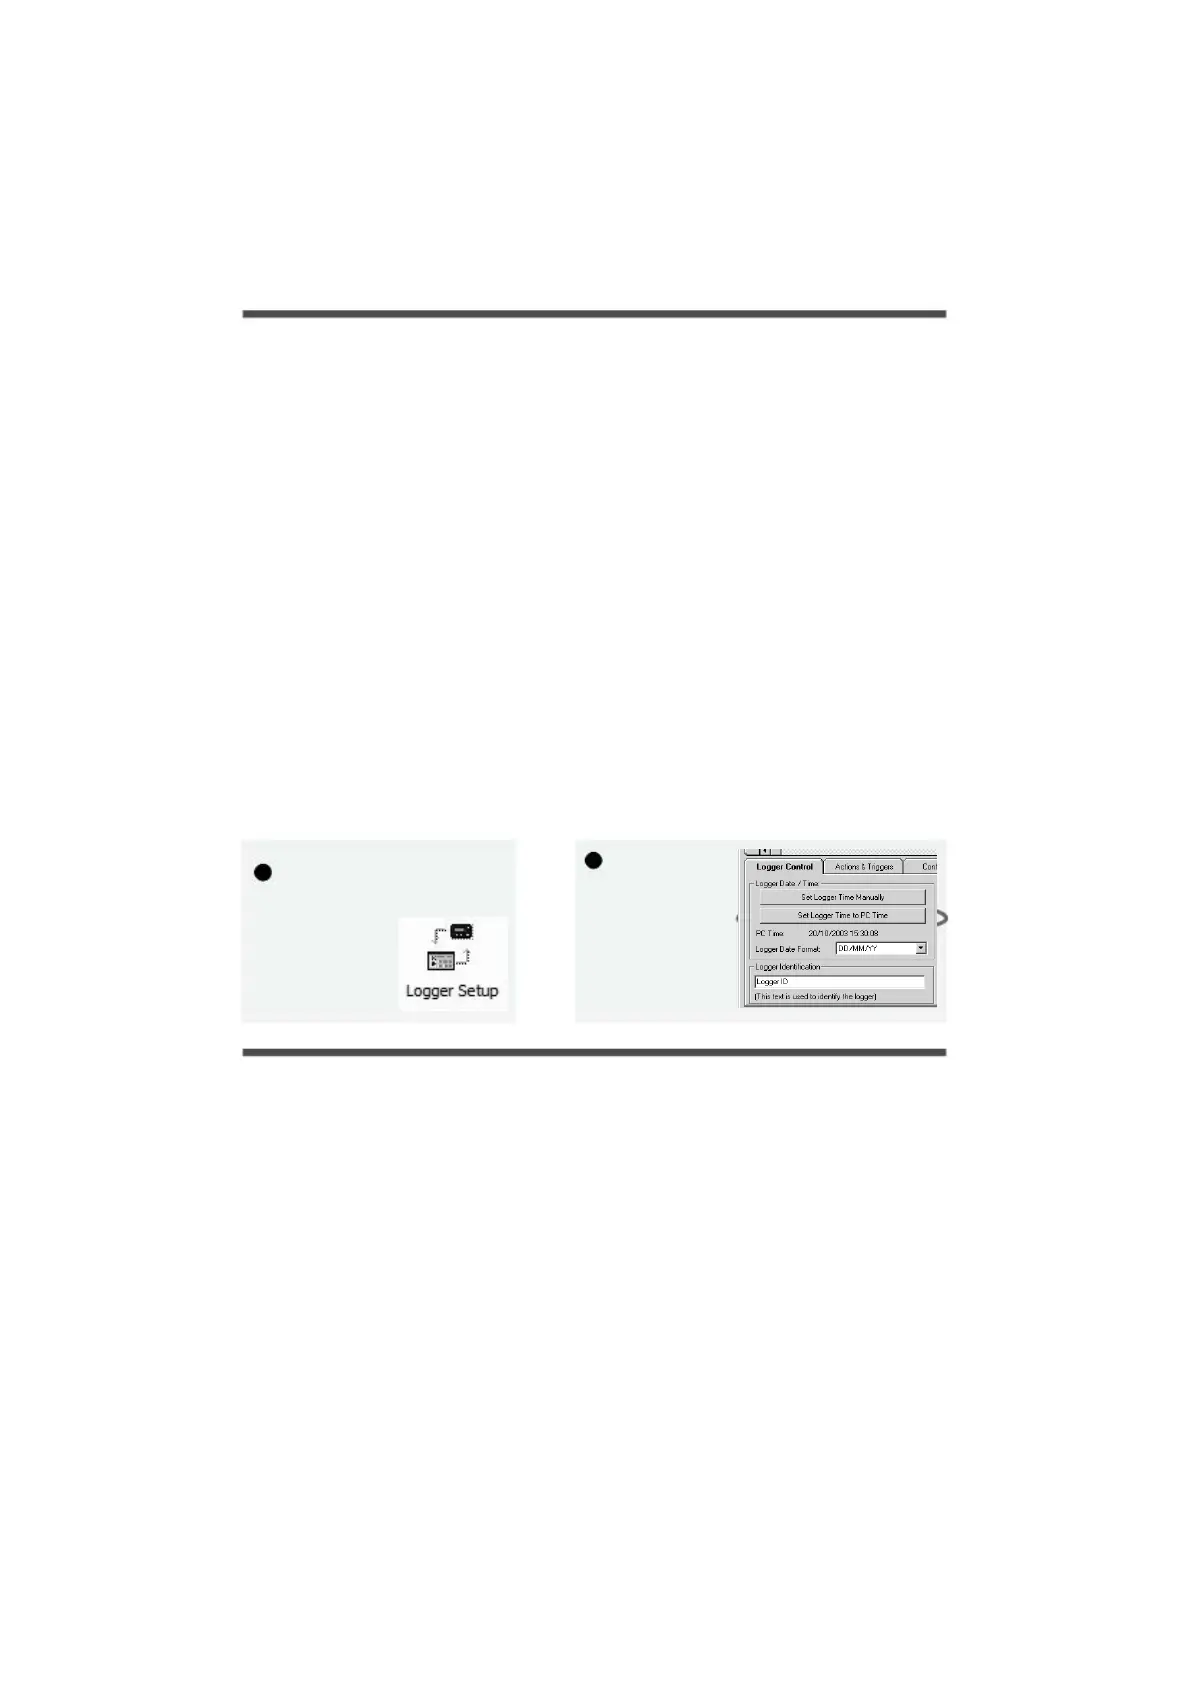
2
From the Logge
Setup screen select
the Logger Control
tab.
Click on Set Logger
Time to PC Time,
click OK on the
confirmation screen.
1
From
SquirrelView Assistant
click on Logge
Setup.
18108 Version 2 - July 2004
Page 7
 Loading...