2. Setup : Menu Operation
12
Select the setting for only the channels being used. Make sure to turn off unused
channels. It is unnecessary to change all setting from the factory default.
Key Pointers
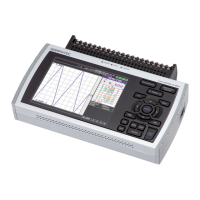
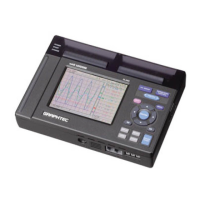
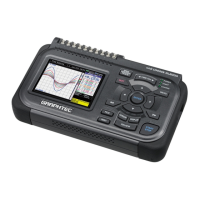
Basic Setup Menu Operation
•
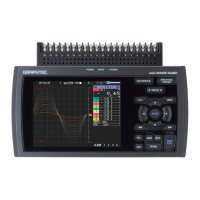
Examples of selection menu operations (AMP screen)
(Note: Select "DC" for voltage measurement, and "Temperature" for temperature measurement.)
The , [ENTER], and [QUIT] keys are used to set the condition on the setup menu.
The current position of the cursor on the setup menu is displayed in green.
Use the keys to move the cursor. When the [ENTER] key is pushed at the cursor
position, a selection menu or a box of entering value for selected item is displayed.
If you push the [QUIT] key, the screen closes and the settings are canceled.
1. Use the keys to move
the cursor to the Input
parameter of CH 1 and then
push the [ENTER] key.
2. A selection menu is displayed
when the [ENTER] key is
pushed. Use the and keys
to select "TEMP."
3. Push the [ENTER] key to
confirm your selection.
Select with ,
and [ENTER] key.
1. Push the [MENU] key to display the setup menu screen.
3. Select "Off" for all the other channels.
2. Set Input to "TEMP" and Sensor to "TC-T" for CH1,
and set Input to "DC" and Range to "1V" for CH2.
(1) Move the cursor to CH1 "Sensor" and select "TC-T" and then move to
"Range" and select “100°C” .
(1) Using the procedure described above, select "Off" for CH 3 to CH 10.
Use the [CH GROUP] key to switch to the CH11 to CH20 group.
(2) In the same manner, move the cursor to CH2 "Input" and select "DC" and
then move to "Range" and select "1V."