Page 7
BATTERIES
Your new Grasshopper Golf Buggy is fitted with SEALED GEL batteries.
Please ensure that the correct maintenance is carried out as per the infor-
mation below to prolong their life. DO NOT fit other types of battery
without first checking compatibility with Leisure Karts.
Charging your Batteries
The first charge should be for 24 hours. Subsequent charges should be
five hours maximum. Unless you have a fully automatic charger which
automatically cuts out when charging is complete, you should connect
your charger using a timer to ensure the five hour charge is not exceeded.
We do not recommend that you leave the charger
on for long periods of time once the batteries are
fully charged as this will shorten the life of the
battery.
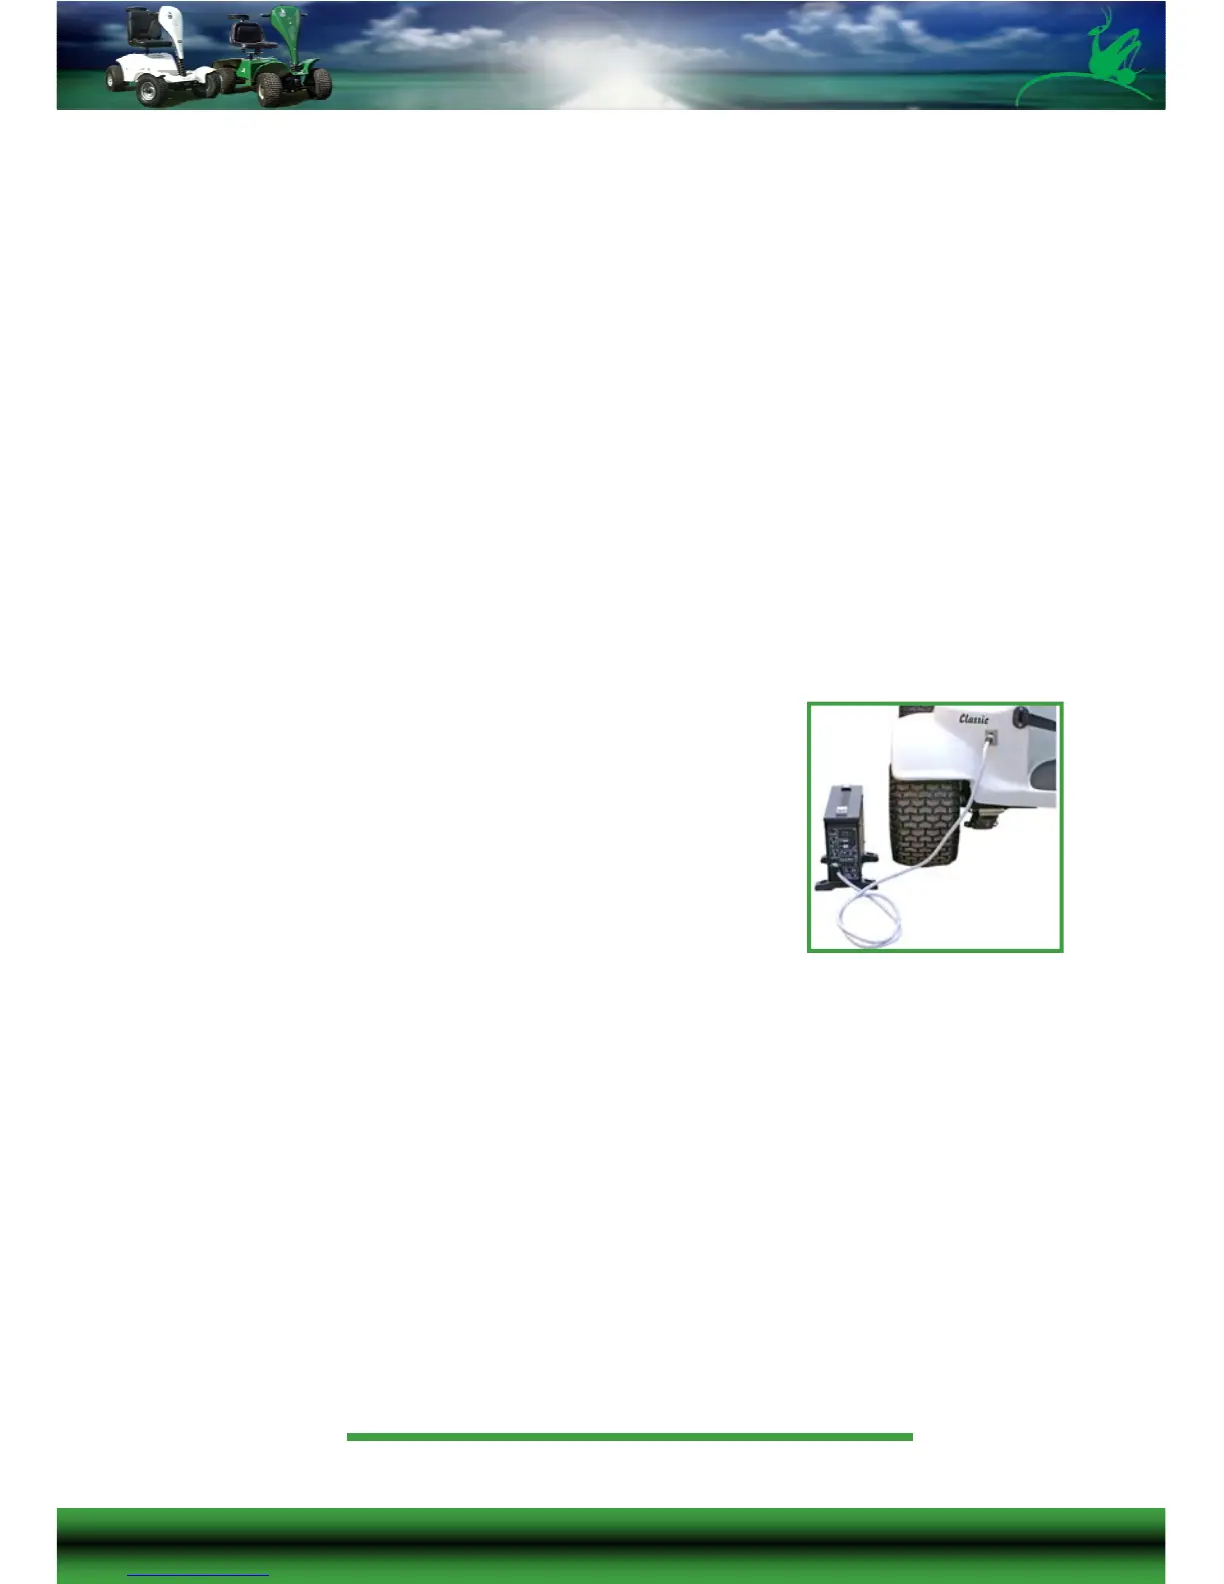
Step One – Connect the charger plug into the
charging socket on the rear of the Buggy, there is a
locating groove to ensure correct polarity.
Step Two – Plug the charger into the mains and switch the mains on, (an
in-built safety feature will disable the power system of the buggy).
When using the charger, keep it well ventilated and dry, it is suitable for
indoor use only. It is normal for the charger to become warm during use.
Always carry the charger never pick it up by the cables.
If you have difficulty finding a suitable place to charge your batteries you
may charge them independently with an off-buggy charging lead.
(Available as an optional extra).