EN - 11
Package Contents:
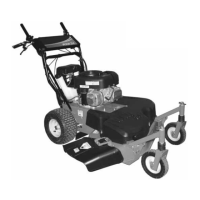
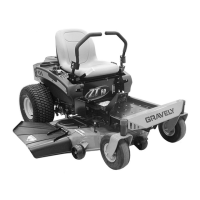
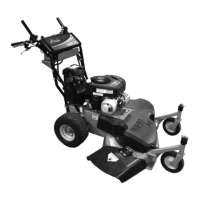
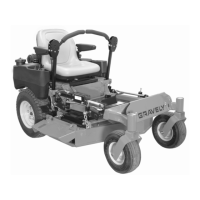
•Unit
•Mower Deck
• Literature Pack
Preparation Checklist
1. Unpack Unit – Remove shrink wrap and
packaging materials.
2. Remove Unit From Container - Open
Bypass Valves (dump valves). See Move
Unit Manually on page 15.
3. Push unit from container onto a level
surface. Close the dump valves.
4. Check Tires – See Specifications on
page 31.
5. Seat – Connect the seat cable to the
frame with the hardware mounted on the
frame. Put the seat in the operating
position and secure with wing knob. See
Adjust Seat on page 22.
6. Position Steering Levers – Rotate
eccentric spacers to align handlebars.
Tighten hardware securely. See Adjust
Steering Levers on page 22.
7. Battery – Remove battery from unit and
charge. See Check Battery on page 19.
8. Check Engine Crankcase – Check and
add oil if needed. See Engine Manual for
specifications.
9. Fill Fuel Tank. DO NOT OVERFILL! See
Before Operating Unit on page 14.
IMPORTANT: Refer to Engine Manual for fuel
type.
10. Hardware – Check for loose hardware.
11. Check Safety Interlock System – Check
to see that the interlock system operates
correctly. See Safety Interlock System on
page 14.
12. Lubrication – Lubricate all fittings per
maintenance label under seat and check
hydrostat oil level. See Lubricate Unit on
page 18.
13. Level Deck – Check unit to ensure deck
level set at factory has been maintained.
See Adjust Mower Deck on page 26.
14. Check Function of All Controls – Ensure
unit runs and performs properly.
ASSEMBLY
WARNING: AVOID INJURY.
Read and understand entire
Safety section before
proceeding.
WARNING: FAILURE OF
INTERLOCK together with
improper operation can result in
severe personal injury.
WARNING: FAILURE OF
CONTROLS could result in
death or serious injury.
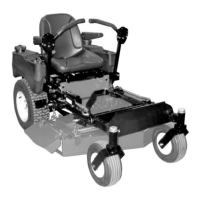
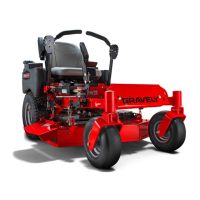
Figure 3
1. Steering Levers
2. Seat
3. Mounting Hardware
4. Cable
1
1
2
3
4