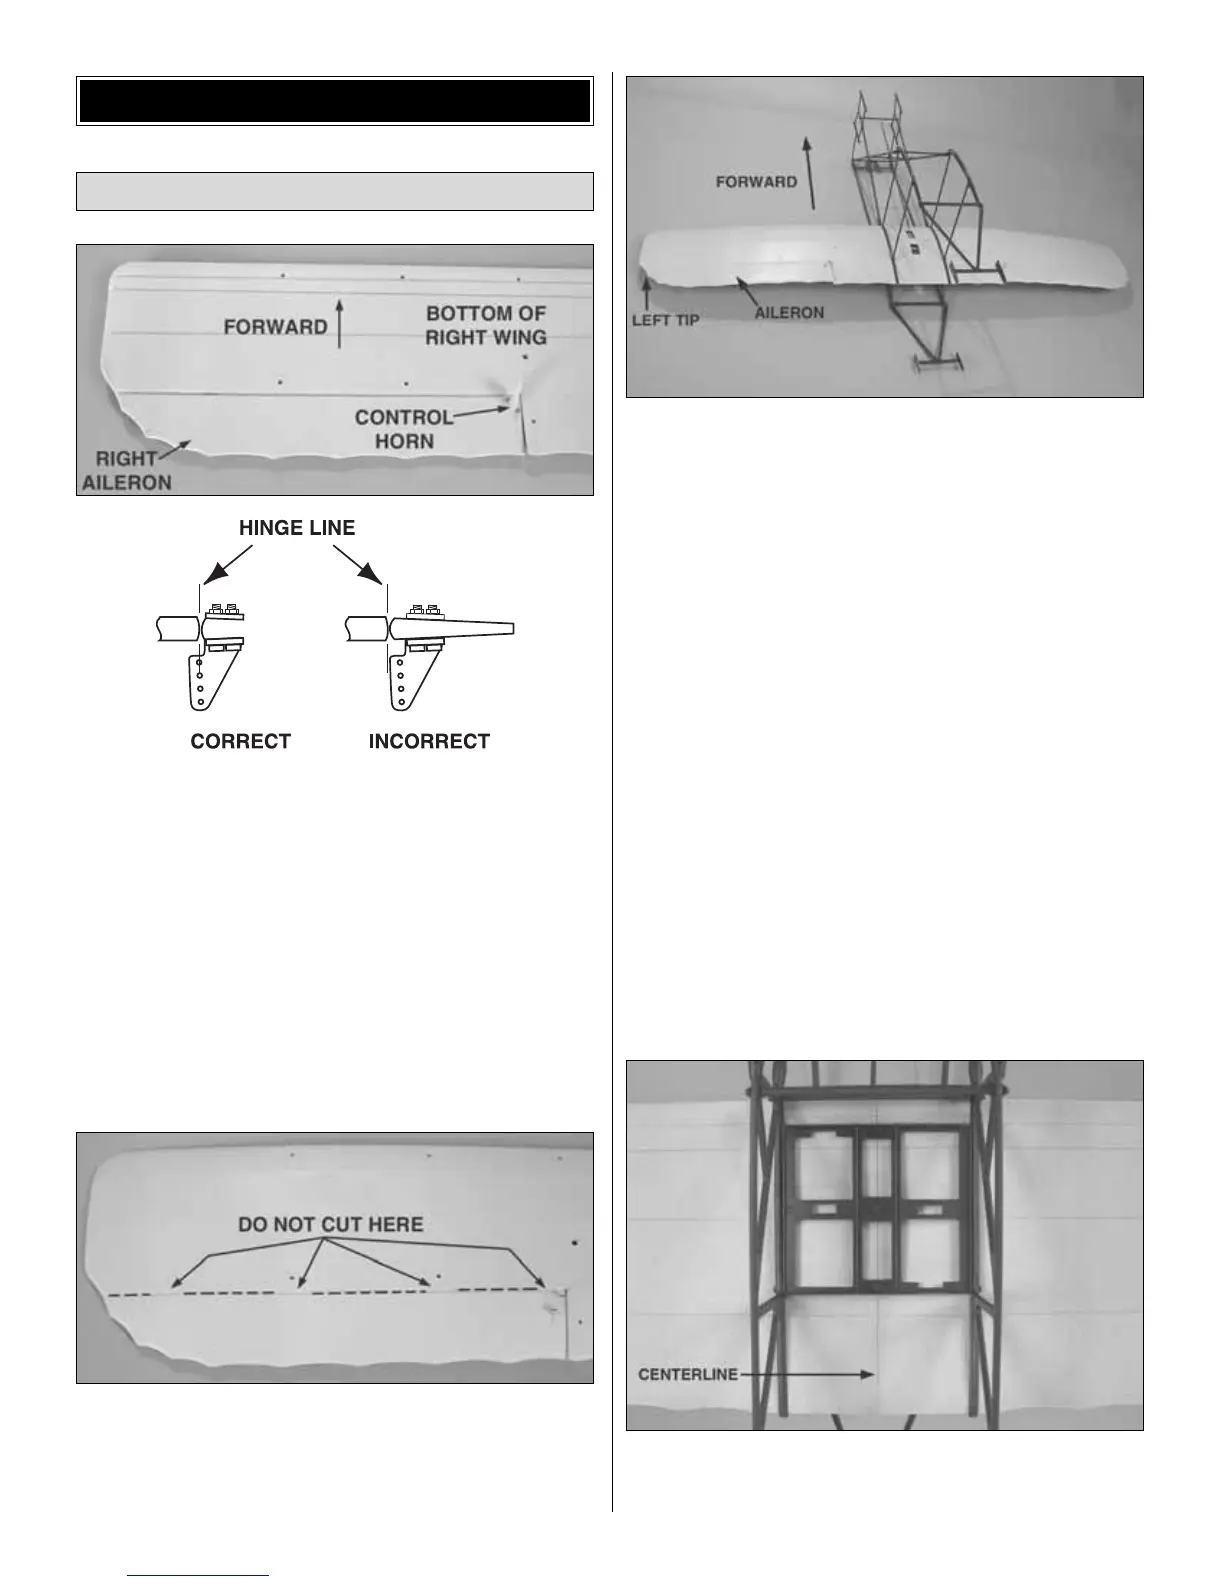
❏ 1. The above photo shows the bottom of the bottom
wing. Install a nylon control horn on the bottom of the right
aileron with two 2-56 x 3/8" [9.6mm] machine screws and
the nylon backplate. Do not tighten the screws too much.
The holes in the control horn for the clevis should face
forward. Do not install a control horn on the left aileron until
instructed to do so.
❏ 2. The aileron is self-hinged to the wing. Cut the foam
material along the lines shown in the photo to allow the
ailerons to move more freely. Cut the other aileron hinge in
the same manner. Note: Only the bottom wing surface has
operating ailerons.
❏ 3. Starting with the left tip of the bottom wing, insert the
wing into the fuselage frame. Note that the bottom of the
fuselage structure is flat along the length of the fuselage.
Remember that this is a canard model with the ailerons
facing the rear of the model.
Caution: Be careful not to damage the foam wing as it is
inserted into the fuselage.
❏ 4. Install a control horn on the bottom of the left aileron.
❏ 5. Make sure the wing is centered in the fuselage frame.
Note in the photo that the centerline of the wing is aligned
with the center of the servo openings.
Install the Bottom Wing
BUILDING INSTRUCTIONS
6