11
PIPING INSTALLATION
Connecting Refrigerant Pipes to Ceiling Cassette
1. Feed refrigerant pipes, drain hose and communication cable assembly through wall hole
from outdoor to the Ceiling Cassette.
2. Pull the piping assembly to the indoor unit. Carefully bend refrigerant pipes to meet indoor
unit connection ports. Use proper tools to avoid kinks.
3. Add a small amount of refrigerant oil to both ends of the flare fittings.
4. Properly align piping and tighten flare nut using a standard wrench and a torque wrench as
shown in figure to the below. Carefully tighten flare nuts to correct torque level referring to
the illustration and Torque Table below:
5. Individually insulate each bare refrigerant pipe and joint as shown below to prevent sweating.
Gas pipe
3-way valve
Reference A:
Reference A:
Cover this portion with insulation
Pipe insulation
Liquid pipe
Gas pipe
Front outlet
Insulate pipe connection
Insulate pipe
Insulate pipe
2-way valve
Liquid pipe
or
Pipe
coupling
Gas pipe
3-way valve
Reference A:
Reference A:
Cover this portion with insulation
Pipe insulation
Liquid pipe
Gas pipe
Front outlet
Insulate pipe connection
Insulate pipe
Insulate pipe
2-way valve
Liquid pipe
or
Pipe
coupling
Over tightening may damage flare connections and cause leaks.
CAUTION
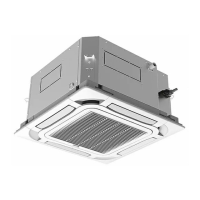
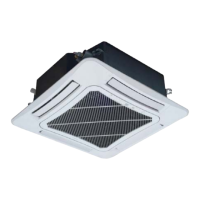
Ceiling Cassette Unit
I
n
d
o
o
r
U
n
i
t
P
i
p
i
n
g
T
a
p
e
r
N
u
t
W
r
e
n
c
h
T
o
r
q
u
e
W
r
e
n
c
h
P
i
p
i
n
g
Pipe Diameter Nut Size
Tightening Torque
inch (mm) inch (mm) ft-lbs N-m
1/4 (6.35) 1/4 (17) 10 to 13 14 to 18
3/8 (9.5) 3/8 (22) 25 to 30 34 to 42
1/2 (12.7) 1/2 (25) 36 to 45 49 to 61
5/8 (15.9) 5/8 (29) 50 to 60 68 to 82
 Loading...