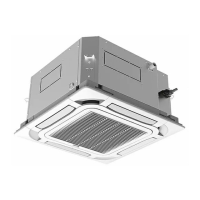
Multi Variable Air Conditioners Wall Mounted Type Indoor Unit
13
controllers should be different through address setting. Address 1 is for main controller;
Address 2 is for slave controller. Detailed setting please refer to the instruction manual of
wired controller.
5.6 Installation of the indoor unit
(1) When routing the piping and wiring from the left or right side of the indoor unit, it is
necessary to cut off the tailings of the pipe left on the holder of the unit. (Shown in Fig.5.6)
1) Cut down tailings 1 when only the power cord is led.
2) Cut down tailings 1,2 (or 1,2,3) when the connection cord and wire are led.
3) The piping types ①,②,③ are recommended.
(2) Let the tubing and cord pass though the piping hole after tied up (refer to Fig .5.6 (d)).
(3) Hang the claw behind the indoor unit on the pothook on the wall panel, and move the unit left
and right to check if the body is firm.
(4) Guarantee that the installation height of the indoor unit should be 2.5m above the floor.
Fig 5.6
6 The Best Usage Method
(1) Adjust the set temperature properly in proper to prevent electricity wasting. It is better to
control the difference of the indoor and outdoor temperatures within 5°C.
(2) The better effect will be maintained by adjusting the guide louver downward for heating and
horizontal for cooling.
(3) When the air conditioner is running, don’t open windows or doors for long time, otherwise
the efficiency of unit will be lowered.
 Loading...